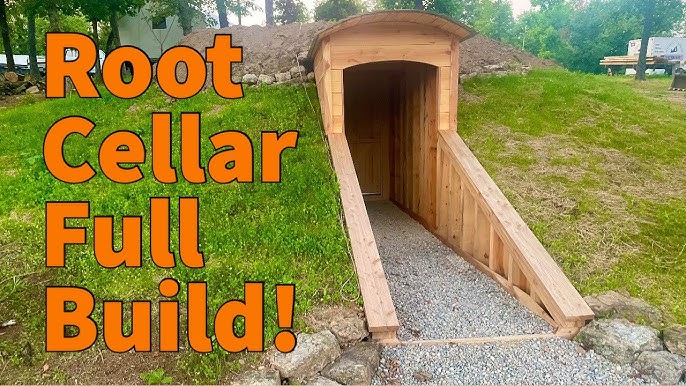
Build Your Own Budget-Friendly Earthbag Root Cellar: A Beginner's Guide
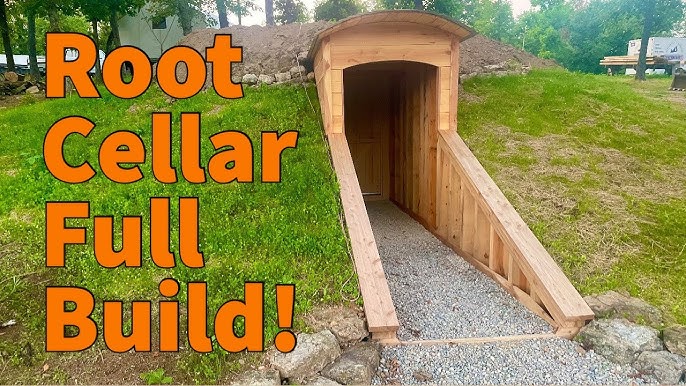
Are you, like Maria, dreaming of a simpler, more self-sufficient life? Do you yearn to reduce your reliance on grocery store produce and enjoy the taste of freshly harvested vegetables year-round? Then building your own root cellar is a fantastic first step! While traditional root cellars can be costly and time-consuming to construct, we’re going to show you how to build a compact, highly efficient earthbag root cellar – perfect for beginners and achievable on a weekend or two for under $300. This DIY root cellar for beginners project is not only budget-friendly but also utilizes sustainable building practices, making it an ideal addition to your homesteading journey. Get ready to embrace food preservation and create a haven for your harvests!
Planning & Design: Your Root Cellar Blueprint
Before you start hauling sandbags, careful planning is crucial. The size of your root cellar will depend on your family's needs and the amount of produce you plan to store. For a small family, a 6-foot diameter round structure is often sufficient.
Location, Location, Location!
Choosing the right location is vital for maintaining the ideal temperature and humidity levels within your small root cellar. Consider these factors:
- Shade: North-facing slopes are ideal as they receive less direct sunlight, keeping the cellar cooler. If a north-facing slope isn't available, find a naturally shaded area or consider planting trees or shrubs to provide shade.
- Drainage: Avoid areas prone to flooding or with high water tables. Good drainage is essential to prevent moisture problems. If your soil is poorly draining, you may need to install drainage around the cellar.
- Accessibility: Choose a location that's easily accessible, especially during winter. You don't want to trek through deep snow to retrieve your potatoes!
- Proximity to the House: While some distance can help maintain cooler temperatures, you don't want it to be too far. A balance between convenience and temperature control is key.
Simple Design:
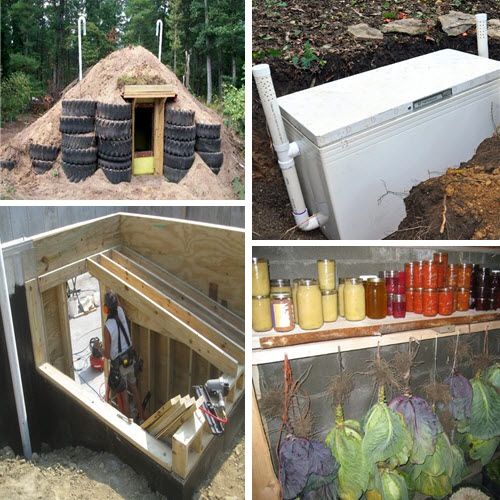
For this beginner-friendly project, we’ll focus on a dome-shaped earthbag construction. The dome shape provides excellent structural stability and maximizes space. Here's a basic diagram to visualize the structure:
[Diagram: A simple sketch showing a circular earthbag root cellar with a domed roof. Include dimensions like diameter (6 feet) and height (approximately 4-5 feet at the center). Show the entrance door and a vent pipe.]
Size Considerations:
A 6-foot diameter compact root cellar will provide ample storage space for a small family's needs. You can always adjust the size based on your specific requirements. Remember, it's better to start small and expand later if needed.
Materials List: Affordable and Sustainable Options
Here's a detailed materials list with estimated costs. Remember to check local sources for the best prices and consider using reclaimed or recycled materials whenever possible to create a cheap root cellar.
- Polypropylene Sandbags (Burlap also works but deteriorates faster): 200-250 bags ($50 - $75). Source used feed bags from local farms for a cheaper and more sustainable option.
- Sand or Gravel: Approximately 5-7 cubic yards ($50 - $100). Use locally sourced sand or gravel.
- Barbed Wire: 2-3 rolls ($30 - $45). This is crucial for adding tensile strength between the earthbag layers.
- Lime or Cement (for stabilization): 2-3 bags ($20 - $30). Adding lime or cement to the sand mixture increases the durability of the bags.
- Door: Reclaimed door or build your own from scrap wood ($0 - $50).
- Vent Pipe (PVC): 4-inch diameter, 10 feet long ($10 - $15).
- Hardware Cloth (for vent cover): Small piece ($5). To keep out rodents and insects.
- Wood for Door Frame and Lintels: Reclaimed lumber ($0 - $20).
- Shovel, Wheelbarrow, Tamper, Level, Measuring Tape, Gloves, Safety Glasses. (These are assumed to be already available)
- Optional: Waterproofing Material (e.g., plastic sheeting or pond liner): ($20 - $40). For added protection against moisture.
Total Estimated Cost: $185 - $320 (Depending on material choices and availability)
Step-by-Step Construction: Building Your Earthbag Haven
Now for the fun part! Follow these steps to construct your easy root cellar:
Step 1: Site Preparation & Foundation
- Clear the area of vegetation and debris. Level the ground as much as possible.
ALT TEXT: Clearing and leveling the ground for the earthbag root cellar foundation. - Mark the outline of your circle (6-foot diameter).
- Dig a shallow trench (4-6 inches deep) along the marked circle. This will provide a stable base for the first course of earthbags.
Step 2: Filling the Bags
- Mix your sand or gravel with a small amount of lime or cement (approximately 1 part lime/cement to 10 parts sand/gravel). This will help stabilize the bags and prevent them from breaking down over time.
- Fill the bags approximately 2/3 full. Overfilling will make them difficult to work with.
ALT TEXT: Filling polypropylene bags with a sand and cement mixture. - Compact each bag firmly using a tamper. This is crucial for creating a strong and stable structure.
Potential Pitfall: Don't overfill the bags! It will make them difficult to maneuver and compact properly.
Step 3: Laying the First Course
- Place the filled bags in the trench, end-to-end, forming a complete circle.
ALT TEXT: The initial circular layer of sandbags creating the base of the root cellar. - Tamp each bag firmly in place, ensuring they are level.
- Lay a strand of barbed wire on top of the first course. This will act as reinforcement between the layers.
Step 4: Building Subsequent Courses
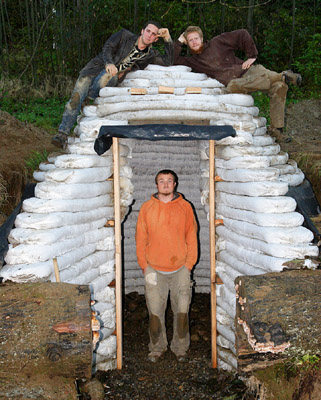
- Continue laying courses of earthbags, staggering the joints like bricks. This will increase the structural integrity of the wall.
- Tamp each bag firmly in place and add a strand of barbed wire between each course.
ALT TEXT: Building the earthbag wall, layer by layer, with barbed wire reinforcement. - As you build, gradually incline each course inward to create the dome shape.
Potential Pitfall: Maintaining a consistent angle is key to a stable dome. Use a simple guide (like a stick cut to the desired angle) to ensure each course is inclined correctly.
Step 5: Creating the Doorway
- When you reach the desired height for the doorway, create a lintel using sturdy pieces of wood. This will support the bags above the opening.
- Continue building around the doorway, ensuring the structure remains stable.

ALT TEXT: Framing the doorway of the earthbag root cellar with a wooden lintel.
Step 6: Closing the Dome
- As you approach the top of the dome, the angle of inclination will become steeper.
- Carefully fill the remaining space with earthbags, ensuring a tight fit.
ALT TEXT: Closing the top of the earthbag dome. - The final bag (or a small number of bags) will act as the keystone, locking the dome in place.
Step 7: Installing the Door and Vent
- Install the door in the doorway frame.
- Insert the vent pipe through the top of the dome or near the base. Cover the opening with hardware cloth to prevent pests from entering. Ventilation is crucial for preventing moisture buildup.
Step 8: Finishing Touches (Optional)
- Apply a layer of plaster or stucco to the exterior of the earthbag root cellar to protect it from the elements. This will also improve its appearance.
- Consider adding a layer of waterproofing material (plastic sheeting or pond liner) before applying the plaster.
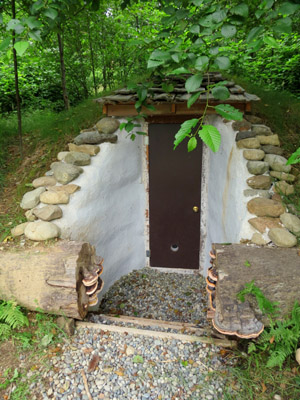
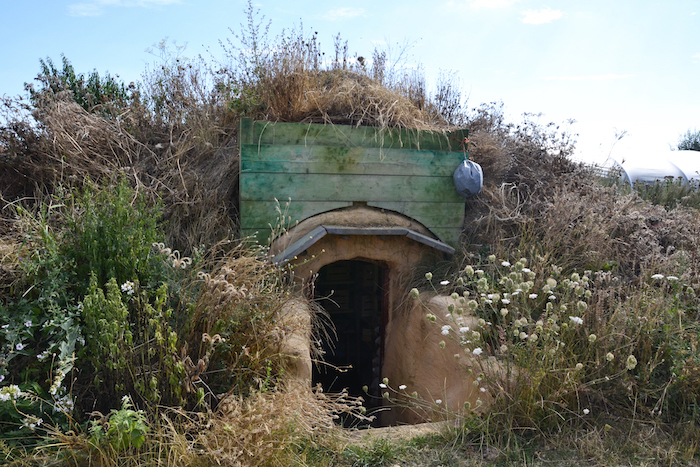
ALT TEXT: A finished earthbag root cellar blending into its natural surroundings.
Troubleshooting Tips: Overcoming Common Challenges
- Uneven Surfaces: Use a level and tamper to ensure each course of bags is even. Small adjustments can be made by adding or removing sand from individual bags.
- Moisture Control: Ensure good drainage around the cellar. The vent pipe is essential for circulating air and preventing moisture buildup. Consider adding a layer of waterproofing material to the exterior.
- Bag Breakage: Use high-quality polypropylene bags and avoid overfilling them. Adding lime or cement to the sand mixture will also increase their durability.
- Structural Instability: Make sure each course of bags is tightly compacted and that the joints are staggered. The barbed wire reinforcement is crucial for preventing the walls from collapsing.
Maintaining Your Root Cellar: Food Preservation 101
Proper maintenance is key to ensuring long-term food preservation.
- Temperature: The ideal temperature for a root cellar is between 32°F and 40°F (0°C and 4°C).
- Humidity: Maintain a humidity level of 85-95%.
- Ventilation: Ensure adequate ventilation to prevent moisture buildup and fungal growth.
- Storage Methods: Store different vegetables in separate containers or areas. Root crops like potatoes and carrots can be stored in bins or crates filled with damp sand. Onions and garlic should be stored in mesh bags in a dry, well-ventilated area. Apples and pears can be stored on shelves.
Different Vegetables, Different Needs:
- Potatoes: Store in dark, humid conditions.
- Onions & Garlic: Store in dry, well-ventilated conditions.
- Carrots & Beets: Store in damp sand or sawdust.
- Apples: Store individually wrapped to prevent rot from spreading.
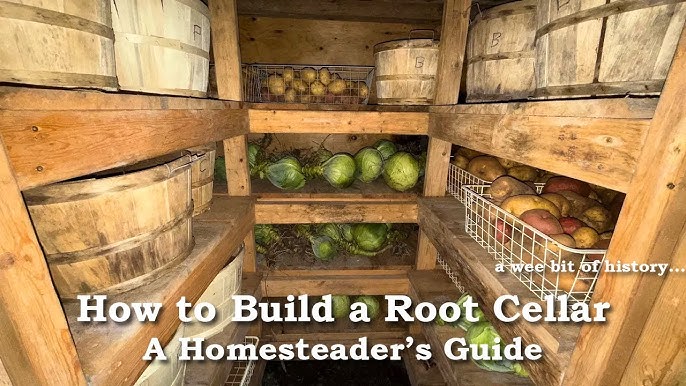
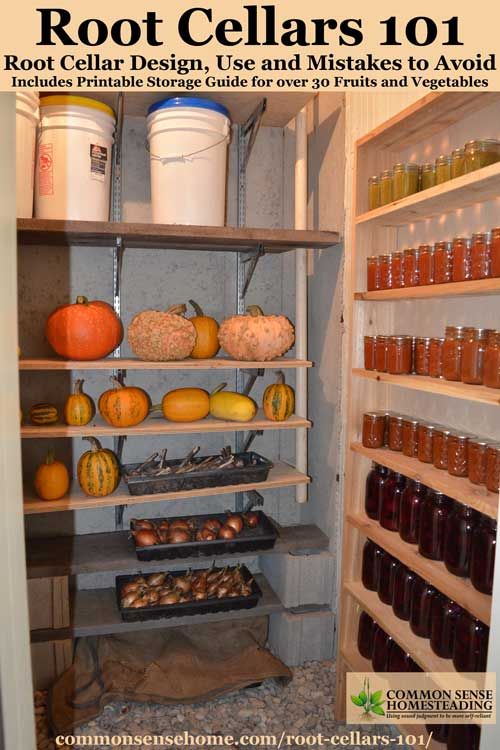
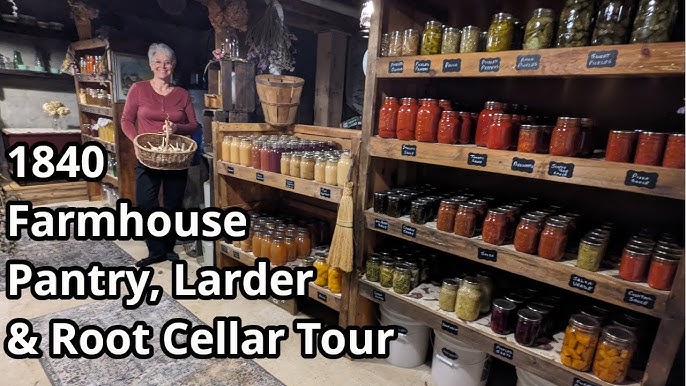
ALT TEXT: A well-organized root cellar filled with various stored vegetables.
Safety First: A Word of Caution
- Always wear gloves and safety glasses when working with sandbags, barbed wire, and lime/cement.
- Use caution when lifting heavy bags. Get help if needed.
- Be aware of the risk of cave-ins during construction. Ensure the walls are stable before entering the structure.
- If using power tools, follow all safety instructions provided by the manufacturer.
Building your own earthbag root cellar is a rewarding and empowering experience. By following these steps and taking the necessary precautions, you can create a sustainable and affordable food storage solution that will provide you with fresh, healthy vegetables year-round. This DIY root cellar project is a fantastic way to embrace sustainable living and reduce your reliance on external resources. Remember to start small, be patient, and enjoy the process!
Now it's your turn! Share your experiences and ask questions in the comments below. We'd love to hear about your homesteading for beginners journey! For more great tips on sustainable food storage check out our article on [Building a DIY Smokehouse for Meat Preservation](link to relevant article on Better Homes and Harvests, if applicable)