Build a Waterless Revolution: DIY Composting Toilet for a Thriving Homestead
Are you tired of sky-high water bills? Frustrated with the limitations of your septic system? Or perhaps you're simply seeking a more sustainable way to manage waste on your homestead? Then it's time to consider a composting toilet! Conventional flushing toilets use a shocking amount of water – water that could be used for gardening, livestock, or, well, drinking! In this blog post, we'll guide you through the process of building your own backyard composting toilet, a system that not only conserves precious water but also transforms waste into valuable soil amendment. Forget the old stigmas; with proper design and maintenance, a composting toilet can be odor-free, hygienic, and a cornerstone of your self-sufficient lifestyle. This project is suitable for homesteaders with basic DIY skills and a desire to reduce their environmental impact. Get ready to ditch the flush and join the waterless revolution!

Planning and Design Considerations: Laying the Groundwork for Success
Before you start hammering and sawing, careful planning is essential. A well-designed composting toilet is a pleasure to use; a poorly designed one, well, isn't. Here’s what you need to consider:
Location, Location, Location: Where you place your composting toilet is paramount. Consider accessibility – you want it to be easy to reach from your house or garden. Sunlight can help warm the compost pile, speeding up decomposition, but too much direct sun can dry it out. Aim for a location that receives partial sun or dappled shade. Proximity to your garden is beneficial for eventual compost use. Ensure good drainage to prevent waterlogging, especially in rainy climates. A slight slope away from the toilet is ideal. Remember to check local zoning regulations, as some areas have restrictions on composting toilets.
Size and Capacity: How often will the toilet be used, and by how many people? A larger household requires a larger container. For occasional use, a smaller system is sufficient. A good rule of thumb is to estimate about one cubic foot of container space per person per month.
Ventilation is Key: Proper ventilation is crucial for odor control and efficient decomposition. A simple vent pipe extending from the top of the container, angled upwards, creates a natural convection current, drawing air through the compost pile and expelling odors. The taller the pipe, the better the draft. Ensure the vent is screened to prevent insects from entering. We originally made the mistake of using a vent pipe that was too short. The odor was noticeable. Extending it by another 6 feet resolved the problem.
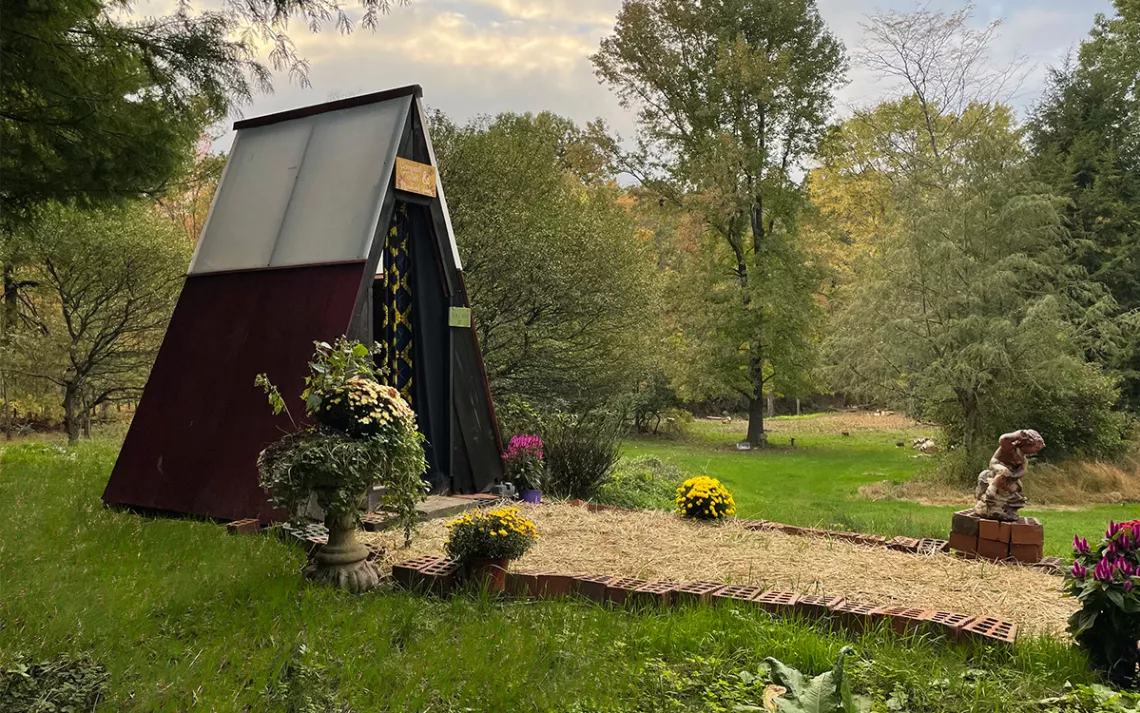
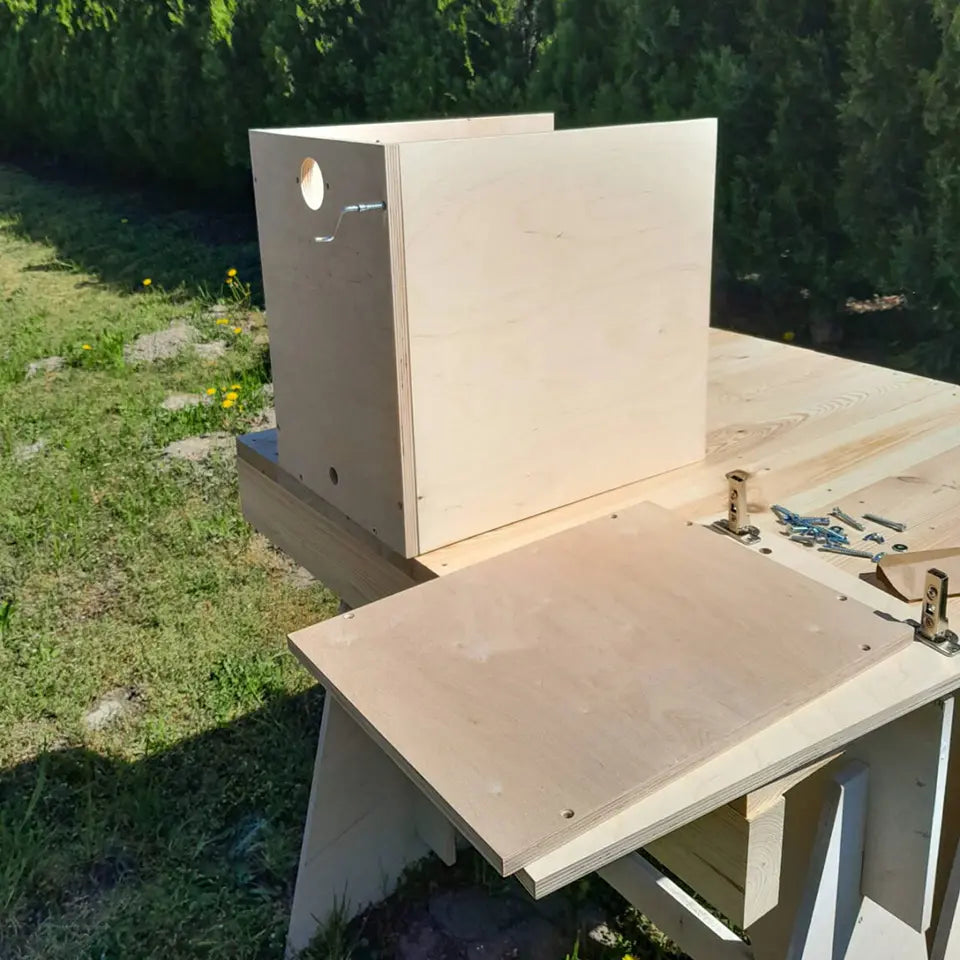
Bin Design and Materials: You have several options for the container. Plastic totes are durable, readily available, and relatively inexpensive. Wooden boxes are aesthetically pleasing but require more maintenance to prevent rot. Brick or concrete structures are the most permanent but also the most labor-intensive. Choose a material that fits your budget, skills, and aesthetic preferences. Consider using reclaimed materials to further reduce costs and environmental impact.
Collection Container: The design must prevent leachate from seeping into the surrounding area. A sealed container is essential.
Accessibility Considerations: Ensure that the structure is accessible to all users. This may involve installing a ramp or wider doorway to accommodate wheelchairs or other mobility devices.

Gathering Materials and Tools: Preparing for Construction
With your design in mind, it's time to gather your materials and tools. A comprehensive list ensures you won't have to make frustrating trips to the hardware store mid-project.
Comprehensive List:
- Container (plastic tote, wooden box, etc.)
- Ventilation pipe (PVC or other suitable material)
- Screen for vent pipe
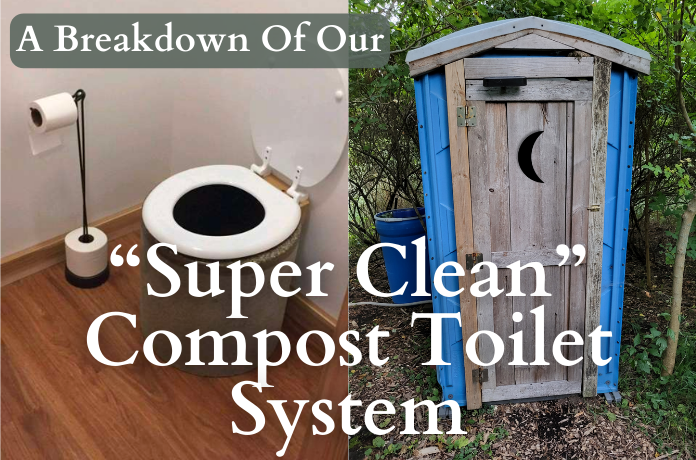
- Toilet seat and lid (or materials to build your own)
- Bulking agent (sawdust, wood shavings, coconut coir)
- Screws, nails, or other fasteners
- Sealant (silicone caulk or similar)
- Optional: Urine-diverting system (if desired)
- 5-gallon buckets to hold the composting material
- Gloves and other safety equipment
Tool Checklist:
- Saw (circular saw, handsaw)
- Drill (with various drill bits)
- Shovel
- Level
- Measuring tape
- Safety glasses
- Gloves
Sourcing Options: Check your local hardware store for most materials. Reclaimed building supply stores are great sources for discounted lumber and other items. Online retailers offer a wide selection of composting toilet components and accessories.
Budget Breakdown: The cost of a DIY composting toilet can vary widely depending on the materials you choose. A basic system using a plastic tote can cost as little as $50-100. A more elaborate wooden structure can cost several hundred dollars. Factor in potential savings from using reclaimed materials.
Highlighting Safety Equipment: Never compromise on safety. Always wear safety glasses when cutting or drilling, and wear gloves when handling materials.
Construction Step-by-Step: Building Your Composting Throne
Now for the fun part: building your composting toilet! Follow these step-by-step instructions carefully, and don't be afraid to adapt the design to suit your specific needs and preferences.
Step 1: Preparing the Site: Level the ground where you plan to build the toilet. A solid foundation is essential, especially in unstable soil. You may need to add gravel or concrete to create a level surface.
Step 2: Building the Container: Assemble the container according to your chosen design. If using a plastic tote, you may need to cut a hole for the toilet seat. If building a wooden box, carefully cut and assemble the lumber, ensuring tight joints and secure fasteners.
Step 3: Installing the Ventilation System: Attach the ventilation pipe to the top of the container. Ensure a tight seal to prevent odors from escaping. Secure the vent pipe with brackets or straps.
Step 4: Adding Seating/Lid: Attach the toilet seat to the container. You can purchase a standard toilet seat or build your own from wood. A lid is essential to keep insects out and prevent odors.
Step 5: Drainage: Drill small holes at the bottom of the container to allow for drainage. This is crucial for preventing the compost pile from becoming too wet.
Step 6: Assembly & Waterproofing: Seal all seams and joints with silicone caulk or other sealant to prevent leaks. Ensure the structure is sturdy and well-built.

Operation and Maintenance: Keeping Your System Running Smoothly
A composting toilet is a low-maintenance system, but it does require some attention to ensure optimal performance.
Using the Composting Toilet: After each use, add a scoop of bulking agent (sawdust, wood shavings, coconut coir) to the container. This helps to absorb moisture, control odors, and provide carbon for the composting process. The ratio of bulking agent to waste should be approximately 1:1.
Maintaining the Compost Pile: Monitor the moisture level of the compost pile. It should be damp but not soggy. If it's too dry, add a small amount of water. If it's too wet, add more bulking agent. Turn the pile periodically (if possible) to aerate it and speed up decomposition.
Emptying the Container: The frequency of emptying the container depends on the size of the container and the frequency of use. When the container is about two-thirds full, it's time to empty it. Carefully remove the composted material and transfer it to a secondary composting bin for further decomposition. Let the materials set for at least 6 months.
Finishing the Compost: During the second compost, materials can be added to enhance the quality. After 6 months, the materials should be safe to use.
Compost Disposal: Only use the finished compost on ornamental plants or trees. Never use it on edible plants without hot composting to kill potential pathogens. Follow local guidelines for compost disposal.
Cleaning Schedule: Wipe down the toilet seat and lid regularly with a disinfectant cleaner to maintain hygiene. Clean the ventilation pipe periodically to remove any blockages.
Troubleshooting and Common Issues: Addressing Potential Problems
Even with careful planning and maintenance, you may encounter some issues with your composting toilet. Here's how to troubleshoot common problems:
Odor Control: If you notice an odor, check the ventilation system. Ensure the vent pipe is clear and properly positioned. Add more bulking agent to the compost pile to absorb moisture and control odors.
Slow Decomposition: If the compost pile is decomposing slowly, ensure it has adequate moisture and airflow. Add more bulking agent, and turn the pile periodically. You may also need to add a compost starter to introduce beneficial microorganisms.
Pest Control: To prevent insects or other pests from entering the toilet, ensure the vent pipe is screened and the lid is tightly sealed. You can also add diatomaceous earth to the compost pile to deter pests.
Embracing Self-Sufficiency and Sustainability: The Compost Advantage
Building a composting toilet is more than just a DIY project; it's an investment in self-sufficiency, sustainability, and a healthier planet. By conserving water, reducing waste, and creating valuable soil amendment, you're taking a significant step towards a more eco-friendly lifestyle. You are also creating a great fertilizer source. The environmental impact from flushing a toilet is enormous. A composting toilet is a low-cost, easy way to help combat this impact. So, grab your tools, gather your materials, and get ready to transform your waste into gold!
Ready to ditch the flush and embrace a more sustainable future? Share your thoughts and questions in the comments below!