Build a Pest-Proof Raised Garden Bed: A DIY Guide for Better Homes and Harvests
Are you tired of slugs munching on your lettuce, rabbits devouring your seedlings, and other unwanted guests wreaking havoc in your vegetable garden? You're not alone! Many homesteaders and gardeners struggle with pest control, and the reliance on pesticides can be both harmful and expensive. That's why we're excited to share this DIY guide on building a pest-proof raised garden bed that minimizes pest problems using simple, affordable techniques. This raised garden bed pest control method is perfect for the organic gardening enthusiast and provides a sturdy, long-lasting solution.
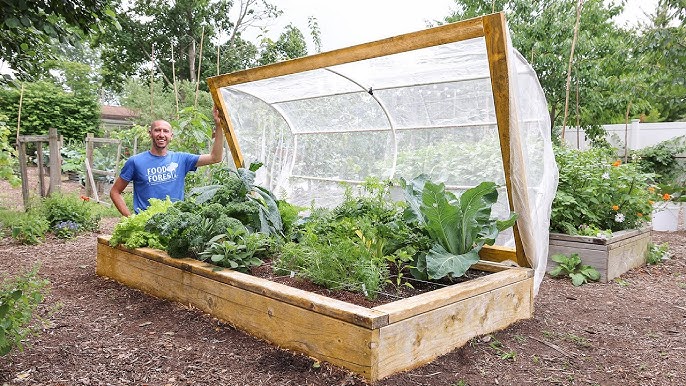
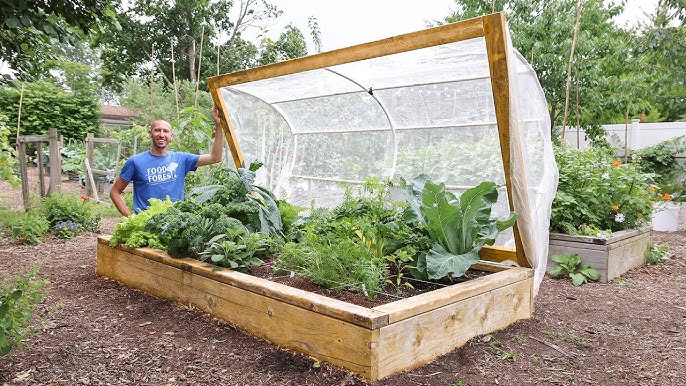
This design focuses on creating a physical barrier to deter common pests, particularly slugs, snails, and rabbits, which are a significant concern in many regions. If you're looking for a practical and effective way to improve your harvest and embrace homestead gardening, keep reading! This DIY garden project is easier than you think.
The Problem: Pests and Our Gardens
Let's face it: pests are a gardener's nemesis. They can decimate crops, spread diseases, and generally make gardening a frustrating experience. While there are many chemical solutions available, we prefer a more natural approach. Here in the Pacific Northwest, slugs and snails are a constant battle. Traditional methods like beer traps only go so far. Rabbits, too, can quickly turn a flourishing garden into a barren wasteland. This pest-proof raised garden bed design addresses these issues head-on.
The Solution: A Raised Bed with Integrated Pest Deterrents
This raised bed incorporates several key features to deter pests:
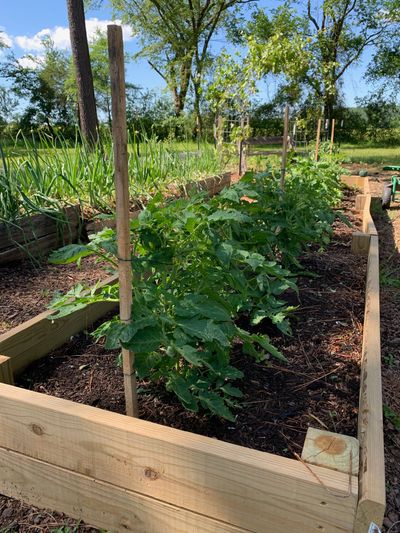
- Height: Raising the bed off the ground makes it more difficult for crawling pests like slugs and snails to reach your plants.
- Hardware Cloth Barrier: We'll install hardware cloth on the bottom of the bed to prevent burrowing pests like gophers and voles.
- Copper Tape: A band of copper tape around the perimeter of the bed acts as an electrical barrier, deterring slugs and snails.
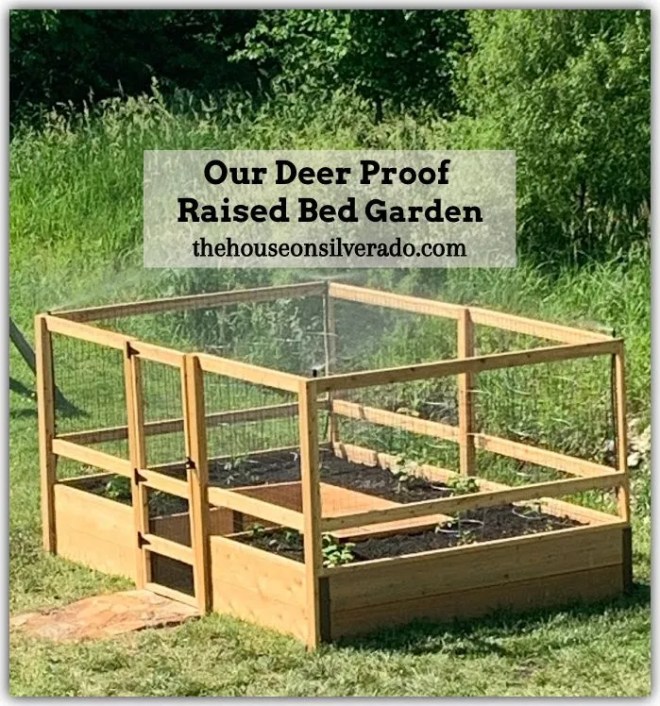
- Optional Fencing: For areas with heavy rabbit pressure, we'll include instructions for adding a simple, removable fence.
Materials List
Here's what you'll need to build your own pest-proof raised garden bed. Note that prices are approximate and may vary depending on your location. This project offers affordable pest-proof raised garden bed DIY.
- Lumber:
- Four (4) 8-foot untreated cedar planks (2" x 12") - Cedar is naturally rot-resistant and safe for vegetable gardens. ($80 - $120) - $20 - $30 per plank
- Four (4) 2-foot untreated cedar planks (2" x 4") - For corner supports. ($10 - $20)
- Hardware:
- 3-inch exterior wood screws (approximately 1 pound) ($15)
- 1/2-inch galvanized hardware cloth (3 feet wide, length depends on the size of your bed; allow extra for overlap) ($20 - $40)
- Staple gun and staples ($20 if you don't already have one)
- Copper tape (1-inch wide, enough to go around the perimeter of your bed) ($15 - $30)
- Optional Fencing:
- Four (4) 4-foot cedar posts (1" x 2") ($10 - $20)
- Chicken wire or garden fencing (enough to enclose the bed) ($15 - $30)
- Small hinges and latch (for a gate, if desired) ($5 - $10)
- Tools:
- Saw (circular saw or hand saw)
- Drill with various drill bits
- Measuring tape
- Pencil
- Staple gun
- Hammer
- Safety glasses
- Gloves
Estimated Total Cost: $170 - $345 (depending on material choices and whether you need to purchase tools).
Step-by-Step Construction Guide
Okay, let's get building! Follow these steps to create your DIY pest-proof garden bed.
Step 1: Cut the Lumber
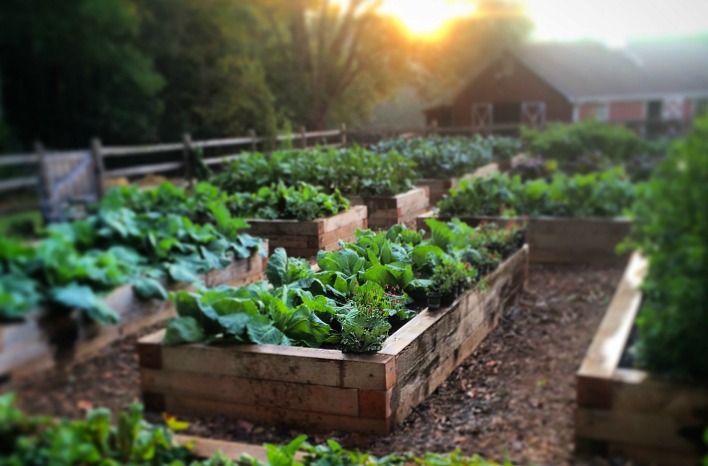
- Cut the 8-foot cedar planks in half to create four (4) 4-foot pieces. This will give you a bed that's 4 feet long and 4 feet wide. Of course, you can adjust these dimensions to suit your needs. Pro Tip: Always double-check your measurements before cutting!
- Cut the 2-foot cedar planks into four equal pieces (6 inches each). These will serve as corner supports.
Step 2: Assemble the Frame
- Position two of the 4-foot planks on their edges to form one side of the bed.
- Attach one of the 6-inch corner supports to the inside corner using wood screws. Make sure the support is flush with the top and bottom edges of the planks.
- Repeat this process for the other three corners.
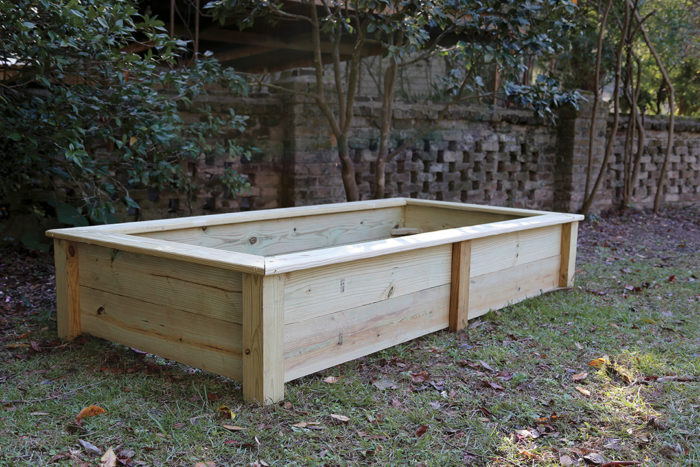
- You should now have a rectangular frame.
Step 3: Attach the Hardware Cloth
- Flip the frame upside down.
- Unroll the hardware cloth and cut a piece that is slightly larger than the inside dimensions of the bed. This will allow for overlap.
- Using the staple gun, attach the hardware cloth to the bottom of the frame. Make sure the staples are close together to prevent pests from squeezing through. Overlap the edges of the hardware cloth onto the sides of the frame. I learned the hard way that gaps are an invitation for voles!
Step 4: Add Copper Tape
- Flip the bed right-side up.
- Clean the outer surface of the cedar planks with a cloth to ensure good adhesion.
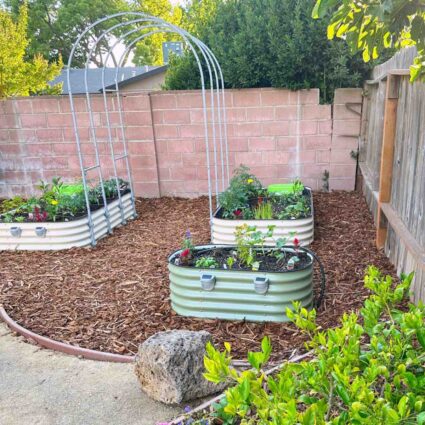
- Apply the copper tape around the entire perimeter of the bed, about 2-3 inches from the top edge. Make sure the tape is continuous; any breaks will allow slugs and snails to bypass the barrier.
Step 5: Optional: Add Fencing
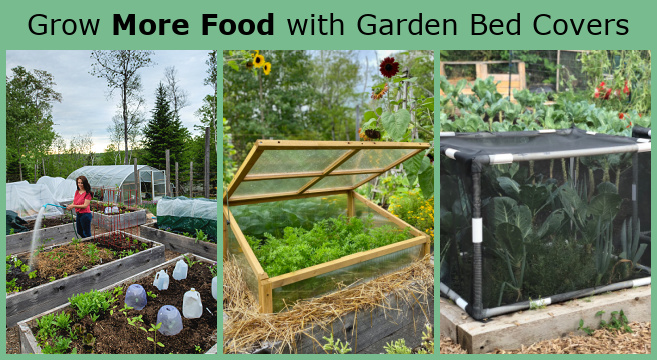
- If rabbits are a major problem in your area, you can add a simple fence to the raised bed.
- Attach the 4-foot cedar posts to the inside corners of the bed using screws or nails.
- Wrap chicken wire or garden fencing around the posts, securing it with staples or wire.
- Consider adding a small gate with hinges and a latch for easy access.
Step 6: Place and Fill Your Raised Bed
- Choose a sunny location for your raised bed.
- Level the ground where you plan to place the bed.
- Carefully move the assembled bed into position.
- Fill the bed with a high-quality soil mix. We recommend a blend of compost, topsoil, and peat moss (or coconut coir).
Step 7: Planting and Enjoying Your Pest-Free Garden
- Now for the fun part! Plant your favorite vegetables, herbs, and flowers.
- Water regularly and fertilize as needed.
- Enjoy the fruits (and vegetables!) of your labor, knowing that you've taken steps to protect your garden from pests.
Personal Experience and Lessons Learned
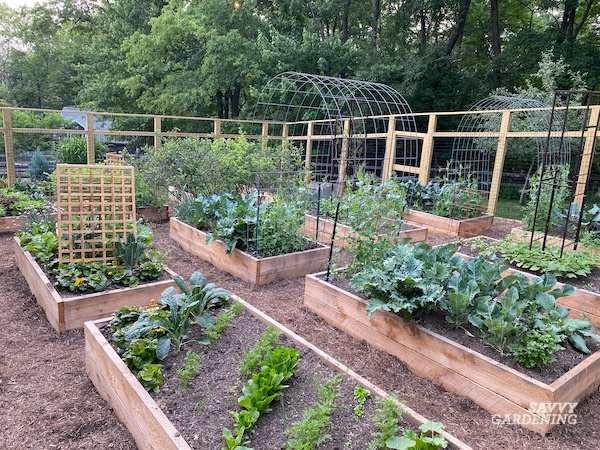
Building this raised bed was a rewarding experience, but it wasn't without its challenges. Initially, I underestimated the importance of a solid hardware cloth barrier. Voles managed to tunnel under the bed, so I had to reinforce the edges with extra staples. The copper tape also needs to be cleaned occasionally, as it can lose its effectiveness over time. However, the benefits have been undeniable. My lettuce is no longer a slug buffet, and the rabbits have moved on to greener pastures (literally!). This raised garden bed offers organic pest control for gardens and I would encourage anyone looking to expand their homestead garden to try this easy to build pest-proof raised garden bed for beginners.
Benefits of this Pest-Proof Raised Garden Bed
- Reduces reliance on pesticides for vegetable garden pest control.
- Protects plants from common pests like slugs, snails, and rabbits
- Improves soil drainage and aeration
- Makes gardening more accessible, especially for those with mobility issues
- Adds beauty and structure to your garden
For more information on companion planting techniques to further deter pests naturally, check out this article on Better Homes and Harvests: [Link to a companion planting article]. You can also find helpful tips on composting to enrich your soil here: [Link to a composting article].
Call to Action
Ready to build your own pest-proof raised garden bed? We encourage you to give it a try! Share your results and experiences in the comments section below. What are the biggest pest challenges in your garden? We're here to answer your questions and help you create a thriving, pest-free garden!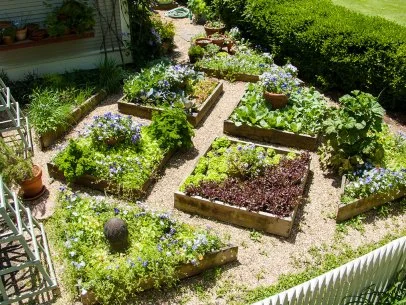
Remember, a little effort now can save you a lot of frustration (and lost crops!) later. Happy gardening!