Build a Low-Cost, High-Impact Root Cellar for Winter Vegetable Storage: A Beginner's Guide
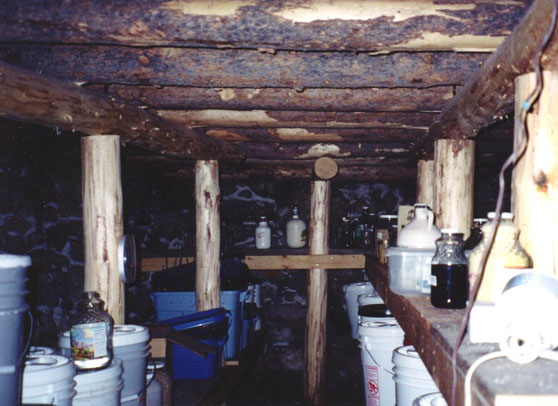
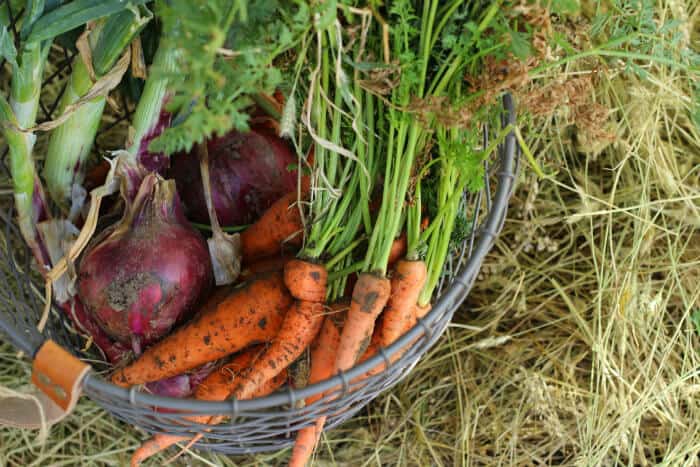
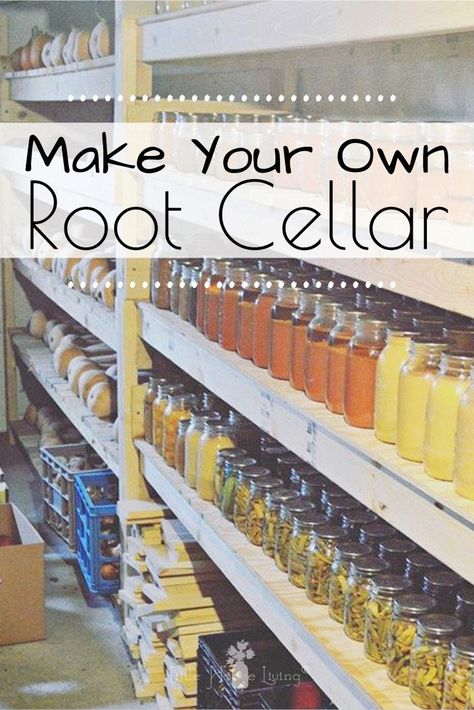
Imagine harvesting armfuls of crisp carrots, robust potatoes, and flavorful onions from your garden in late fall, knowing you'll be enjoying fresh, homegrown produce all winter long. No more sad, imported veggies lacking in flavor and nutrients! This blog post will guide you step-by-step through building a simple, budget-friendly root cellar using reclaimed materials. This small-scale project is perfect for beginner homesteaders, gardeners with limited space and experience who want to increase their food security and reduce grocery bills by storing their late harvests safely and naturally. This build will provide the optimum environment to help you extend your growing season.
Project Overview
We'll be focusing on building a small, above-ground root cellar (approximately 4'x4'x4') using repurposed materials like pallets, straw bales, and salvaged lumber. This is a beginner-friendly project, designed for those with limited space and a desire to store their garden bounty for the winter months with minimal investment. Forget those expensive, energy-guzzling refrigerators – nature provides the best storage solutions!
Benefit: Extend your growing season, reduce food waste, and store root vegetables for the winter months with minimal investment.
Step-by-Step Instructions:
- Planning and Preparation:
The success of your root cellar hinges on proper planning.
Site Assessment: Choose a location that remains cool and shaded, ideally on the north side of your house or a stand of trees. Avoid areas prone to flooding or direct sunlight. A slight slope is advantageous for drainage. The ground should be relatively level.
Material Gathering: This is where the "low-cost" aspect comes in.
- Pallets: Check with local businesses. Grocery stores, construction sites, and small manufacturers often have pallets they're willing to give away or sell for a nominal fee. Look for pallets marked "HT" (heat treated) rather than "MB" (methyl bromide fumigated, which is toxic).
- Straw Bales: Local farms or feed stores are the best source. Call around for the best prices. If you have space, growing your own straw is even more cost-effective!
- Reclaimed Lumber: Demolition sites, online marketplaces like Craigslist or Facebook Marketplace, and even your own scrap pile can yield usable lumber.
- Plastic Sheeting: For a waterproof roof barrier. Repurposed billboard vinyl is a great, durable option.
- Fasteners: Screws, nails, and metal brackets (if desired for added stability). Check for sales at your local hardware store.
- Tools: You'll need basic tools like a saw, hammer, drill, measuring tape, level, and shovel.
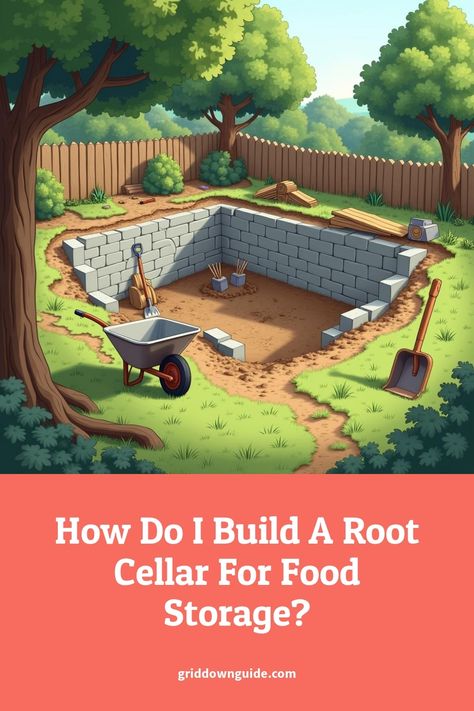
Ground Preparation: Clear the site of vegetation and debris. Level the ground as much as possible. You can add a layer of gravel for better drainage, although this isn't strictly necessary for an above-ground root cellar.
Materials List (Estimated Costs):
- Pallets (6-8): Free - $20
- Straw Bales (8-10): $40 - $80
- Reclaimed Lumber: Free - $30
- Plastic Sheeting: Free (repurposed) - $20
- Fasteners: $10 - $20
Total Estimated Cost: $50 - $170
- Building the Structure:
This is where your root cellar starts to take shape.
Pallet Frame Assembly: Arrange four pallets to form a square. The exact dimensions will depend on the size of your pallets, but aim for approximately 4'x4'. Secure the pallets together using screws or nails. Metal brackets can provide extra stability at the corners.
Adding Height: If your pallets are relatively short, you can add a second layer of pallets to increase the height of the structure. Again, securely fasten the pallets together. Alternatively, build a frame using reclaimed lumber to reach the desired 4' height.
Creating a Stable Shell: Ensure the pallet frame is square and level. This is crucial for the stability of the entire structure. Use a level to check each side and corner. Adjust as needed.
- Insulating with Straw Bales:
Straw bales are excellent insulators, helping to maintain a cool, consistent temperature inside your root cellar.
Stacking the Bales: Stack the straw bales snugly against the outside of the pallet frame. Overlap the seams between bales to minimize drafts.
Securing the Bales: Secure the bales in place using twine or wire. This prevents them from shifting or falling over. You can also use wooden stakes driven into the ground to provide additional support.
Alternative Insulation: If straw bales are unavailable, consider using other insulating materials like:
- Earthbags: Filled with compacted soil, earthbags provide excellent insulation and thermal mass.
- Recycled Denim Insulation: Made from recycled denim scraps, this is an eco-friendly and effective insulator.
- Leaves: Packed tightly around the frame, leaves can provide surprisingly good insulation.
- Creating a Roof and Door:
A weather-resistant roof and door are essential for protecting your harvest from the elements.
Roof Construction: Build a simple roof frame using reclaimed lumber. The roof should slope slightly to allow rainwater to run off. Cover the frame with plastic sheeting to create a waterproof barrier. Secure the plastic sheeting with staples or roofing nails. You can add a layer of soil on top of the plastic for added insulation and a natural look.
Door Construction: Build a simple door frame using reclaimed lumber. The door should fit snugly into the opening. Attach hinges to the door and the frame. Install a latch or handle to secure the door.
Ventilation: Incorporate ventilation into the door design. This can be as simple as a small screened opening at the top or bottom of the door.
- Ventilation and Temperature Control:
Maintaining the right temperature and humidity is crucial for preserving your harvest.
Ventilation: Proper ventilation is essential for preventing condensation and mold growth. The screened opening in the door, combined with the natural permeability of the straw bales, should provide adequate ventilation in most climates. You can adjust the size of the opening to fine-tune the airflow.
Temperature Monitoring: Use a thermometer to monitor the temperature inside the root cellar. The ideal temperature range for most root vegetables is between 32°F and 40°F (0°C and 4°C).
Humidity Control: Humidity is just as important as temperature. Aim for a humidity level of 85-95%. A simple way to increase humidity is to place a bucket of water inside the root cellar. To decrease humidity, increase ventilation.
Diagram of Ventilation System (Imagine a simple sketch here showing airflow through the screened door vent and out through the straw bales)

- Storing Your Harvest:
Proper storage techniques can significantly extend the shelf life of your vegetables.
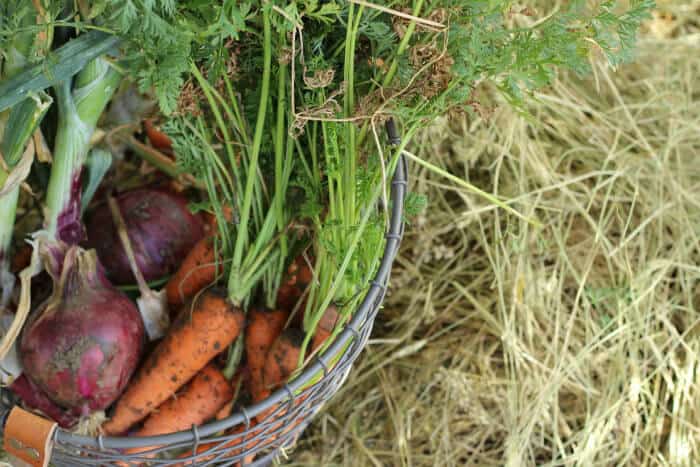
Preparing Your Vegetables: Harvest your vegetables on a dry day. Gently brush off any excess soil, but do not wash them. Washing can promote rot.
Curing: Some vegetables, like onions and garlic, benefit from curing before storage. This involves drying them in a warm, well-ventilated place for a week or two.
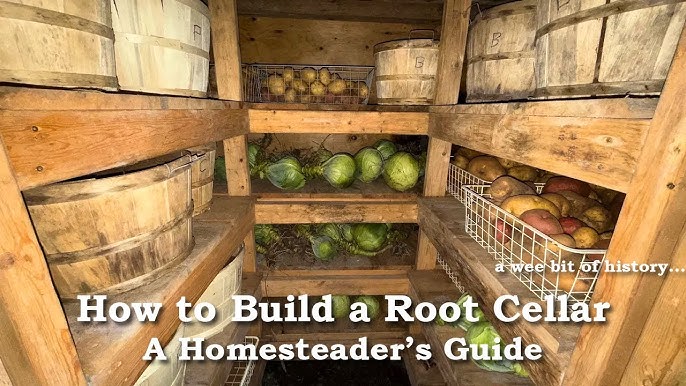
Storage Containers: Use wooden crates, plastic bins, or even burlap sacks to store your vegetables. Avoid airtight containers, as they can trap moisture and promote rot.
Storage Conditions Chart:
| Vegetable | Temperature (°F) | Humidity (%) | Storage Tips |
|---|---|---|---|
| Potatoes | 35-40 | 85-95 | Store in the dark to prevent greening. |
| Carrots | 32-35 | 90-95 | Store in damp sand or sawdust to maintain moisture. |
| Onions | 30-32 | 65-70 | Cure before storing. Hang in mesh bags for good air circulation. |
| Garlic | 30-32 | 65-70 | Cure before storing. Hang in mesh bags for good air circulation. |
| Apples | 30-32 | 90-95 | Store separately from other vegetables, as they release ethylene gas. |
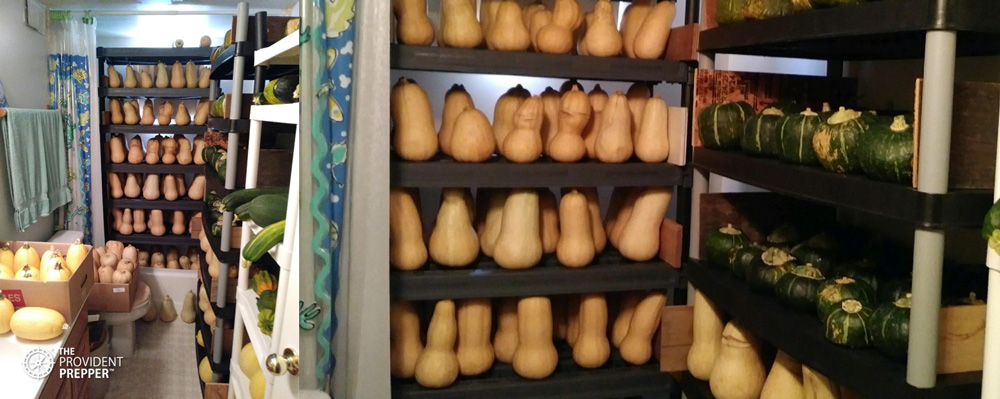
| Winter Squash | 50-55 | 50-70 | Cure for several weeks before storing in a cool, dry place. |

By following these steps, you can create a low-cost, high-impact root cellar that will provide you with fresh, homegrown vegetables all winter long.
A Note on Safety: Always exercise caution when using power tools. If you're not comfortable with any aspect of this project, consult with a qualified professional. Better Homes and Harvests is not liable for accidents resulting from the use of this guide.
Call to Action:
- Share your progress! Post photos of your root cellar build on Instagram using #BetterHomesHarvests and #RootCellarDIY.
- Ask questions in the comments below. We're here to help!
- Download our free root cellar planning guide [HERE](insert link to lead magnet).
Building your own root cellar is a rewarding project that connects you to your food source and promotes self-sufficiency. Get started today and enjoy the taste of fresh, homegrown vegetables all winter long!
Internal Link Example: Learn more about gardening techniques in our article on [Companion Planting](insert URL to companion planting article).
External Link Example: For more information on straw bale construction, visit the [Straw Bale Building Association](insert URL to straw bale building association).
