Build a DIY Root Cellar on a Budget: The Ultimate Guide to Food Storage
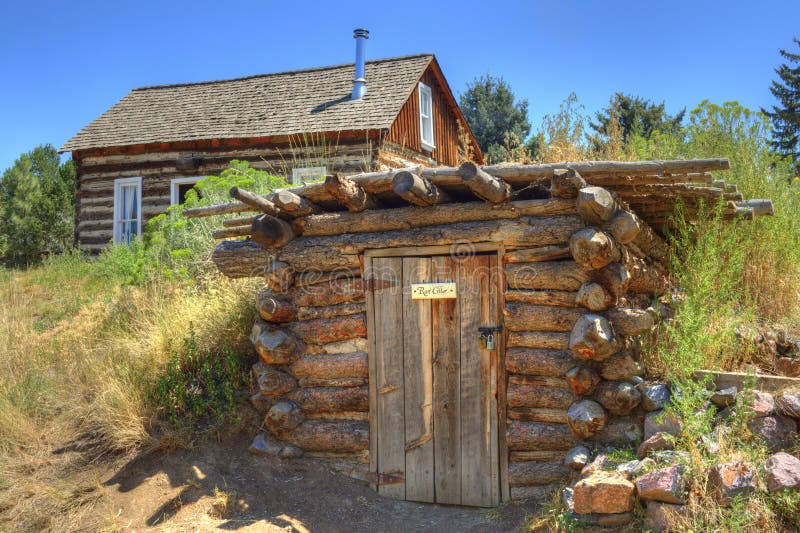
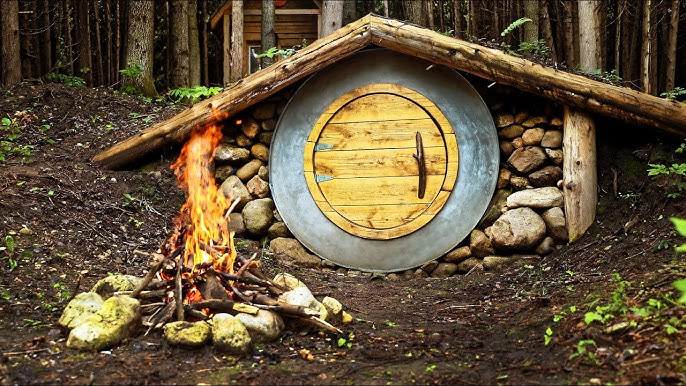
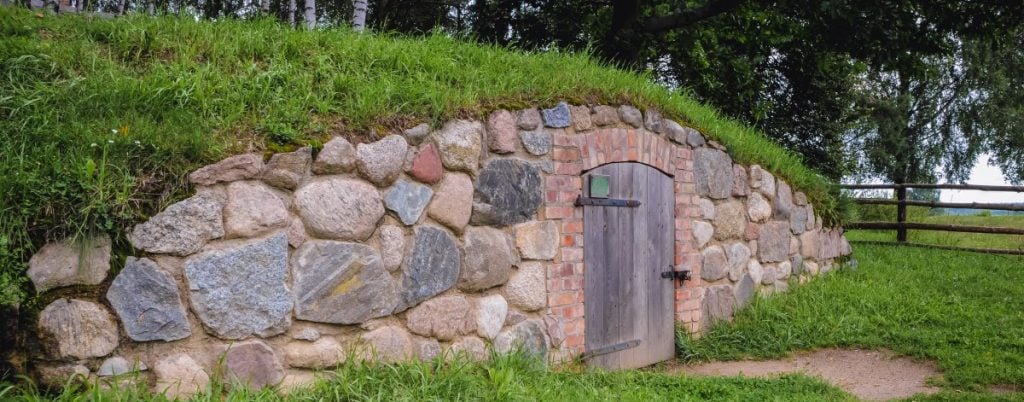
Imagine fresh, locally grown produce available year-round, right in your own backyard! This post is your step-by-step guide to building a simple, cost-effective root cellar – a game-changer for homesteaders who dream of self-sufficiency and minimizing food waste. Perfect for beginner to intermediate homesteaders, this project focuses on repurposing readily available materials to create a functional and visually appealing storage space. For Better Homes and Harvests readers eager to boost your homestead's resilience, a root cellar is the answer. We'll walk you through constructing a small, earth-bermed root cellar ideal for storing root vegetables like potatoes, carrots, beets, and onions. We’ll focus on techniques anyone can handle and keep the costs down.
(1) Planning and Design: Your Root Cellar Blueprint
The first step in building your DIY root cellar is careful planning. This includes selecting the right location, assessing your soil, and designing the structure to meet your specific food storage needs. A well-thought-out plan will save you time, money, and potential headaches down the road.
Choosing the Right Location
Ideally, you want to choose a cool, shady spot for your root cellar. North-facing slopes are excellent, as they receive minimal direct sunlight, helping to maintain a consistently cool temperature inside the cellar. Avoid areas that are prone to flooding or have poor drainage. Also, consider proximity to your garden for easy access during harvest time.
Assessing Soil Drainage and Water Issues
Proper soil drainage is crucial to prevent moisture buildup and potential damage to your stored root vegetables. Perform a simple drainage test by digging a hole about a foot deep and filling it with water. If the water drains away within a few hours, your soil is likely well-draining. If it takes much longer, you may need to improve drainage by adding gravel or creating a drainage system around your root cellar. You don't want water seeping in and ruining your food storage efforts!
Basic Dimensions and Design Considerations
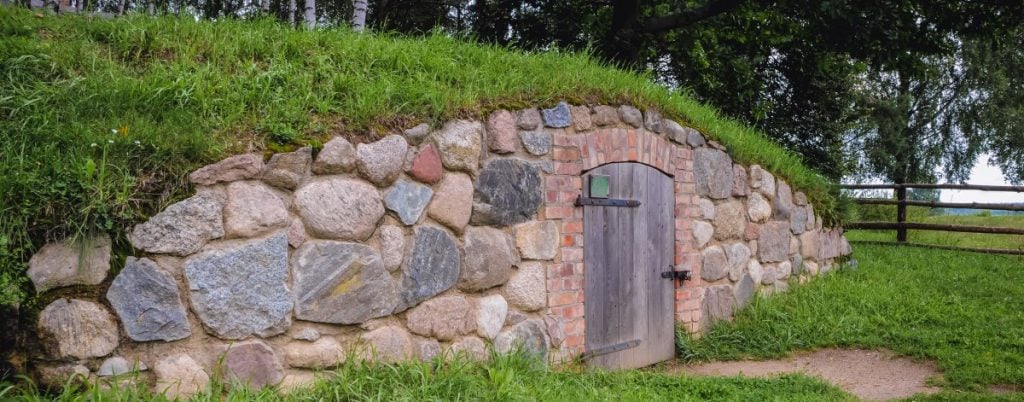
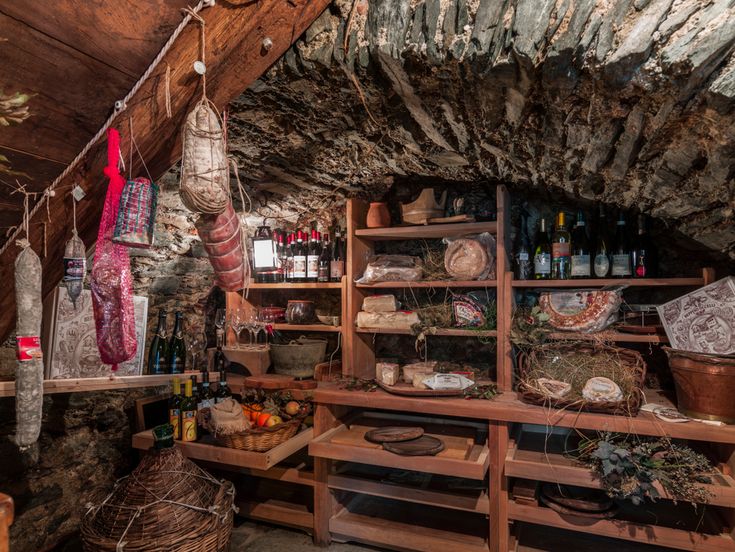
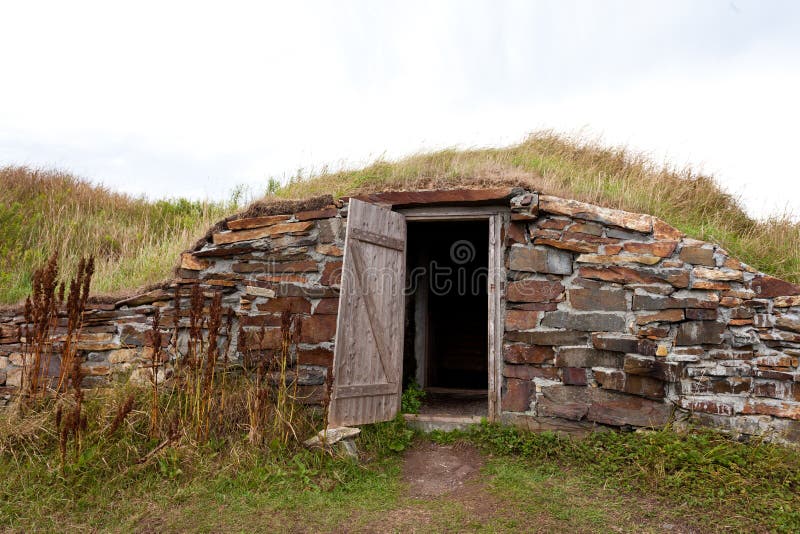
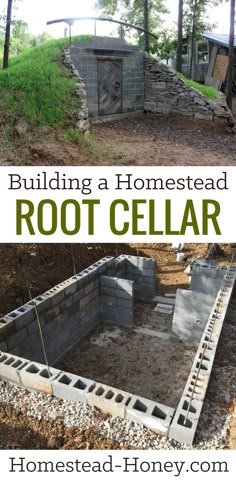
For a small family, a root cellar with dimensions of approximately 6x8 feet is a good starting point. This size provides ample space for storing a variety of root vegetables. Our earth-bermed root cellar DIY design will be partially underground, with earth covering the roof and walls to provide insulation. This design is efficient and cost-effective. Remember to factor in access – a sturdy door is a must.
Here's a simplified sketch for inspiration:
    (Top View)

    --------------------
    |                  |
    |    6 ft x 8 ft   |
    |                  |
    | Door             |
    --------------------
The Importance of Ventilation
Proper ventilation is essential to prevent mold and mildew growth within your root cellar. A well-ventilated space helps to regulate temperature and humidity levels, keeping your root vegetables fresh for longer. We'll cover ventilation in more detail later, but keep in mind its importance during the design phase.
(2) Materials and Tools: Keeping Costs Down
One of the goals of this project is frugal living. Therefore, we'll focus on using reclaimed and readily available materials to minimize costs. This DIY food storage solution doesn’t have to break the bank!
Material List
- Reclaimed Wood: For framing the door and potentially parts of the walls. Pallet wood can be a great resource!
- Concrete Blocks (Optional): For the foundation and lower walls, providing added strength and stability. Consider sourcing these used.
- Gravel: For drainage around the base of the root cellar.
- Roofing Felt: To waterproof the roof and walls before covering with earth.
- Heavy-Duty Plastic Sheeting: An additional layer of waterproofing.
- PVC Pipe: For ventilation.
- Door: Reclaimed or homemade.
- Hardware: Nails, screws, hinges, etc.
- Earth: For berming (insulating) the structure.
Cost-Saving Alternatives
- Pallet Wood: Instead of purchasing new lumber, use reclaimed pallet wood for framing.
- Used Concrete Blocks: Check with local contractors or online marketplaces for used concrete blocks at a discounted price.
- Recycled Roofing Materials: Look for leftover roofing materials from construction sites or demolition projects.
Essential Tools
- Shovel: For excavation.
- Wheelbarrow: For moving materials.
- Level: To ensure walls are straight.
- Saw: For cutting wood.
- Hammer: For nailing.
- Measuring Tape: For accurate measurements.
- Gloves and Safety Glasses: Safety first!
(3) Step-by-Step Construction: Building Your Root Cellar
Now, let's get our hands dirty with building your DIY root cellar! Remember to take your time and follow these steps carefully for a successful project. We encourage you to share your progress and photos in the comments below.
- Excavate the Area: Dig out the area for your root cellar to the desired dimensions (e.g., 6x8 feet) and depth. Consider the height you want inside; aim for at least 6 feet.
Build the Foundation (Optional): If using concrete blocks, lay them as a foundation for the walls. Ensure the foundation is level and stable. Gravel beneath the blocks will help with drainage.
Build the Frame: Construct the walls using reclaimed wood or concrete blocks. Frame the doorway. Make sure everything is square and level.
Construct the Roof: The roof needs to be strong enough to support the weight of the earth berm. Use sturdy beams and cover them with plywood or planks.
Waterproof the Structure: Cover the roof and walls with roofing felt and heavy-duty plastic sheeting to prevent water from seeping into the root cellar. Overlap the edges of the materials to ensure a watertight seal.
Insulate and Cover: Backfill around the walls and over the roof with earth. The earth berm provides insulation, helping to maintain a consistent temperature inside the root cellar. A thicker layer of earth provides better insulation.
Install the Door: Install a sturdy door that seals tightly to prevent drafts. A solid wood door with weather stripping is ideal.
Install Shelving: Add shelving units for vegetable storage. Consider using wooden pallets to create shelves.
(4) Ventilation and Temperature Control: Keeping Your Produce Fresh
Maintaining optimal temperature and humidity levels is crucial for long-term food storage in your root cellar.
Installing a Simple Ventilation System
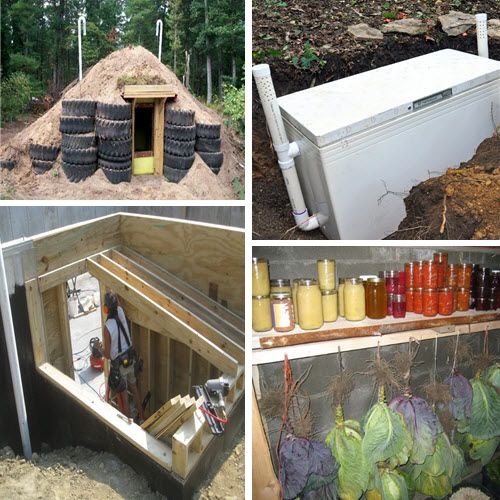
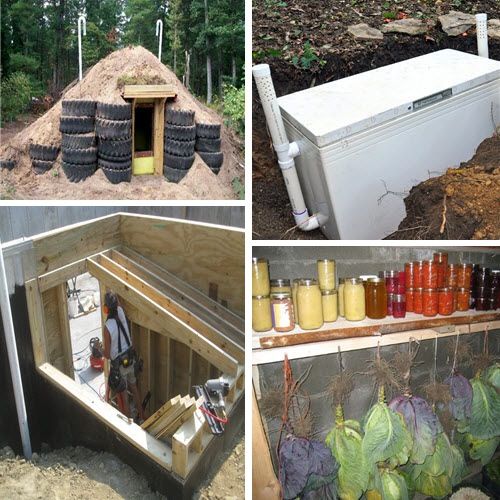
A simple ventilation system can be created using PVC pipe. Install one pipe near the floor to draw in cool air and another pipe near the ceiling to exhaust warm, moist air. The pipes should extend above ground level. Consider adding screens to prevent pests from entering.
Here's a video demonstrating how to install a basic ventilation system:
(Note: Replace YOUR_YOUTUBE_VIDEO_ID with an actual YouTube video ID if possible.)
Maintaining Optimal Temperature and Humidity
The ideal temperature range for a root cellar is between 32°F and 40°F (0°C and 4°C), with a humidity level of 85-95%. Monitor temperature and humidity levels regularly using a thermometer and hygrometer. Adjust ventilation as needed to maintain these levels.
Pest Control
Prevent pests from entering your root cellar by sealing cracks and crevices. Use screens on ventilation pipes. Store vegetables in rodent-proof containers. Regularly inspect your food storage and remove any spoiled produce to prevent infestations.
(5) Stocking Your Root Cellar: Maximizing Shelf Life
Proper preparation and storage techniques are essential to maximize the shelf life of your root vegetables.
Preparing and Storing Different Vegetables
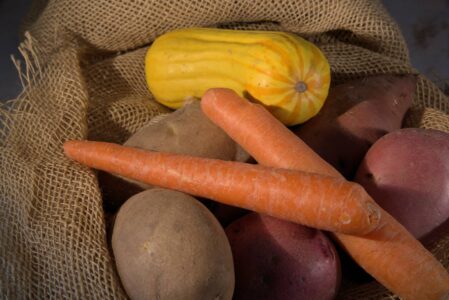
- Potatoes: Cure potatoes for a week or two in a dark, well-ventilated area before storing them in your root cellar. Store them in bins or crates, and avoid exposing them to light, which can cause them to turn green.
- Carrots: Store carrots in boxes filled with moist sand or sawdust to prevent them from drying out.
- Beets: Similar to carrots, beets can be stored in moist sand or sawdust.
- Onions: Cure onions for several weeks in a dry, well-ventilated area before storing them in your root cellar. Store them in mesh bags or crates.
Tips for Maximizing Shelf Life
- Harvest vegetables at their peak ripeness.
- Handle vegetables carefully to avoid bruising.
- Remove any damaged or diseased vegetables before storing them.
- Maintain proper temperature and humidity levels in your root cellar.
- Regularly inspect your stored vegetables and remove any that are spoiling.

Ready to enjoy fresh, homegrown vegetables all winter long? Start building your root cellar today! Share your progress and photos in the comments below! Also, join our Better Homes and Harvests community on Facebook to connect with other homesteaders and get inspiration for your next project. And don't forget to sign up for our newsletter for more DIY homesteading tips and exclusive offers! We hope this guide helps you achieve self-sufficiency and sustainable living through effective food preservation.
Here’s to better homes and better harvests!
