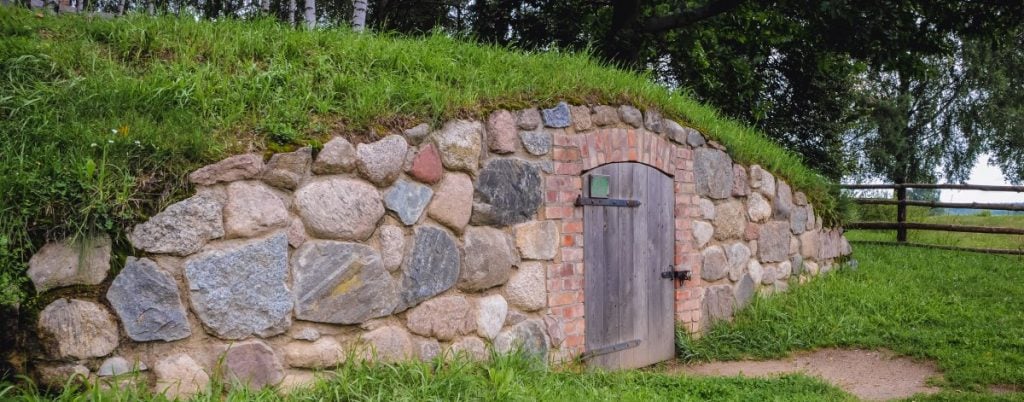
Build a Budget-Friendly Root Cellar with Upcycled Materials: A Step-by-Step Guide
Are you dreaming of a more self-sufficient lifestyle, less reliant on grocery stores and overflowing with fresh, homegrown produce all year round? One of the most impactful steps you can take towards that goal is building a root cellar. And the best part? You can do it affordably and sustainably by utilizing repurposed materials!
In this guide, we'll walk you through the process of constructing a highly functional and aesthetically pleasing root cellar using upcycled materials. Perfect for aspiring homesteaders with limited construction experience, this project emphasizes resourcefulness, practicality, and adding a touch of rustic charm to your property. Get ready to extend your growing season, reduce food waste, and embrace a more resilient way of life.
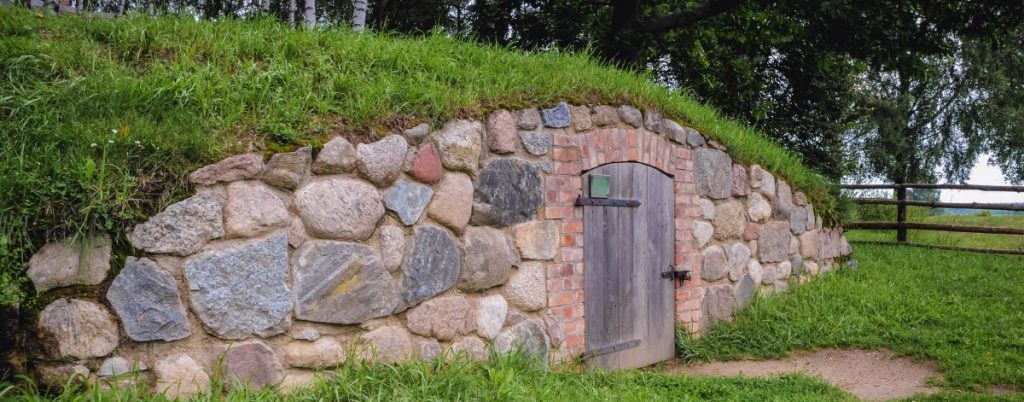
Why Build a Root Cellar? The Homesteading Advantage
Before we dive into the construction process, let's quickly touch on the benefits of having a root cellar. These underground havens offer a natural, energy-free way to preserve your harvest, keeping fruits and vegetables fresh for months.
- Extended Growing Season: Store your late-season crops well into winter and beyond.
- Reduced Food Waste: Prevent spoilage and maximize the value of your harvest.
- Cost Savings: Less reliance on store-bought produce, especially during off-season.
- Self-Sufficiency: Greater control over your food supply and a more resilient lifestyle.
- Natural Preservation: Avoid the need for freezers, refrigerators, or chemical preservatives.
- Rustic Charm: A well-designed root cellar adds a unique and beautiful element to your homestead.
Gathering Your Repurposed Materials: The Key to Affordability
The beauty of this project lies in its affordability and sustainability. By sourcing repurposed materials, you'll minimize costs and reduce your environmental impact. Here are some ideas for finding materials:
- Reclaimed Wood: Salvage yards, construction sites (ask permission!), demolition projects, and even online marketplaces like Craigslist or Facebook Marketplace often have reclaimed wood available. Look for sturdy planks and beams suitable for framing and shelving.
- Salvaged Bricks or Concrete Blocks: Demolition sites, landscaping companies, and online classifieds can be great sources for bricks or concrete blocks. These are ideal for constructing walls and providing thermal mass.
- Used Doors and Windows: Habitat for Humanity ReStores, architectural salvage shops, and online marketplaces are excellent places to find used doors and windows. These can be repurposed for entryways and ventilation.
- Discarded Concrete or Metal Roofing: Check with local construction companies or recycling centers. Concrete or metal roofing can be used to create a durable and weather-resistant roof for your root cellar.
- Stone: Use stone from your property to build the foundation or parts of the wall.
Estimated Cost for Materials: Depending on the availability of repurposed materials, you can expect to spend anywhere from $100 to $500 on this project. This is significantly less than building a root cellar with new materials.
Step-by-Step Guide to Building Your Root Cellar
Now, let's get to the fun part! This guide assumes you're building a small, walk-in root cellar (approximately 6ft x 8ft). Adjust the dimensions to suit your needs and available materials.
Step 1: Planning and Site Selection (Estimated Time: 2-3 hours, Cost: $0)
- Choose a Location: Select a site that is well-drained, shaded, and ideally on a slight slope for better drainage. A north-facing slope is ideal as it receives less direct sunlight. Consider proximity to your garden or house for easy access.
- Check Local Regulations: Before you start digging, check with your local building department to see if any permits are required.
- Design Your Root Cellar: Sketch out your root cellar design, including dimensions, entryway, ventilation, and shelving. Plan for proper insulation and moisture control.
Step 2: Excavation (Estimated Time: 1-2 days, Cost: $0 - $100, depending on equipment rental)
- Dig the Hole: Excavate the area to the desired depth, typically 4-6 feet. Make sure the hole is slightly larger than your planned root cellar dimensions to allow for wall construction.
- Ensure Proper Drainage: Create a gravel base at the bottom of the excavation to promote drainage and prevent moisture buildup.
Caption: Digging the hole with enough room for the walls and structure
Step 3: Foundation and Walls (Estimated Time: 3-5 days, Cost: $50 - $300)
- Build a Foundation: Construct a solid foundation using concrete blocks, bricks, or stone. This will provide a stable base for your walls and prevent moisture from seeping in.
- Lay the Walls: Using your chosen materials (reclaimed wood, salvaged bricks, or concrete blocks), build the walls of your root cellar. Ensure the walls are sturdy and well-insulated. If using wood, treat it with a natural wood preservative to prevent rot.
- Incorporate Ventilation: Add ventilation pipes near the floor and ceiling to allow for air circulation. This will help regulate temperature and humidity.
Caption: Ensuring a level structure for the walls will protect the building later
Step 4: Roofing (Estimated Time: 2-3 days, Cost: $50 - $200)
- Frame the Roof: Construct a sturdy roof frame using reclaimed lumber. Ensure the roof is strong enough to support the weight of soil and snow.
- Install Roofing Material: Cover the roof frame with your chosen roofing material (discarded concrete or metal roofing, or a combination of plywood and waterproof membrane).
- Waterproof the Roof: Apply a waterproof membrane to the roof to prevent leaks. Overlap the edges of the membrane to ensure a tight seal.
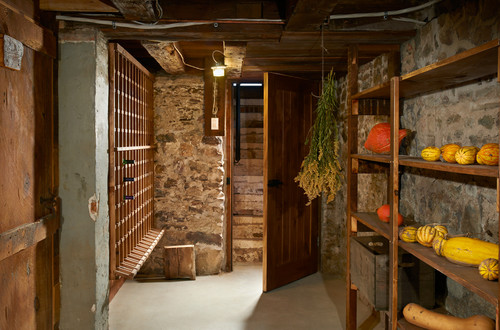
Caption: Finished roof with shelving on the inside
Step 5: Backfilling and Insulation (Estimated Time: 1-2 days, Cost: $0 - $50)
- Backfill the Walls: Backfill the walls with soil, compacting it as you go. This will provide insulation and structural support.
- Add Insulation: For added insulation, consider adding a layer of straw bales or foam insulation between the walls and the soil.
Step 6: Entryway and Door (Estimated Time: 1-2 days, Cost: $20 - $100)
- Build an Entryway: Construct a sturdy entryway using reclaimed wood or concrete blocks. This will provide access to your root cellar and protect it from the elements.
- Install a Door: Install a salvaged door to seal the entryway. Ensure the door is well-insulated and weather-stripped to prevent drafts.
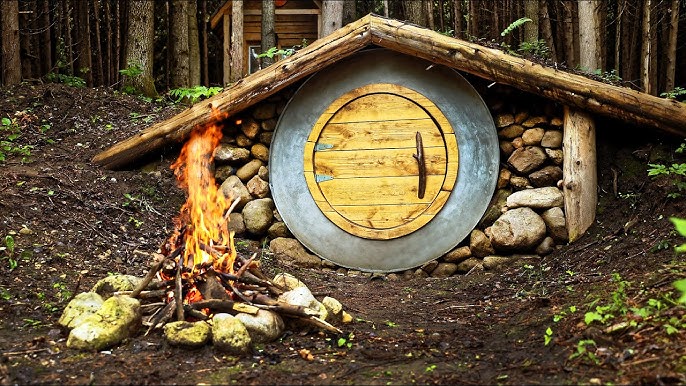
Caption: Building the entry way for weather protection.
Step 7: Shelving and Interior (Estimated Time: 1-2 days, Cost: $0 - $50)
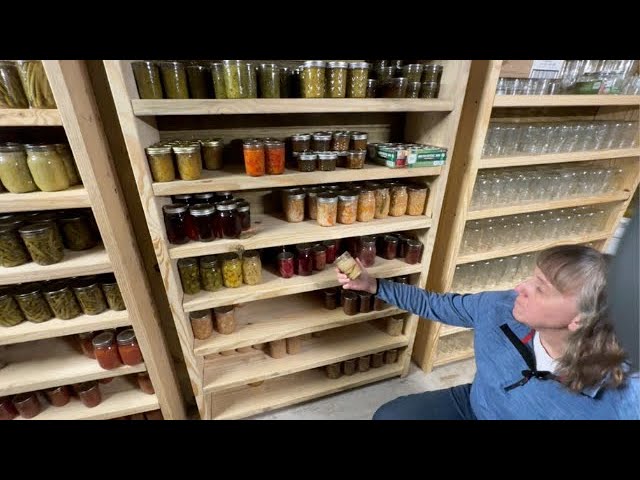
- Build Shelving: Construct shelving using reclaimed wood to store your fruits and vegetables. Ensure the shelves are sturdy and well-ventilated.
- Add Sand or Gravel Floor: A sand or gravel floor will help regulate humidity levels inside your root cellar.
- Install Lighting: Add a low-wattage LED light for occasional use.
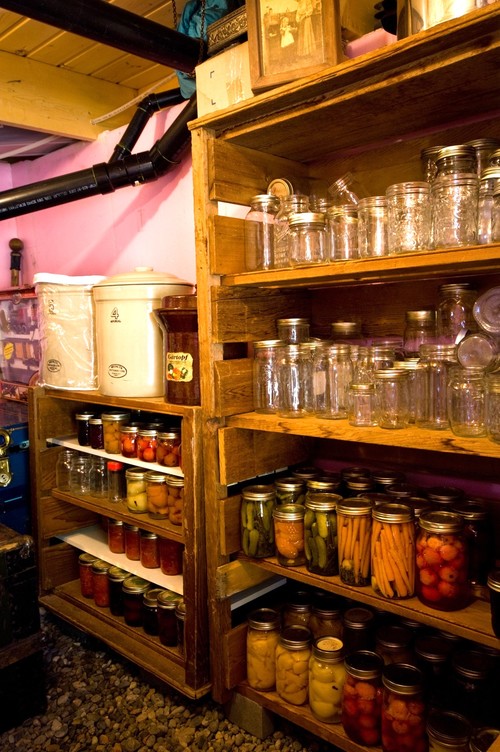
Caption: Root cellar shelving for easy access and rotation of foods
Addressing Common Challenges
Building a root cellar is a rewarding project, but it's important to be aware of potential challenges:
- Moisture Control: Proper drainage and ventilation are crucial for preventing moisture buildup. Ensure the floor is well-drained and the ventilation system is adequate.
- Temperature Regulation: Insulation and proper ventilation will help maintain a consistent temperature inside your root cellar. Aim for a temperature between 32°F and 40°F.
- Pest Control: Seal any cracks or openings to prevent rodents and insects from entering your root cellar. Consider using natural pest repellents like peppermint oil or diatomaceous earth.
- Structural Integrity: Ensure the walls and roof are strong enough to support the weight of soil and snow. Use sturdy materials and proper construction techniques.
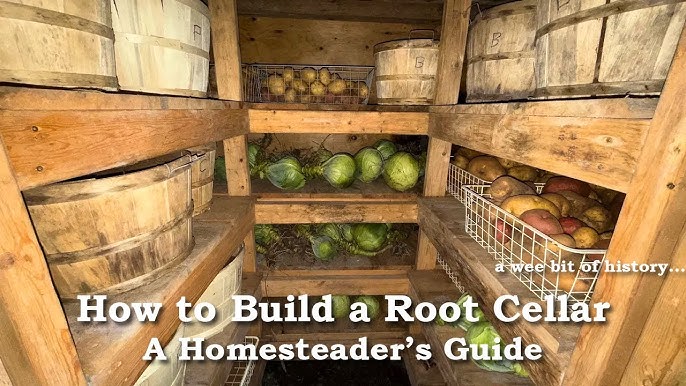
Caption: An example of root cellar design
Maximizing Your Root Cellar: Tips for Successful Storage
Once your root cellar is complete, here are some tips for maximizing its effectiveness:
- Harvest at Peak Maturity: Harvest your crops at their peak maturity for optimal storage life.
- Handle with Care: Avoid bruising or damaging fruits and vegetables during harvest and storage.
- Store Properly: Store different types of produce in separate containers or areas, as some fruits and vegetables can affect the ripening of others.
- Monitor Regularly: Check your stored produce regularly for signs of spoilage and remove any damaged items.
- Maintain Proper Humidity: Use containers of water or damp sand to increase humidity, or add ventilation to reduce it.
Examples of What to Store: Root vegetables like potatoes, carrots, beets, turnips, and parsnips thrive in a root cellar. Apples, pears, and cabbage also store well.
My Personal Experience: Embracing the Root Cellar Lifestyle
I remember the first time I tasted a carrot pulled straight from our root cellar in the middle of winter. The crisp, sweet flavor was a revelation! It was a tangible reminder of the connection between our garden, our hard work, and the nourishment we provided for ourselves. Building a root cellar was a challenging but incredibly rewarding experience that has transformed our homesteading lifestyle. The feeling of self-sufficiency and resilience it provides is truly priceless.
Ready to Get Started?
Building a root cellar is a significant step towards a more sustainable and self-sufficient lifestyle. By utilizing repurposed materials and following these step-by-step instructions, you can create a functional and aesthetically pleasing space that will extend your growing season, reduce food waste, and add a touch of rustic charm to your homestead.
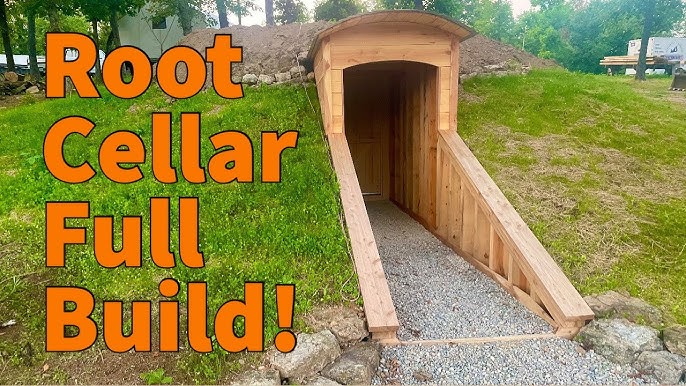
Caption: Exterior of a fully constructed and back-filled root cellar
Now it’s your turn! We encourage you to share your progress, ask questions in the comments section below, and subscribe to the Better Homes and Harvests newsletter for more homesteading tips and inspiration. Let’s build a more resilient future, one root cellar at a time!