Build a Budget-Friendly Earthen Root Cellar: Your Step-by-Step Guide to Homestead Food Storage
Hey there, neighbors! Gather ‘round the fire, because tonight we’re talking about something near and dear to every homesteader’s heart: food storage. More specifically, building a budget-friendly earthen root cellar right here on your own homestead. I’m talking real self-sufficiency, cutting grocery bills, and reducing food waste – all while embracing a more sustainable lifestyle. I've done it, and trust me, you can too!
For years, I struggled with storing the bounty from my garden. My fridge was overflowing, and I was constantly battling wilting greens and sprouting potatoes. That’s when I decided to take the plunge and build my own DIY root cellar. It was a game-changer, and I'm excited to share my experience with you. This isn’t some fancy, contractor-built setup. We're talking about a simple, functional, earthen root cellar you can build yourself, using reclaimed materials and a little elbow grease. So, let's dive into the step-by-step guide!
Why Build a Root Cellar? (And Why Earthen?)
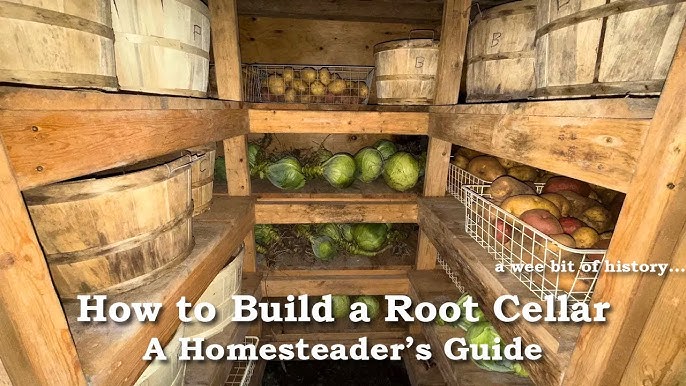
Before we get our hands dirty, let’s talk about why a root cellar is such a valuable asset to any homestead. A root cellar provides a naturally cool, humid, and dark environment that's ideal for storing fruits, vegetables, and even some canned goods. This allows you to extend the harvest season and enjoy fresh, homegrown produce well into the winter months.
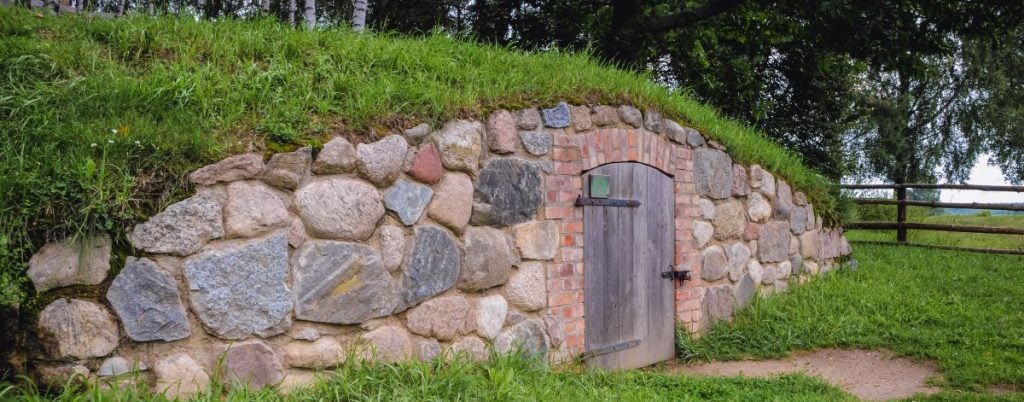
Why earthen? Because it's the most cost-effective and sustainable option! By burying the structure underground, you take advantage of the earth's natural insulating properties, keeping the temperature relatively stable year-round. Plus, by using reclaimed materials, you minimize your environmental impact and save a ton of money. We're aiming for a budget root cellar build here, folks, so let's embrace resourcefulness!
Step 1: Planning and Site Selection – Location, Location, Location!
The most important factor is choosing the right location. Here’s what to consider:
- Drainage: This is HUGE. You want a spot that's well-drained to prevent flooding. A slight slope is ideal. Avoid low-lying areas where water tends to accumulate. We don't want a swimming pool, but a root cellar.
- Shade: A shady location, preferably on the north side of a building or under a large tree, will help keep the root cellar cool.
- Accessibility: Think about how you'll access the root cellar during the winter. You don't want to be trekking through deep snow to grab a potato.
- Soil Type: While not a deal-breaker, well-draining soil makes digging easier. Avoid extremely rocky or clay-heavy soil if possible.
- Regulations: Check local building codes and regulations before you start digging. You may need a permit.
I chose a spot on the north side of my barn, where the ground slopes gently away and is shaded by a large maple tree. It took some scouting, but finding that sweet spot makes all the difference.
Step 2: Design and Materials – Keeping it Simple and Budget-Friendly
My goal was to build a DIY root cellar for under $300. This meant getting creative with materials. Here’s what I used:
- Reclaimed Tires: These formed the walls of my root cellar. They're free (or very cheap) and incredibly durable. I got mine from a local tire shop. (FREE)
- Reclaimed Concrete Blocks: I used these for the entrance and to provide some additional structural support. Keep an eye on your local online marketplace, people are always giving these away. (FREE - Craigslist/Facebook Marketplace)
- Lumber: For the roof and door frame. I used a mix of reclaimed lumber and some new lumber for the door itself. ($50)
- Plastic Sheeting: To create a moisture barrier. ($20)
- Gravel: For drainage at the base of the root cellar. ($30)
- Insulation: Straw bales or foam board insulation for the roof. I used straw bales because I have a local source for them. ($50)
- Ventilation Pipe: PVC pipe for ventilation. ($20)
- Hardware: Nails, screws, hinges, etc. ($30)
Total Estimated Cost: $200 (Your costs may vary depending on what you can scrounge up!)
My design was a simple, rectangular structure, approximately 6 feet wide, 8 feet long, and 6 feet high. This provided ample storage space for my needs.
Step 3: Construction – Digging, Stacking, and Securing
Here comes the fun part!
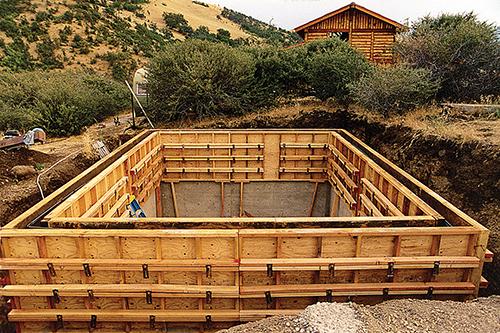
- Digging: This is the most labor-intensive part. Excavate the area to the desired dimensions, making sure the floor is level. Remember to slope the ground away from the entrance for drainage. I rented a mini-excavator for a day to make this process easier.
- Base: Lay down a layer of gravel for drainage. This will help prevent moisture from seeping into the root cellar.
- Tire Walls: Stack the reclaimed tires in overlapping courses, filling the inside of the tires with compacted soil as you go. This creates a strong, stable wall. Ensure each tire is flush with the tire below. Use a level!
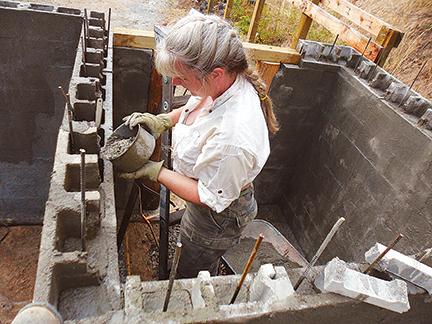
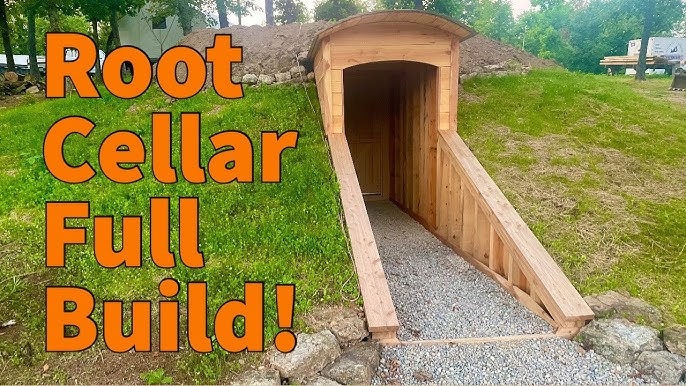
- Entrance: Construct the entrance using reclaimed concrete blocks and lumber. Be sure to create a sturdy door frame.
- Roof: This is where good construction really matters. Build a roof frame out of lumber, ensuring it's strong enough to support the weight of the soil and insulation. Cover the frame with plastic sheeting to create a moisture barrier.
- Insulation: Add a layer of insulation on top of the plastic sheeting. I used straw bales, but foam board insulation works well too.
- Backfilling: Cover the entire structure with soil, leaving the entrance exposed. This provides insulation and helps maintain a stable temperature.
- Ventilation: Install a ventilation pipe to allow for airflow. This is crucial for preventing mold and mildew. Position the pipe so that it allows for cross-ventilation.
- The Door: Construct a sturdy, insulated door. Seal the edges to prevent drafts.
Step 4: Fine-Tuning and Maintenance – Keeping Your Root Cellar in Tip-Top Shape
Once your root cellar is built, there are a few things you can do to optimize its performance:
- Humidity Control: Monitor the humidity levels inside the root cellar. You want to aim for around 85-95%. If it's too dry, you can add a bucket of water. If it's too humid, improve ventilation.
- Temperature Control: The ideal temperature for a root cellar is between 32-40°F (0-4°C). Use a thermometer to monitor the temperature.
- Pest Control: Inspect your root cellar regularly for signs of pests. Use traps or other methods to control them.
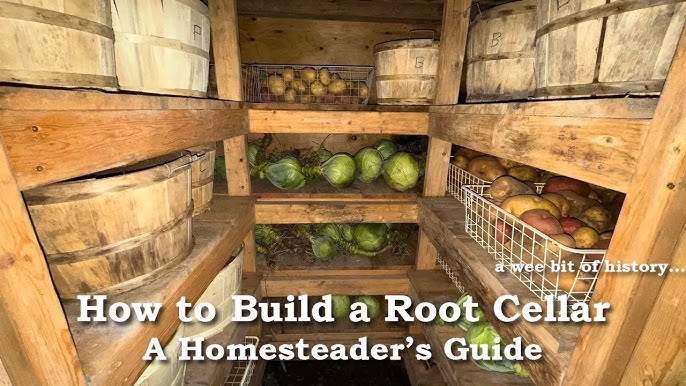
- Organization: Organize your produce to maximize space and prevent spoilage. Use shelves or crates to keep things off the floor.
Regular maintenance is key to ensuring your root cellar lasts for years to come.
Optimizing for Different Climates and Food Storage Needs
- Warm Climates: In warmer climates, you may need to take extra steps to keep your root cellar cool. Consider adding extra insulation or burying the structure deeper underground. You might also want to consider a geothermal cooling system.
- Cold Climates: In colder climates, you may need to add extra insulation to prevent freezing. Consider using a thicker layer of soil or adding additional insulation to the roof and walls.
- Specific Food Storage Needs: Different fruits and vegetables have different storage requirements. Research the best storage conditions for the produce you plan to store.
Personal Anecdotes and Insights
Building my own earthen root cellar was a challenging but incredibly rewarding experience. There were definitely moments when I questioned my sanity, especially during the digging phase. But the satisfaction of harvesting my own vegetables and storing them for the winter made it all worthwhile.
One of the biggest challenges I faced was finding enough reclaimed tires. It took a lot of phone calls and visits to local tire shops, but eventually, I managed to scrounge up enough. Another challenge was building a sturdy roof. I’m not a carpenter by trade, so I had to do a lot of research and ask for help from some more experienced friends.
Potential Pitfalls to Avoid
- Poor Drainage: This is the number one killer of root cellars. Make sure your site is well-drained and that you have adequate drainage in the base of the structure.
- Inadequate Ventilation: Poor ventilation can lead to mold and mildew, which can spoil your produce. Make sure you have adequate ventilation.
- Weak Roof: A weak roof can collapse under the weight of the soil. Make sure your roof is strong enough to support the load.
- Pests: Pests can damage your produce. Inspect your root cellar regularly and take steps to control them.
Before and After: The Transformation
Seeing the finished root cellar, filled with the fruits (and vegetables!) of my labor, was an incredible feeling. The wilted greens and sprouting potatoes were a thing of the past. I had a secure, reliable, and affordable food storage solution right on my homestead. It was a HUGE success!
(Unfortunately, I can't provide specific before-and-after photos, but imagine a cluttered fridge overflowing with sad-looking veggies transforming into a neatly organized root cellar brimming with fresh, homegrown produce!)
Conclusion: Embrace Self-Sufficiency!
Building a budget-friendly earthen root cellar is a fantastic way to increase your homestead's self-sufficiency and resilience. It's a challenging project, but it's also incredibly rewarding. By using reclaimed materials and a little elbow grease, you can create a functional food storage space that will save you money, reduce food waste, and provide you with fresh, homegrown produce year-round. So, what are you waiting for? Get out there and start digging!
Now, I want to hear from you! Have you ever built a root cellar? What challenges did you face? What tips would you share with other homesteaders? Share your experiences in the comments below! And if you have any questions, don't hesitate to ask. We're all in this together!