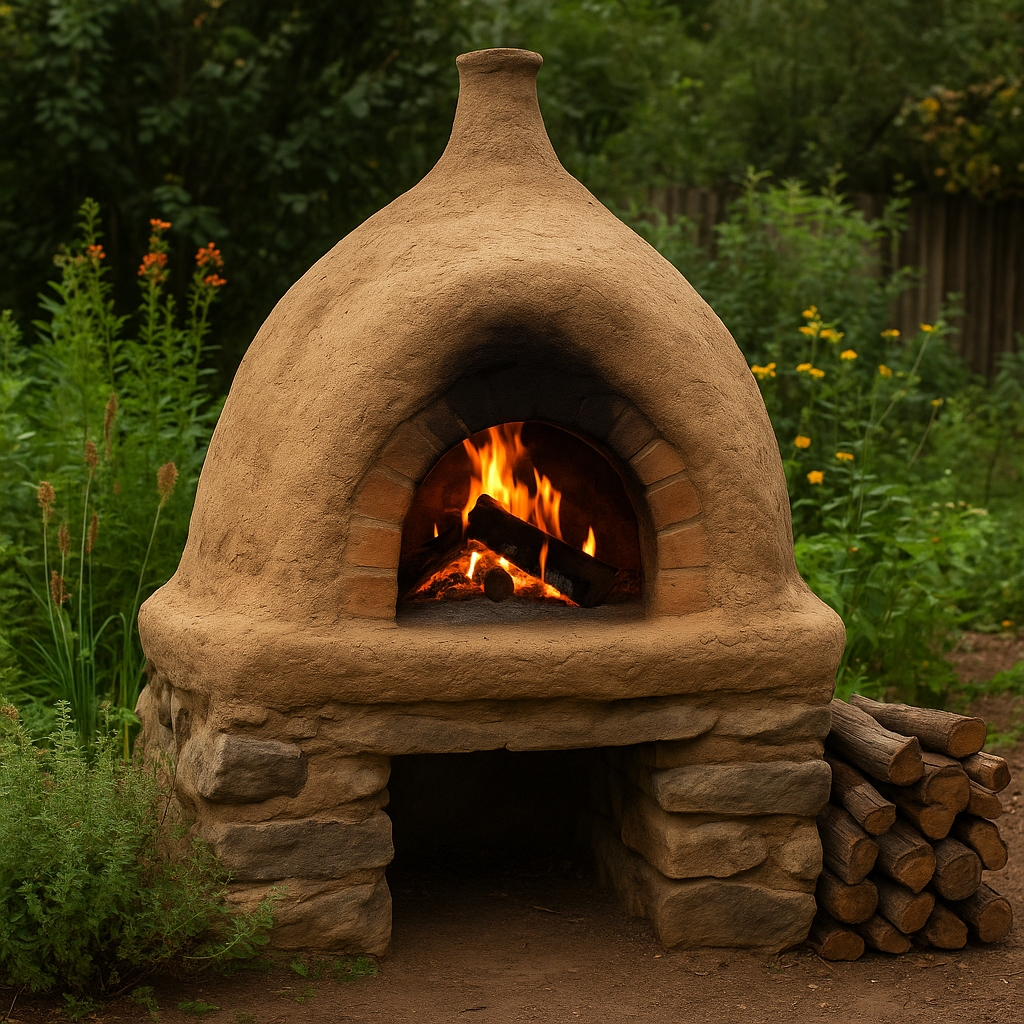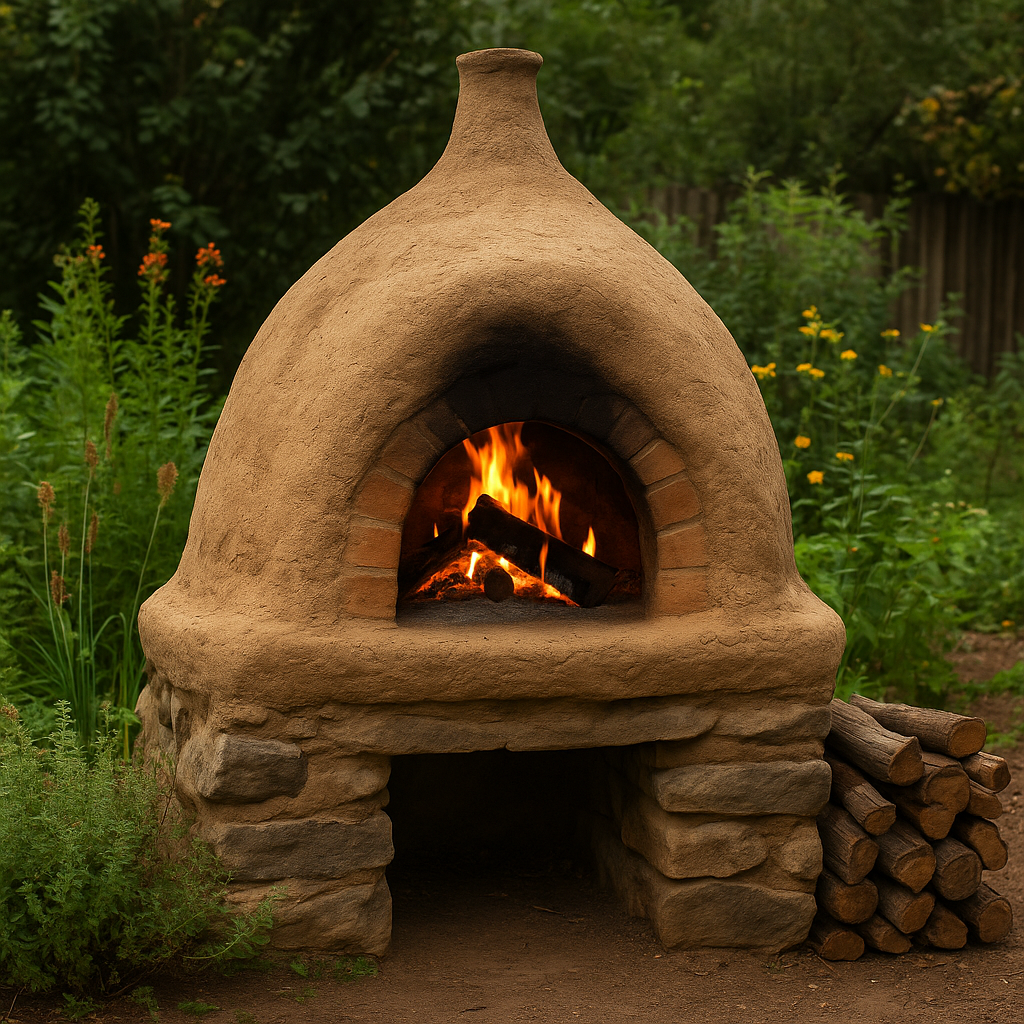
Build a Budget-Friendly Cob Oven: Bake Artisan Bread & Pizza on Your Homestead

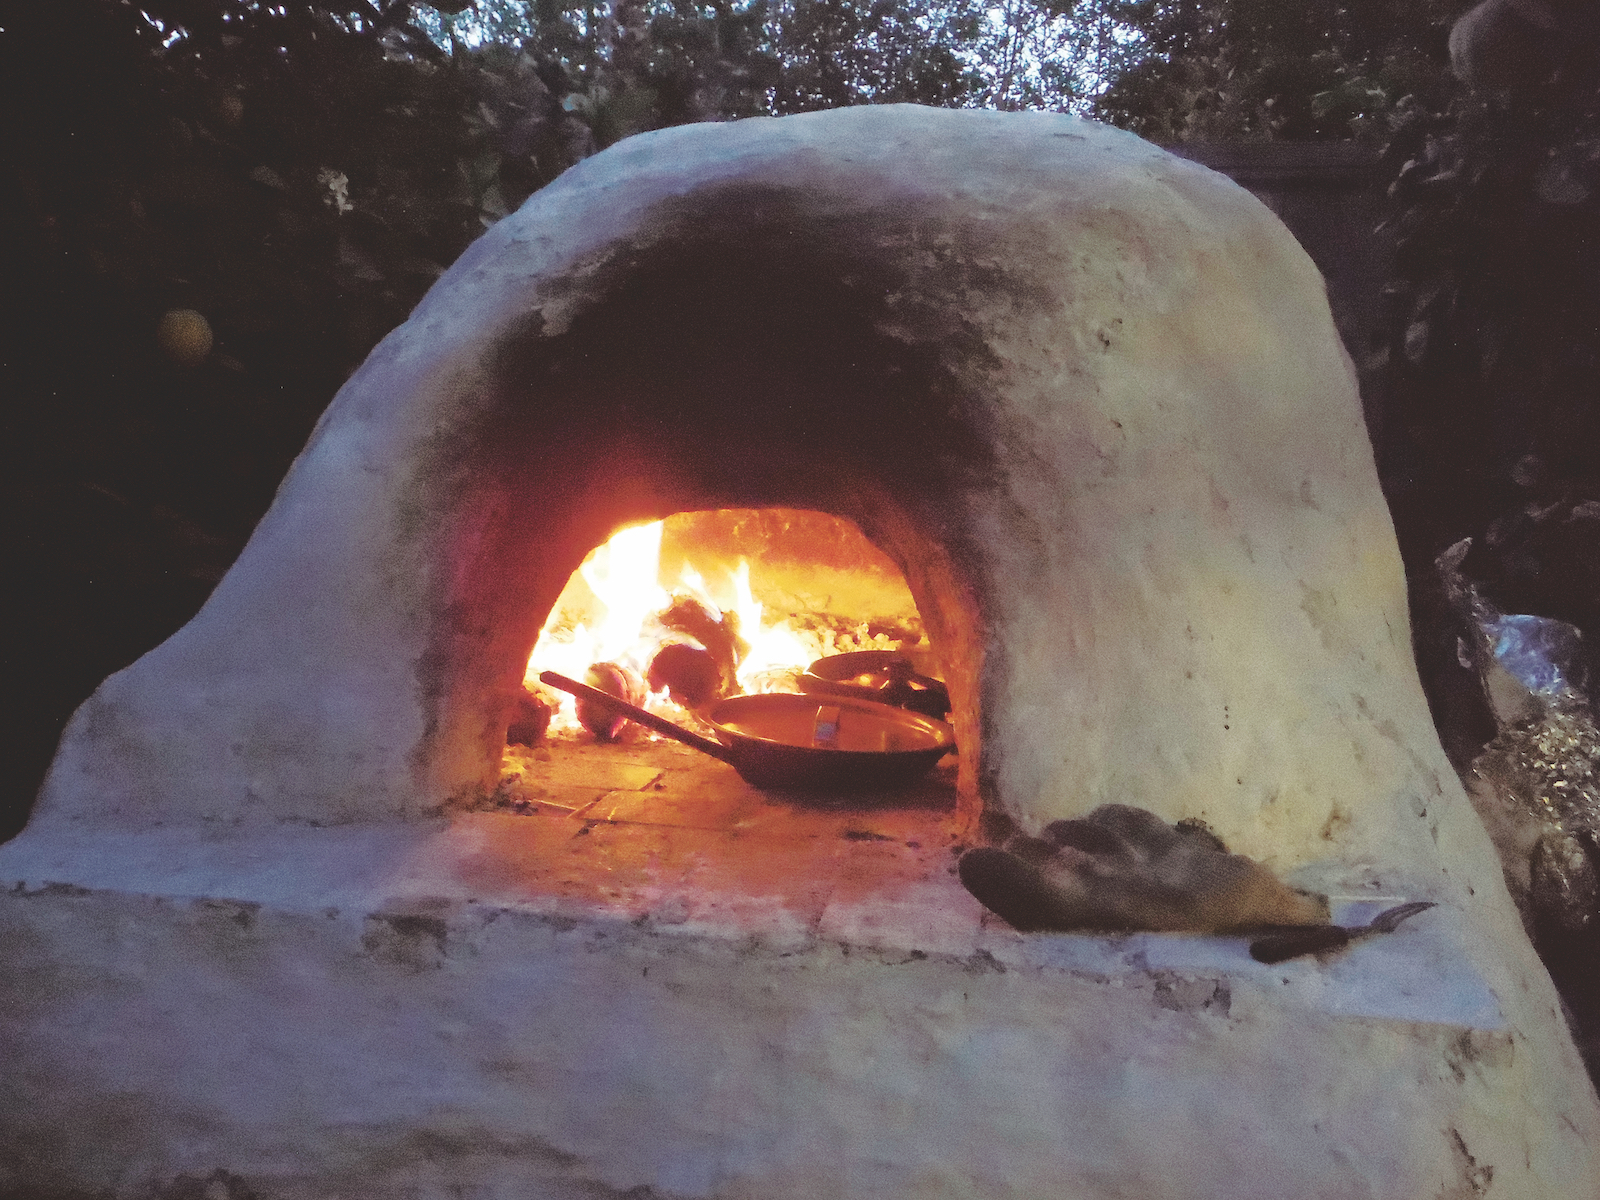
Imagine the aroma of freshly baked bread wafting through your homestead, not from a plug-in appliance, but from a rustic, hand-built oven fueled by wood and earth. While modern conveniences offer instant gratification, there's a primal satisfaction in connecting with age-old traditions, harnessing the power of fire and mud to create culinary masterpieces. The crackling fire, the earthen walls radiating warmth, the simple act of baking – it’s a connection to our ancestors and a step towards a more self-sufficient life.
That’s the beauty of a cob oven. More than just a cooking device, it’s a symbol of resilience, sustainability, and delicious food. A cob oven isn't just about baking; it's about community, about slowing down, and about appreciating the simple things in life. It offers a way to disconnect from the electric grid and reconnect with the earth.
This isn't just a pipe dream; it's an achievable goal. This comprehensive guide will walk you through building your own functional and aesthetically pleasing cob oven, no matter where you are located. Whether you live in the arid Southwest or the damp Pacific Northwest, the basic principles remain the same, with a few adaptations tailored to your specific climate. Get ready to transform your homestead kitchen with this rewarding and sustainable project!
1. Planning and Preparation
Building a cob oven is an incredibly rewarding project but requires some forethought to ensure success. Before you start digging, gathering materials, or mixing cob, careful planning will save you time, effort, and potential headaches down the road.

Descriptive alt text: A hand drawn sketch shows the design and dimensions of a cob oven, including the base, sand form, insulation layer, and chimney.
Site Selection: The first step is choosing the perfect spot for your oven.
- Level Ground: A level surface is crucial for a stable and safe structure.
- Well-Drained Location: Avoid areas prone to flooding or waterlogging, as excess moisture can damage the cob over time. Consider rainwater runoff as well.
- Wind Direction: Pay attention to prevailing winds to prevent smoke from blowing into your house or other structures. You want to be able to enjoy your oven without choking on smoke.
- Safety Considerations: Ensure ample clearance from flammable materials like trees, fences, or sheds. A buffer zone is essential to prevent accidental fires.
Design and Dimensions: How big do you want your oven to be?
- Oven Size: An internal diameter of 30-36 inches is ideal for baking pizzas and loaves of bread. Larger ovens can accommodate larger roasts.
- Insulation Layer: Plan for a generous insulation layer of at least 6-8 inches. More insulation means better heat retention.
- Chimney Placement: If you choose to install a chimney (optional but recommended), consider its height and placement to optimize airflow and minimize smoke.
Materials Gathering: Sourcing the right materials is key to building a durable and long-lasting oven.
- Clay: The heart of your cob mixture. Look for clay soil locally. It may be found on your property or you can source it from a local landscape supplier.
- Sand: Clean, sharp sand is essential for strength and drainage. Builder’s sand is usually a good choice.
- Straw: Use wheat straw or rice straw. Avoid hay, which contains seeds that may sprout.
- Base Materials: Salvaged bricks, stones, or concrete blocks are ideal for building the base. Consider using reclaimed materials for cost savings and sustainability.
Tools Needed:
- Shovels
- Buckets
- Tarp
- Wheelbarrow
- Level
- Trowel
- Mixing tubs
- Wood or metal for creating an arched door form.
- Optional: brick saw, chisel for cutting
Budget Breakdown:
- Clay: $0-50 (if sourced locally)
- Sand: $20-40
- Straw: $10-20
- Base Materials (bricks, stones, concrete blocks): $0-100 (depending on salvaged vs. purchased)
- Total Estimated Cost: $30-210
2. Building the Base
The base is the foundation of your cob oven, providing support and insulation. A well-built base is crucial for the oven's performance and longevity.
Foundation Construction:
- Digging the Foundation: Dig a shallow foundation, the depth of which depends on your frost line. This will provide a stable base and prevent settling.
- Gravel Base: Lay a layer of gravel to improve drainage and prevent moisture from wicking up into the base.
Base Construction:
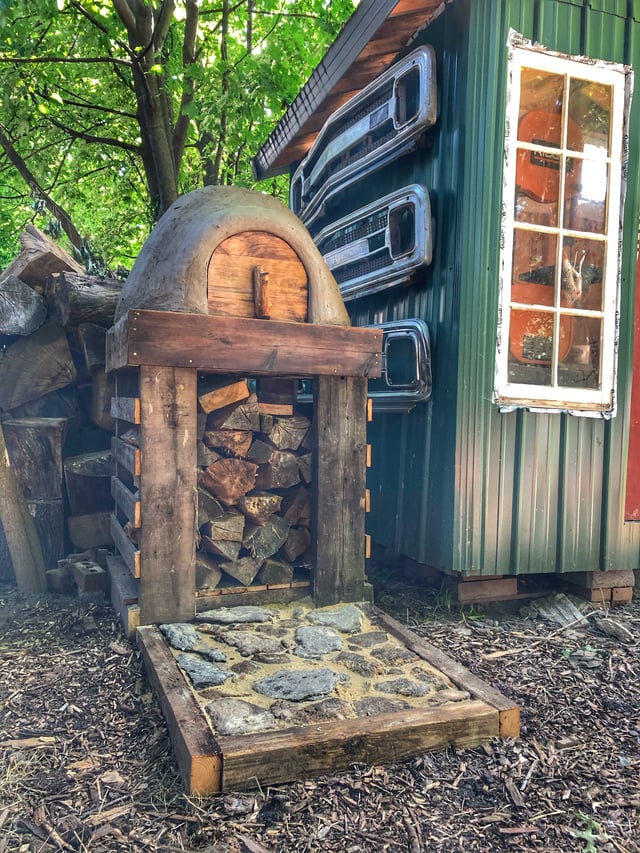
- Building the Base: Use bricks, stones, or concrete blocks to build the base. Ensure the base is level and stable.
- Height: Raise the oven to a comfortable working height (about waist level). Consider using reclaimed tires filled with gravel as a cost-effective and eco-friendly alternative.
Insulation Layer:
- Adding Insulation: Place a layer of insulation on top of the base. Sand, recycled glass bottles, or even perlite can be used.
- Purpose: The insulation layer prevents heat from escaping through the base, improving oven efficiency and preventing cracking.
3. Mixing the Cob
The cob mixture is the heart and soul of your oven. Getting the right consistency is essential for a strong and durable structure.
Testing Your Clay: A simple test is the "cigar test". Roll the wet clay into a cigar shape and let it dry. If it cracks excessively it needs more sand. If it crumbles then it needs more clay.
The Right Recipe: A common ratio is 1 part clay, 2 parts sand, and 1 part straw. Adjust the ratios as needed based on your clay's composition.
Mixing Techniques:
- Foot Mixing: The traditional method involves stomping on the mixture with your bare feet (or boots!) in a tarp. This ensures thorough mixing.
- Mixing Tub: Use a mixing tub and a shovel to combine the ingredients. Add water gradually until you achieve the desired consistency.
Curing the Cob: After mixing, cover the cob with a tarp and let it sit for a few days. This allows the clay to hydrate and the straw to soak up moisture.
4. Building the Oven Core (Sand Form)
The sand form provides the shape for the interior of your oven. It's a temporary structure that will be removed once the cob has cured.

Descriptive alt text: Multiple hands are shaping a dome of sand inside of the brick base as they work on a cob oven.
Creating the Sand Form:
- Dome Shape: Create a dome-shaped sand form inside the base, mimicking the desired interior shape of your oven.
- Smooth Surface: Ensure the form is smooth and free of any sharp edges.
- Arch Template: Use a template to guide the shape of the arch over the door, for a more professional looking design.
Applying the First Layer of Cob:
- Oven Core: Apply a 4-inch-thick layer of cob evenly over the sand form.
- Smooth Surface: Focus on creating a smooth and consistent surface.
Creating the Oven Door:
- Temporary Door: Place a temporary door made of wood or cardboard at the front of the oven to create the opening.
5. Adding Insulation and Outer Layers
Insulation is crucial for heat retention and oven efficiency. The outer layers provide weatherproofing and aesthetic appeal.

Descriptive alt text: Hands are shown layering straw clay mix on the outside of a cob oven.
Insulation Layer:
- Straw Clay Mix: Apply a thick layer of a straw-clay mix for insulation. A ratio of 1 part clay, 2 parts straw is sufficient.
- Sawdust Clay Mix: Alternatively, a sawdust-clay mix can be used, especially if you have access to sawdust from a local mill.
- Thickness: Aim for an insulation layer of at least 6 inches.
Outer Layer (Weatherproofing):
- Final Layer of Cob: Apply a final layer of cob, about 1-2 inches thick, for weatherproofing and aesthetics.
- Finishing Techniques: Smooth the surface with a wet trowel or add decorative elements like pebbles or shells.
Chimney Installation (optional):
- Chimney Placement: Position the chimney near the front of the oven, above the door.
- Chimney Height: The height of the chimney will be based on your region's environmental factors.
6. Curing and Firing the Oven
Curing is a crucial process to prevent cracking. Firing the oven gradually prepares it for baking.
The Curing Process:
- Slow Drying: Allow the oven to dry slowly by covering it with a tarp. This prevents cracks from forming.
- Time Needed: The time needed for curing depends on the weather conditions. In warm, dry climates, it may take several weeks.
The First Firing:
- Small Fires: Start with small fires to gradually heat the oven.
- Increasing Size: Increase the size of the fires over several days.
Removing the Sand Form:
- After Curing: Once the oven is partially cured, remove the sand from the inside.
7. Baking and Maintenance
Congratulations! Your oven is built. Now it’s time to learn to operate it and keep it running.
Operating the Oven:
- Heating the Oven: Use dry hardwoods for fuel. Softwoods burn quickly and produce more smoke.
- Oven Temperature: Monitor the oven temperature with a thermometer.
- Temperature Control: Control the temperature by adjusting the amount of wood and the airflow (using dampers if a chimney is installed).
Baking Techniques:
- Experimentation: Bake bread, pizza, roasts, and other dishes. Experiment with different recipes and cooking times to find what works best for your oven.
Maintenance:
- Patching Cracks: Patch any cracks that may appear with a small amount of cob.
- Cleaning Ashes: Clean out the ashes regularly.
- Protecting from Elements: Cover the oven with a tarp during wet weather to prevent moisture damage.
8. Embrace Earth Oven Cooking on Your Homestead

Building a cob oven is a testament to self-reliance and sustainability. It's a project that connects you to the earth, provides delicious food, and fosters community.
Remember that careful planning, proper mixing, and gradual curing are crucial for success. Embrace the challenges and enjoy the rewards of earth oven cooking on your homestead! The smell of woodsmoke and baking bread will become a familiar and comforting scent, making your homestead a haven of warmth and flavor.
9. Call to Action:
Share your cob oven building experiences and photos in the comments below! We would love to hear about your journey.