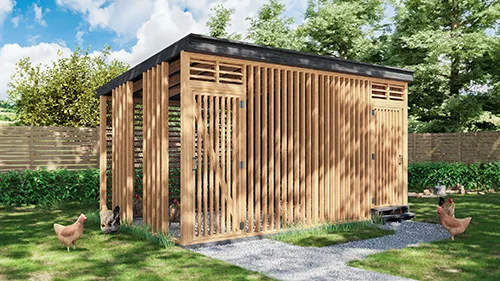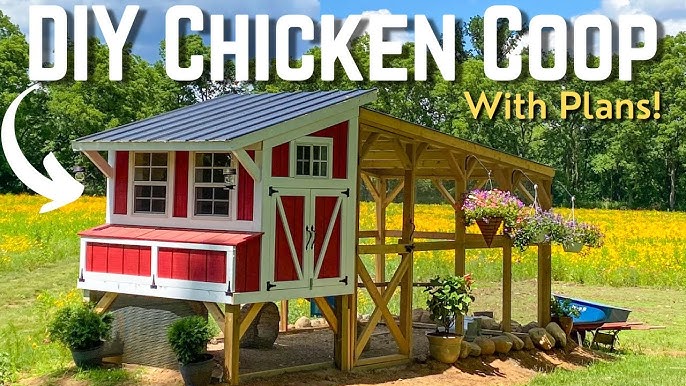
Build a Budget-Friendly Chicken Coop in a Weekend: Step-by-Step Guide for Happy Hens & Thriving Homesteads
For years, I dreamed of fresh eggs from my own backyard. The grocery store cartons just didn't cut it anymore. The vibrant yolks, the superior taste – I knew raising backyard chickens was the key to unlocking a new level of homesteading self-sufficiency. But the cost of pre-built coops always seemed daunting. So, I decided to roll up my sleeves and build my own! And guess what? You can too, even on a tight budget! This guide will walk you through how to build a budget chicken coop in a weekend, turning your backyard chickens dream into a reality. Get ready for happy hens and delicious, farm-fresh eggs.
Why Build a DIY Chicken Coop?
Let's face it, the thought of building something from scratch can be intimidating. I was definitely nervous at first! But the rewards are well worth the effort. Here’s why you should consider a DIY chicken coop:
- Save Money: Pre-built coops can cost a small fortune. Building your own, especially using recycled materials, is significantly cheaper. You can build a cheap chicken coop without sacrificing quality or safety.
- Customization: You can tailor the coop to your specific needs and space. This small chicken coop plan can be adapted to fit any backyard.
- Sense of Accomplishment: There's nothing quite like the feeling of building something with your own hands and then seeing your chickens thrive in it.
- Sustainable Living: Using reclaimed wood and other recycled materials reduces waste and promotes a more sustainable lifestyle.
Planning Your Chicken Coop: Size and Location
Before you grab your hammer, let’s talk planning. A good rule of thumb is 4 square feet of coop space per chicken and 8-10 square feet of run space. This guide is designed for a coop suitable for 4-6 chickens. Consider the number of chickens you plan to keep and adjust the dimensions accordingly. Think about the future! Might you want to expand your flock later?
Location is also key. Choose a spot that:
- Is relatively flat and well-drained.
- Offers some shade during the hottest part of the day.
- Is protected from strong winds.
- Is easily accessible for cleaning and egg collecting.
- Is close to a water source.
Important Note: Check your local ordinances and HOA regulations regarding backyard chickens before you begin building.
Materials List: Building Your Budget-Friendly Coop
Here's what you'll need to build your cheap chicken coop. We'll focus on affordable and readily available materials. Prices are estimates and can vary based on your location and where you purchase them.
- Lumber:
- 4x4 posts (4) - for the coop's foundation: $20
- 2x4 lumber - for framing the walls and roof: $50
- 1x4 lumber - for trim and roosting bars: $20
- Plywood or OSB:
- For the coop walls and roof: $40
- Hardware Cloth (1/2 inch mesh):
- For the run and to predator-proof the coop: $30
- Roofing Material:
- Corrugated metal roofing or asphalt shingles (recycled options are great!): $25
- Nails and Screws:
- Assorted sizes for general construction: $15
- Hinges and Latches:
- For the coop door and nesting box: $10
- Wood Screws:
- To attach plywood and hardware cloth.
- Paint or Stain (optional):
- To protect the wood and make your coop look great: $20
- Other:
- Chicken wire for the run (optional, but recommended for extra security)
- Nesting material (straw or wood shavings)
- Gravel for the coop floor (optional, for drainage)
Total Estimated Cost: Approximately $250 (This can be significantly reduced by using recycled materials).
Pro Tip: Check with local construction sites or online marketplaces for free or discounted lumber and other materials. Reclaimed wood adds character and saves you money!
Budget Breakdown:
- Lumber: $90
- Plywood/OSB: $40
- Hardware Cloth: $30
- Roofing: $25
- Hardware (Nails, Screws, Hinges): $25
- Paint/Stain: $20
Step-by-Step Instructions: Building Your Weekend Chicken Coop
Safety First! Wear safety glasses, gloves, and hearing protection when using power tools. Always follow the manufacturer's instructions for your tools.
Step 1: Build the Base (Saturday Morning)
- Cut the 4x4 posts to the desired height (approximately 18 inches). This will elevate the coop off the ground, protecting it from moisture and rodents.
- Frame a rectangle using the 2x4 lumber, ensuring it's level and square. This will be the base of your coop. Secure the corners with screws.
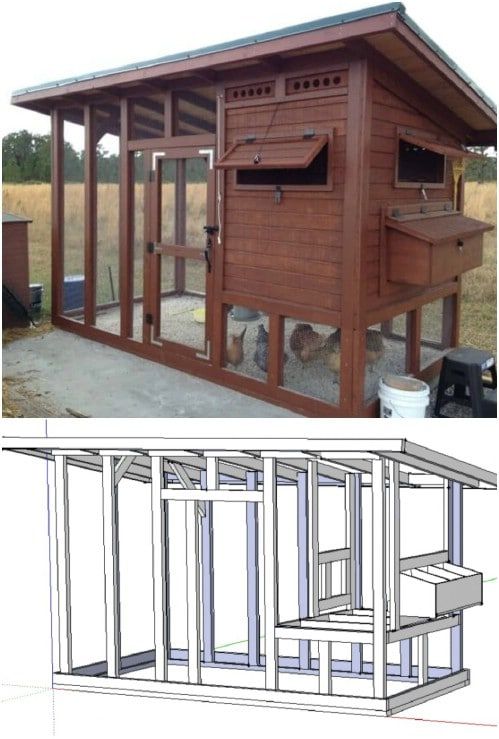
Step 2: Frame the Walls (Saturday Afternoon)
- Cut the 2x4 lumber to create the wall frames. Decide on the height of your coop (4-5 feet is a good starting point).
- Build separate frames for the front, back, and sides. Include framing for a door and nesting box opening.
- Attach the wall frames to the base, ensuring they are plumb and square. Use screws to secure them.
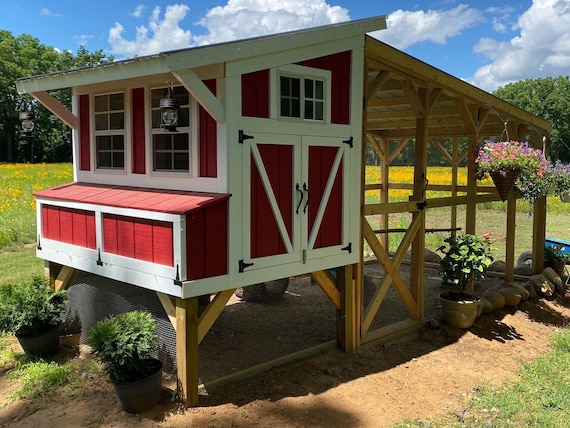
Step 3: Add the Plywood/OSB (Saturday Evening)
- Cut the plywood or OSB to fit the wall frames.
- Attach the plywood to the wall frames using screws.
- Cut out the door and nesting box openings.
Step 4: Build the Roof (Sunday Morning)
- Frame the roof using 2x4 lumber, creating a slight slope for water runoff.
- Attach the roof frame to the walls.
- Cover the roof frame with plywood or OSB.
- Install your chosen roofing material (corrugated metal or asphalt shingles).
Step 5: Build the Door and Nesting Box (Sunday Afternoon)
- Build a simple door using 2x4 lumber and plywood. Attach hinges and a latch.
- Construct a nesting box using plywood or OSB. A good size is about 12x12x12 inches.
- Install the door and nesting box.
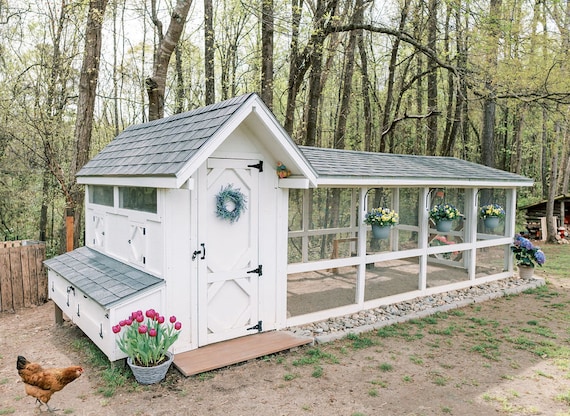
Step 6: Add Roosting Bars and Ventilation (Sunday Afternoon)
- Install roosting bars using 1x4 lumber. Place them at different heights for the chickens to choose from.
- Create ventilation holes near the top of the coop to allow for airflow. Cover the holes with hardware cloth to prevent predators from entering.
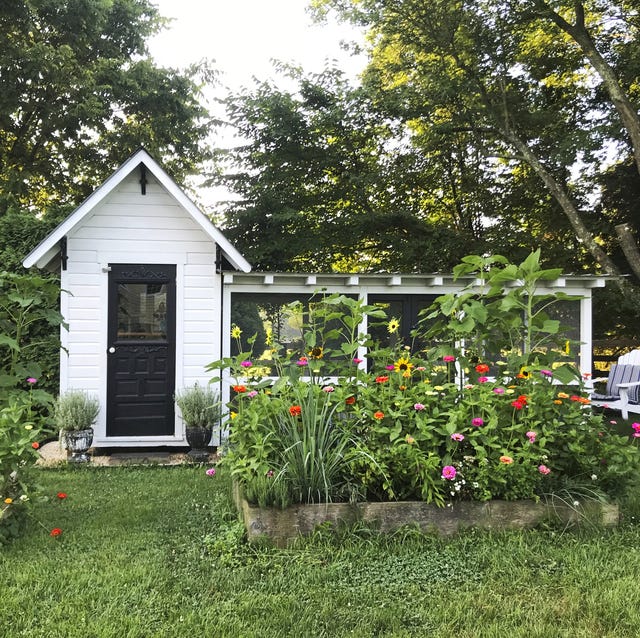
Step 7: Build the Run (Sunday Afternoon/Evening)
- Frame the run using 2x4 lumber.
- Cover the run with hardware cloth, burying it at least 12 inches deep to prevent digging predators.
- Attach a door to the run for easy access.
Step 8: Finishing Touches (Sunday Evening)
- Paint or stain the coop (optional).
- Add nesting material to the nesting box (straw or wood shavings).
- Add gravel to the coop floor for drainage (optional).
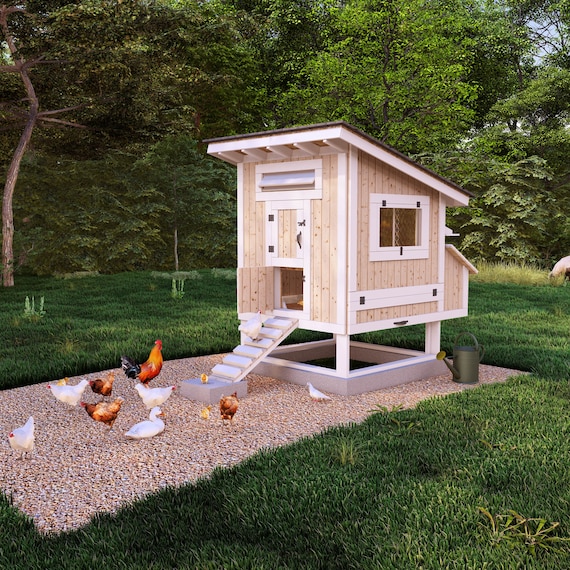
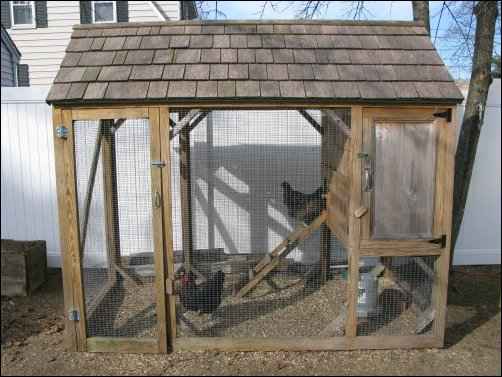
Before & After: Isn't it satisfying to look back at where you started!
Troubleshooting Tips
- Wobbly Coop: Ensure the base is level and the walls are plumb. Use shims to correct any unevenness.
- Drafts: Seal any gaps or cracks in the coop with caulk or weather stripping.
- Predator Problems: Reinforce the run with chicken wire and check regularly for any signs of digging.
Safety Precautions
- Always wear safety glasses when cutting or drilling wood.
- Use a dust mask when sanding or working with dusty materials.
- Wear gloves to protect your hands from splinters.
- Follow the manufacturer's instructions for all power tools.
- Be aware of your surroundings and avoid distractions when working.
Consider the Chickens!
A happy chicken is a productive chicken! Ensure your coop provides:
- Adequate space for roosting, nesting, and moving around.
- Protection from the elements (rain, wind, sun).
- Good ventilation to prevent ammonia buildup.
- A safe and predator-proof environment.
Internal Linking
Want to learn more about homesteading? Check out these other great articles on Better Homes and Harvests:
- Starting a Vegetable Garden: A Beginner's Guide
- Composting 101: Turn Kitchen Scraps into Garden Gold
- Raising Ducks for Eggs and Pest Control
Call to Action
Building a DIY chicken coop is an incredibly rewarding experience. I learned so much in the process and gained a deeper appreciation for the effort that goes into producing fresh, healthy food. Now it's your turn! Share your own chicken coop building experiences and photos in the comments section below! We’d love to see what you create. Let's build a community of happy hens and thriving homesteads!
By following this guide, you'll be well on your way to building a safe, functional, and attractive coop for your chickens. Enjoy the journey and the delicious eggs that await! You can easily create an easy chicken coop or even a recycled chicken coop to save time and money while keeping your chickens happy. What are you waiting for? Start building your weekend chicken coop today!
