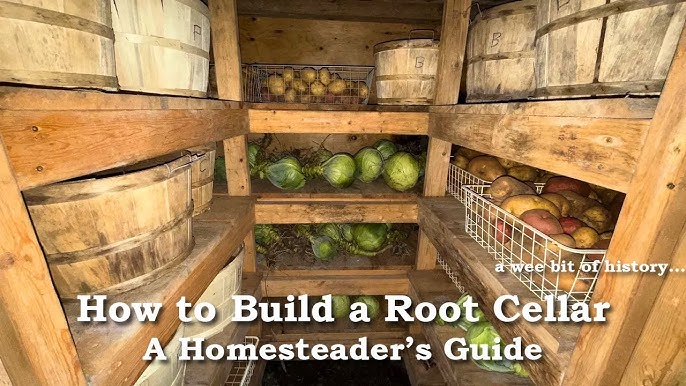
Build a Budget-Friendly Basement Root Cellar: A Weekend DIY Project for Homesteaders
Imagine biting into a crisp, sweet carrot, freshly harvested from your own garden, even in the depths of winter. No more relying on flavorless, nutrient-depleted grocery store produce! This blog post is your comprehensive guide to building a simple, budget-friendly DIY root cellar right in your basement. Perfect for preserving your garden bounty and achieving a greater level of food independence, this basement root cellar project is more attainable than you think!
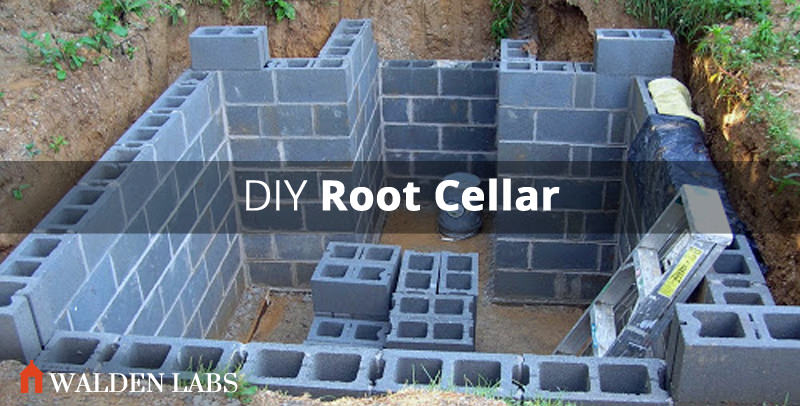
The Allure of the Root Cellar (and Overcoming the Intimidation Factor)
For many homesteaders, the idea of a root cellar evokes images of sprawling underground bunkers and complex construction projects. The perceived cost and complexity can be daunting, putting the dream of home-preserved produce out of reach. But fear not! This guide tackles that head-on, providing a practical, weekend-project solution that requires minimal investment, basic DIY skills, and a healthy dose of enthusiasm. We're talking about building an affordable root cellar, a budget root cellar, in your very own basement!
The Challenge: Budget-Friendly Food Preservation
We understand that homesteading often means making the most of what you have. That's why this project is designed to be as inexpensive as possible. Our goal is to create a functional DIY food storage space for under $300, using readily available materials and straightforward construction techniques.
Project Overview: A Mini Root Cellar in Your Basement
This root cellar design creates a small, enclosed space within your basement, leveraging the naturally cooler and more humid environment to extend the shelf life of your fruits and vegetables. It's perfect for those with smaller gardens or limited basement space.
Materials List and Budget (Under $300!)
Here's a detailed materials list with estimated costs. Prices may vary depending on your location and supplier, so shop around!
- Framing Lumber (2x4s): $50-75 (enough for framing the walls and door)
- Plywood Sheathing (½ inch): $40-60 (for the walls and door)
- Rigid Foam Insulation (2 inch): $50-75 (for insulation; choose foil-faced for added moisture resistance)
- Vapor Barrier (6 mil polyethylene sheeting): $10-15
- Gravel (for floor): $20-30 (enough to create a 4-inch layer)
- Door Hardware (hinges, latch): $10-20
- Fasteners (screws, nails): $10-15
- Ventilation Pipe (4 inch PVC): $5-10
- Caulk/Sealant: $5-10
Total Estimated Cost: $200 - $310

Step-by-Step Instructions: Building Your Basement Root Cellar
Step 1: Planning and Preparation
- Choose a Location: Select a corner of your basement that is naturally cool and relatively damp. Avoid areas near the furnace, water heater, or other heat sources. Ideally, a north-facing corner is best.
- Measure Your Space: Determine the dimensions of your root cellar. We recommend starting with a small size, such as 4 feet wide by 6 feet long by 7 feet high. Adjust these dimensions to fit your space and needs.
- Gather Your Tools: You'll need a saw (circular saw or hand saw), drill, measuring tape, level, hammer, screwdriver, utility knife, safety glasses, and a dust mask.
Step 2: Framing the Walls
- Cut the Lumber: Cut the 2x4s to the appropriate lengths for the top and bottom plates, as well as the vertical studs. For a 7-foot-high cellar, the vertical studs should be approximately 81 inches (7 feet minus the thickness of the top and bottom plates).
- Assemble the Frames: Construct the wall frames by attaching the studs to the top and bottom plates using screws. Space the studs every 16 inches on center.
- Build the Door Frame: Create a separate frame for the door opening. A standard door size is 30 inches wide by 80 inches high.
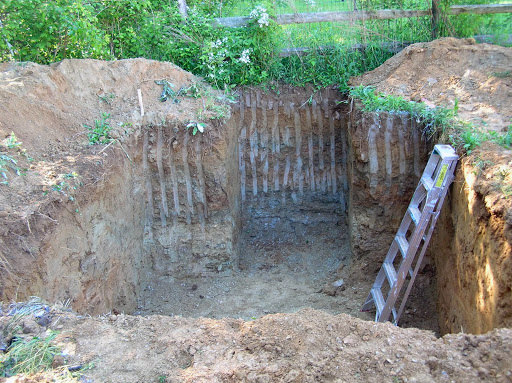
Step 3: Constructing the Walls
- Attach the Frames: Secure the wall frames to the basement floor and joists using concrete screws or construction adhesive. Ensure the frames are plumb and level.
- Sheathe the Walls: Cover the outside of the frames with plywood sheathing. Cut the plywood to size and attach it to the frames using screws.
Step 4: Insulating the Walls
- Cut the Insulation: Measure and cut the rigid foam insulation to fit between the studs.
- Install the Insulation: Press the insulation panels firmly into place between the studs. Seal any gaps with caulk or spray foam.
- Install Vapor Barrier: Cover the inside of the insulated walls with a vapor barrier (polyethylene sheeting). Overlap the seams by at least 6 inches and seal them with tape. This prevents moisture from entering the insulation.
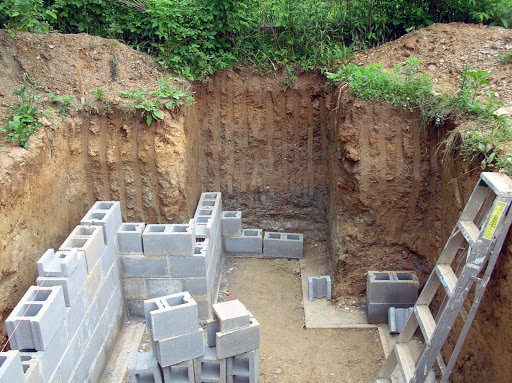
Step 5: Preparing the Floor
- Gravel Base: Pour a 4-inch layer of gravel onto the floor inside the framed area. This will help with drainage and prevent moisture buildup.
Step 6: Building the Door
- Frame the Door: Construct a door frame using 2x4s.
- Sheathe the Door: Cover the door frame with plywood sheathing.
- Insulate the Door: Insulate the door with rigid foam insulation, just like the walls.
- Install Hardware: Attach hinges and a latch to the door.
Step 7: Ventilation
- Install Ventilation Pipe: Drill a hole through one of the walls near the top and install a 4-inch PVC ventilation pipe. This will allow for air circulation and prevent the buildup of moisture and gases. The pipe should vent to the outside or to another well-ventilated area of the basement.
- Optional Second Vent: For optimal ventilation, consider adding a second vent near the floor on the opposite wall.
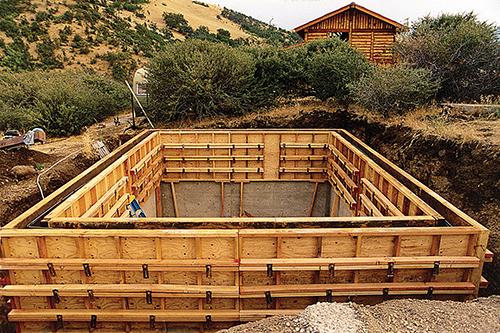
Step 8: Sealing and Finishing
- Caulk and Seal: Caulk all seams and joints to create an airtight seal. This will help to maintain a consistent temperature and humidity level inside the root cellar.
Troubleshooting Tips
- Moisture Issues: If your basement is particularly damp, consider installing a dehumidifier inside the root cellar. Ensure proper ventilation is maintained.
- Uneven Floors: If your basement floor is uneven, use shims to level the wall frames before attaching them to the floor.
- Temperature Fluctuations: Monitor the temperature inside the root cellar and adjust ventilation as needed.
Personal Anecdote: My First Root Cellar Adventure
I remember the first time I tried building a DIY root cellar. My basement was already pretty damp, and I was worried about mold. I learned that good ventilation and a proper vapor barrier are absolutely crucial! I also underestimated the amount of gravel I needed for the floor – definitely measure twice and buy extra! But seeing my homegrown potatoes and carrots last all winter long made it all worth it. It was a huge step towards self-sufficiency for my family.
Storing Your Harvest
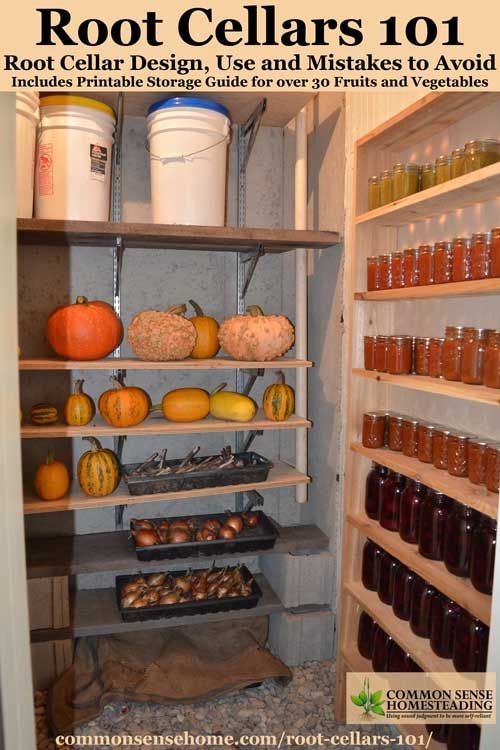
Now that your home root cellar is complete, you can start storing your harvest! Here are a few tips:
- Store Only Healthy Produce: Discard any fruits or vegetables that are bruised, damaged, or diseased.
- Proper Storage Methods: Different vegetables require different storage methods. Some, like potatoes and onions, prefer dry conditions, while others, like carrots and beets, prefer moist conditions. Use crates, boxes, or even bury them in damp sand to maintain the proper humidity levels.
- Regular Monitoring: Check your produce regularly for signs of spoilage. Remove any rotting items immediately to prevent them from affecting the rest of your harvest.
Conclusion: Take Control of Your Food Supply!
Building a basement root cellar is a rewarding and empowering project that will allow you to enjoy fresh, homegrown produce throughout the year. By following these simple steps, you can create an easy root cellar build that will save you money, reduce your reliance on grocery stores, and bring you closer to a more sustainable lifestyle. So, grab your tools, gather your materials, and get started on your own DIY food preservation adventure!
Now it's your turn! Leave a comment below and share your own root cellar experiences, tips, and questions. We'd love to hear from you!
For more homesteading tips and projects, be sure to check out our other articles on Better Homes and Harvests: [link to relevant resource on Better Homes and Harvests website].