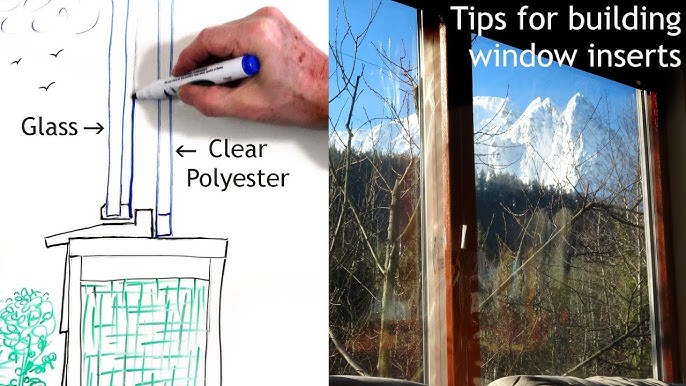
Bring Warmth & Savings to Your Homestead: Step-by-Step Guide to DIY Window Insulation (For Better Homes & Harvests)
The wind howls outside, rattling the windows of your cozy homestead. You can practically feel the chill seeping in, even with the fire crackling in the hearth. This isn't just an annoyance; it's your hard-earned money flying out the window – literally! Drafty windows are a common problem in older homes, especially on a homestead where resources are precious. But don't despair! There's a simple, affordable, and satisfying solution: DIY window insulation. This guide will walk you through creating and installing interior window insulation panels, using plastic sheeting and magnetic strips, to combat those drafts, lower your heating bills, and create a more comfortable and sustainable homestead for you and your family.
Why DIY Window Insulation?
Before we dive into the how-to, let's talk about the why. Homesteading is all about self-sufficiency and living in harmony with nature. But that doesn't mean sacrificing comfort or financial stability. DIY window insulation addresses several key homesteading values:
- Reduced Heating Bills: This is the big one. By creating a barrier against heat loss, you'll drastically reduce the amount of energy needed to heat your home, leading to significant savings throughout the winter.
- Increased Comfort: No more cold drafts! A well-insulated home is a more comfortable home, making it easier to relax and enjoy your space.
- Environmental Responsibility: Lower energy consumption means a smaller carbon footprint. You'll be contributing to a more sustainable lifestyle.
- Empowerment & Self-Reliance: Taking control of your home's energy efficiency is empowering. You'll gain valuable skills and a sense of accomplishment.
- Cheap Window Insulation: Compared to professional insulation services, DIY window insulation is incredibly budget-friendly.
Let's get started!
Project Overview: Interior Window Insulation Panels (Magnetic)
We'll be building custom-fit insulation panels that attach to your window frame using magnetic strips. This method is relatively easy, doesn't require permanent alterations, and allows you to remove the panels in the spring when the weather warms up.
Estimated Cost: $10 - $20 per window (depending on size and material choices)
Estimated Time: 1-2 hours per window
Materials List
- Clear Plastic Sheeting (Shrink Wrap): 6 mil thickness is recommended for durability. You can find this at most hardware stores.
- Magnetic Strips: Available in rolls or strips with adhesive backing. Choose a width that provides sufficient holding power.
- Wood or Plastic Trim: (Optional but recommended for durability and appearance) Thin strips of wood (like lattice) or plastic trim, cut to the size of your window frame.
- Double-Sided Tape: For temporarily holding the plastic in place while you work.
- Heat Gun or Hair Dryer: To shrink the plastic sheeting.
- Measuring Tape
- Scissors or Utility Knife
Tools Needed
- Hammer (if using wood trim)
- Saw or Utility Knife (for cutting trim)
- Staple Gun (Optional): If using wooden trim, this can help secure the plastic to the frame.
- Safety Glasses
Step-by-Step Instructions
Step 1: Measure Your Windows
Accuracy is key! Measure the inside dimensions of each window frame where you want to install the insulation panel. Measure width and height. Add an extra inch or two to each dimension to allow for overlap. Write down these measurements for each window.
Step 2: Cut the Trim (Optional)
If you're using wood or plastic trim, cut the pieces to match the window frame dimensions you measured in Step 1. Ensure the corners are square for a neat fit.
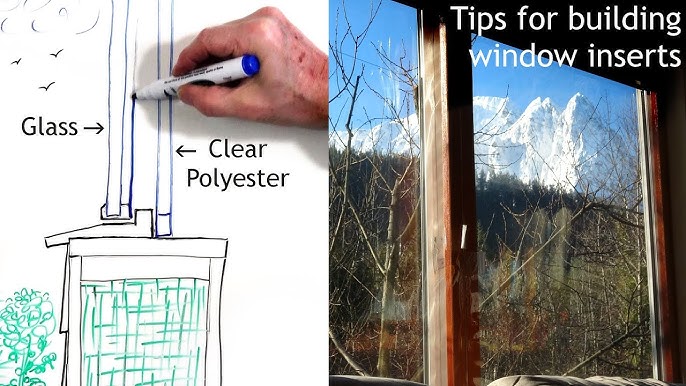
Alt text: Wooden trim is being cut for creating a frame for DIY window insulation panels, showing the process of preparing materials for the project.
Step 3: Prepare the Plastic Sheeting
Lay the plastic sheeting on a clean, flat surface. Using your measurements, cut out a piece of plastic that's slightly larger than the window frame (plus the extra inch or two you added).
Step 4: Attach the Plastic to the Trim (If Using)
If using trim, center the plastic over the frame. Use double-sided tape to temporarily secure the plastic to the back of the trim. Pull the plastic taut as you go, removing wrinkles and ensuring a smooth surface. Once taped, you can optionally use a staple gun to further secure the plastic to the wood frame (use short staples to avoid puncturing through the front).
Alt text: Clear plastic sheeting attached to wooden trim, showing how the plastic is stretched and secured to the frame for window insulation.
Step 5: Attach the Magnetic Strips
Cut the magnetic strips to the length of each side of your window frame (both the panel and the window itself).
- Option A (Adhesive Backing): Peel off the backing and carefully stick the magnetic strips to the back of the trim (if using) or directly to the plastic, ensuring a strong bond. Make sure the polarity is correct so the magnets attract each other. Attach the corresponding magnet strips to the window frame itself.
- Option B (No Adhesive): Use a strong adhesive (like construction adhesive) to attach the magnetic strips. Follow the adhesive manufacturer's instructions. Again, ensure proper polarity!
Alt text: A magnetic strip being attached to the window frame, demonstrating a key step in creating magnetic window insulation panels.
Step 6: Shrink the Plastic
This is where the magic happens! Using a heat gun or hair dryer (on a medium setting), gently heat the plastic sheeting. Start in the center and work your way outwards, moving the heat source constantly to avoid melting or scorching the plastic. As the plastic heats up, it will shrink and become taut, creating a drum-tight surface. Be patient and work slowly.
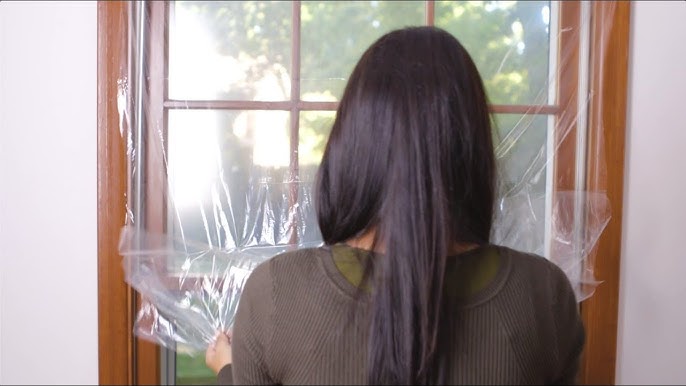
Alt text: A heat gun is being used to shrink the plastic film on a DIY window insulation panel, showcasing the process of tightening the plastic for a clear, insulated barrier.
Step 7: Install the Panel
Simply align the magnetic strips on the insulation panel with the magnetic strips on the window frame and press them together. The magnets should hold the panel securely in place.
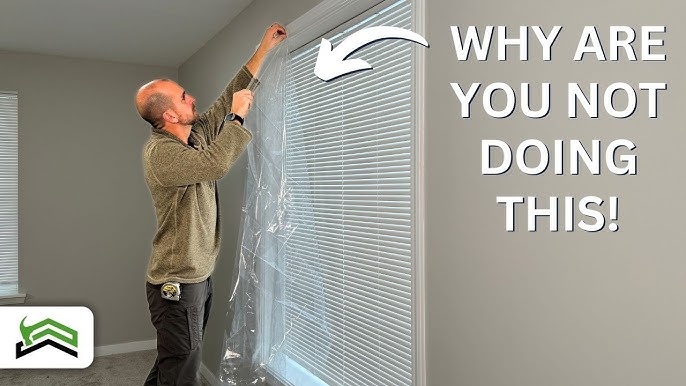
Alt text: Installing a completed DIY window insulation panel with magnetic strips, demonstrating how the panel is attached to the window frame for easy installation and removal.
Step 8: Repeat for All Windows
Repeat steps 1-7 for each window you want to insulate.
Tips & Troubleshooting
- Wrinkles: If you have stubborn wrinkles, try reheating the plastic and gently stretching it.
- Sagging: If the plastic sags over time, you may need to re-shrink it with the heat gun.
- Condensation: If you notice condensation forming between the plastic and the window, it means there's still air leakage. Check the seal around the edges and re-apply caulking or weather stripping if necessary.
- Magnetic Strength: If the magnetic strips aren't strong enough, consider using wider or stronger magnets.
- Durability: If you don't use trim, the edges of the plastic may be delicate. Reinforce with strong tape.
- Safety First: Always wear safety glasses when using a utility knife or staple gun. Be careful when using a heat gun to avoid burns.
Before & After
While I can't physically show you the difference in warmth, I can tell you from personal experience: the difference is significant. You'll notice a reduction in drafts immediately, and your heating system won't have to work as hard to maintain a comfortable temperature.

Alt text: Snow outside the window during winter showing extreme cold, emphasizing the need for effective window insulation to keep the home warm and comfortable.
Other Window Insulation Options
While this guide focuses on plastic sheeting and magnetic strips, there are other DIY window insulation methods you can explore, including:
- Bubble Wrap Insulation: A layer of bubble wrap taped to the window can provide surprisingly good insulation.
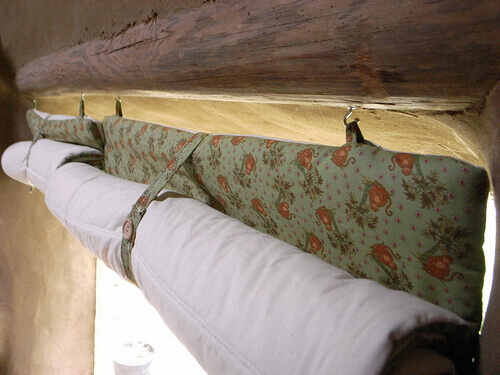
- DIY Insulated Curtains: Heavy, insulated curtains can block drafts and reduce heat loss.
- Weather Stripping & Caulking: Sealing gaps around windows and frames can make a big difference.
Your Turn!
Have you tried DIY window insulation before? What methods have worked best for you? Share your experiences and tips in the comments below! We'd love to hear from you.
For more homesteading tips, tricks, and DIY projects, subscribe to the Better Homes & Harvests newsletter!
Ready to get started? You can find everything you need for this project, including high-quality plastic sheeting and magnetic strips, at our recommended supplier on Amazon. Click here to shop! (Affiliate Link)
Happy Homesteading!