Bloom Where You're Planted: A Time-Saving Guide to a Bountiful Cut Flower Garden
The joy of bringing fresh flowers indoors is undeniable. There's nothing quite like the vibrant colors and sweet fragrance of a bouquet brightening up a room. But the thought of creating and maintaining a cut flower garden often feels daunting, especially when time is a precious commodity. Many of us dream of filling our homes with vibrant, homegrown blooms all season long – without spending hours toiling in the garden. Imagine stepping outside and clipping stems for a stunning centerpiece, knowing you grew them yourself. It's possible!

This post will provide actionable tips and guidance for creating a beautiful and abundant cut flower garden, even with a busy schedule. We'll explore sustainable methods to ensure a healthy ecosystem and abundant blooms. Get ready to discover that growing your own flowers can be a rewarding and time-efficient endeavor.
Planning Your Time-Efficient Cut Flower Garden
Smart planning is essential to setting the stage for a low-maintenance, high-yield cut flower garden. Let's dive into the critical steps that will help you maximize your blooms with minimal effort.
Site Selection – Maximizing Sunlight and Minimizing Effort
Choosing the right location is paramount. Most cut flowers require at least six to eight hours of direct sunlight per day to thrive. Observe your yard throughout the day to identify the sunniest spot. Proximity to a water source will also save you time when watering. Consider the soil type as well. Well-draining soil is crucial for most cut flowers. If your soil is heavy clay or sandy, amend it with compost or consider building raised beds.
Raised beds offer several advantages for time-constrained gardeners. They provide better drainage, warm up faster in the spring, and make weeding easier. This alone can save you significant time.
Choosing the Right Flowers – Prioritizing "Cut-and-Come-Again" Varieties
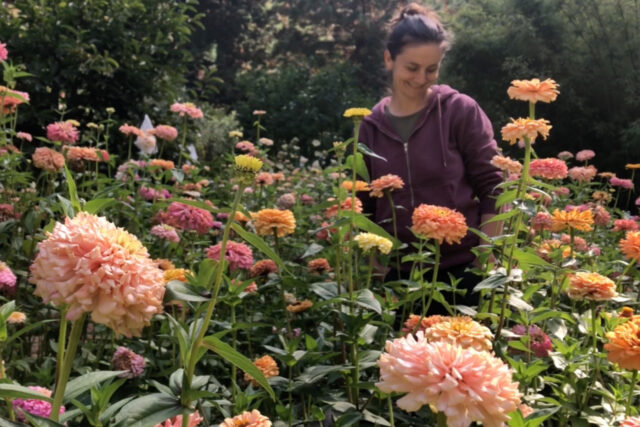
Not all flowers are created equal when it comes to cut flower production. Focus on varieties that are known as "cut-and-come-again," meaning they produce more blooms after you cut them. Zinnias are a fantastic choice, offering a wide range of colors and a long blooming season. Cosmos are another excellent option, providing delicate, daisy-like flowers in abundance. Sunflowers, especially branching varieties, can provide a stunning display and multiple stems per plant. Snapdragons add vertical interest and come in a variety of vibrant hues. Dahlias, with their stunning blooms, are a must-have for many cut flower gardens. Consider Cafe au Lait for a touch of elegance, or Bishop of Llandaff for dark foliage and striking blooms.
Succession Planting – Extending Your Bloom Time Without Extra Work
Succession planting is a simple yet effective technique for extending your bloom time without adding significant work. Stagger your plantings of the same flower variety by a few weeks. For example, plant a row of zinnias, then plant another row two weeks later, and another two weeks after that. This will ensure a continuous supply of blooms throughout the season, instead of one massive flush followed by a lull. For example, plant zinnias every two weeks.
Streamlining Planting and Garden Care
Efficient planting and care techniques free up your time while ensuring your cut flower garden thrives. Here’s how to minimize labor and maximize results.
Direct Sowing vs. Starting Seeds Indoors – Balancing Time and Cost
The decision of whether to direct sow seeds in the garden or start them indoors depends on several factors, including the type of flower, your climate, and your available time. Direct sowing is the easiest and most time-saving method, but it's only suitable for certain flowers that germinate easily in warm soil. Zinnias, cosmos, and sunflowers are good candidates for direct sowing.
Starting seeds indoors allows you to get a head start on the growing season, especially in cooler climates. However, it requires more time and effort, as you need to provide the seedlings with adequate light, water, and care. Soil blockers are a good solution for starting seeds in a smaller space. They limit the transplant shock, while also saving time.
Smart Watering Techniques – Efficient Irrigation for Busy Gardeners
Watering can be a time-consuming chore, but it doesn't have to be. Drip irrigation or soaker hoses are excellent solutions for targeted watering. These methods deliver water directly to the roots of the plants, minimizing water waste and reducing the risk of foliar diseases. Install a timer to automate the watering process, and you can practically forget about it.
Mulching is another essential technique for conserving moisture and suppressing weeds. Apply a thick layer of organic mulch, such as straw, wood chips, or shredded leaves, around your plants. This will help retain moisture in the soil, reduce evaporation, and prevent weeds from germinating.

Weed Control – Minimizing Manual Labor
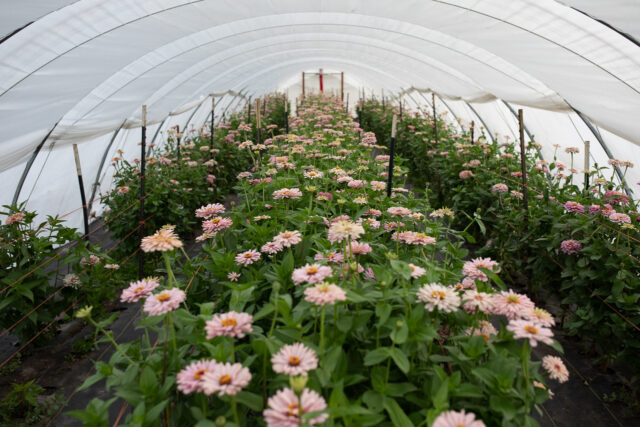
Weed control is a never-ending battle in the garden, but there are ways to minimize the amount of manual labor required. As mentioned above, mulching is a highly effective weed suppressant. Strategic spacing can also help. Plant your flowers close enough together so that they shade the soil and prevent weeds from germinating. However, be sure to provide adequate spacing for air circulation to prevent diseases.
A natural weed killer recipe using vinegar, salt, and dish soap will eliminate any stragglers. Be careful applying only to unwanted plants as it can kill any plant.
Nurturing Your Soil for Abundant Blooms (Regenerative Practices)
Nurturing healthy soil with regenerative practices promotes vigorous growth and reduces the need for constant intervention. Let's explore methods to enhance soil health naturally.
The Power of Compost – Building Healthy Soil Naturally
Compost is the cornerstone of any healthy garden. It improves soil structure, provides essential nutrients, and increases water retention. Incorporate plenty of compost into your soil before planting, and use it as a top dressing throughout the growing season.
A compost tumbler provides a quick and efficient method. This reduces the physical labor while reaping the benefits of compost.
No-Till Gardening – Protecting Soil Structure and Reducing Weeds
No-till gardening is a regenerative practice that minimizes soil disturbance. By avoiding tilling, you protect the soil structure, preserve beneficial soil organisms, and reduce weed germination. Simply amend your soil with compost and other organic matter on the surface, and plant directly into the soil. This helps sequester carbon too.
Natural Pest and Disease Control – Protecting Your Blooms Without Harmful Chemicals
Protect your blooms without harmful chemicals. Companion planting is an excellent way to deter pests and attract beneficial insects. Marigolds, for example, repel nematodes and other harmful pests.
Neem oil is a natural insecticide that can be used to control a wide range of pests, including aphids, spider mites, and whiteflies. Insecticidal soap is another effective option for controlling soft-bodied insects. Ensure your plants get plenty of sunlight and avoid overcrowding to prevent disease.

Harvesting and Arranging Your Homegrown Blooms
Properly harvesting and conditioning your blooms ensures you can enjoy their beauty for as long as possible. Follow these steps to maximize vase life and create stunning displays.
The Best Time to Harvest – Maximizing Vase Life
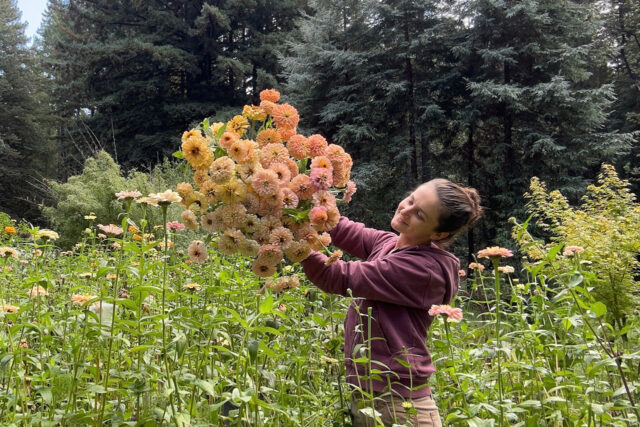
Harvest your flowers in the early morning, when they are fully hydrated, or in the late evening. Avoid harvesting during the heat of the day, as this can cause the flowers to wilt. Cut the stems at an angle with sharp, clean scissors or pruners. Remove any leaves that will be below the waterline in the vase, as these can rot and shorten the vase life of the flowers.
Conditioning Cut Flowers – Extending Their Beauty
After harvesting, immediately place the stems in a bucket of cool, clean water. Allow them to hydrate for a few hours, or preferably overnight, in a cool, dark place. This process, known as conditioning, allows the flowers to fully hydrate and firm up, extending their vase life.
Flower food will also extend the life. Add a packet of flower food to the vase water.
Simple Arrangement Techniques – Creating Stunning Displays with Ease
Arranging cut flowers doesn't have to be complicated. Start with a clean vase and fill it with cool, clean water. Add flower food. Cut the stems to the desired length, removing any leaves that will be below the waterline. Arrange the flowers in the vase, starting with the larger, focal flowers and then filling in with smaller, accent flowers. Experiment with different colors, textures, and shapes to create a visually appealing display. A link for a video tutorial can be found here.
Closing Reflection
Creating a cut flower garden doesn't have to be a time-consuming chore. By implementing these simple strategies, you can enjoy a continuous supply of beautiful, homegrown blooms all season long, adding a touch of joy and abundance to your home. Enjoy your seasonal harvest.
As the growing season progresses, remember to adapt your practices based on your local climate and conditions. Observe your garden closely and learn from your experiences.
What are your favorite time-saving tips for gardening? Share them in the comments below!
![overall, thriving flower garden]