Black Gold Magic: Unlock the Secrets of Vermicomposting
[ ]
]
Do you ever feel overwhelmed by the amount of food scraps you toss into the trash each week? Coffee grounds, vegetable peels, fruit cores – it all adds up, doesn't it? Not only is it a waste of valuable resources, but it also contributes to landfills and environmental problems. But what if I told you there's a way to transform those kitchen scraps into "black gold" for your garden?
That's right, I'm talking about vermicomposting! Vermicomposting, or worm composting, is a simple and rewarding process that uses worms to break down organic waste into a nutrient-rich soil amendment called worm castings. Think of it as a natural fertilizer factory right in your backyard (or even indoors!).
In this ultimate guide, we'll walk you through every step of building and maintaining a thriving vermicomposting system. You'll learn how to create the perfect worm bin, source the right worms, feed them properly, harvest your precious worm castings, and troubleshoot common problems along the way. Get ready to reduce your waste, improve your garden's health, and unlock the magic of vermicomposting!
Building Your Perfect Worm Bin
The foundation of any successful vermicomposting system is a well-constructed and properly bedded worm bin. There are a few different options to choose from, each with its own advantages and disadvantages.
Choosing a Bin:
- DIY Plastic Tote Bin: This is the most affordable and accessible option for most beginners. You can easily convert a plastic tote into a worm bin with a few simple modifications.
- DIY Wooden Bin: A more aesthetically pleasing option is to build a worm bin from wood. Just be sure to use untreated wood to avoid harming the worms.
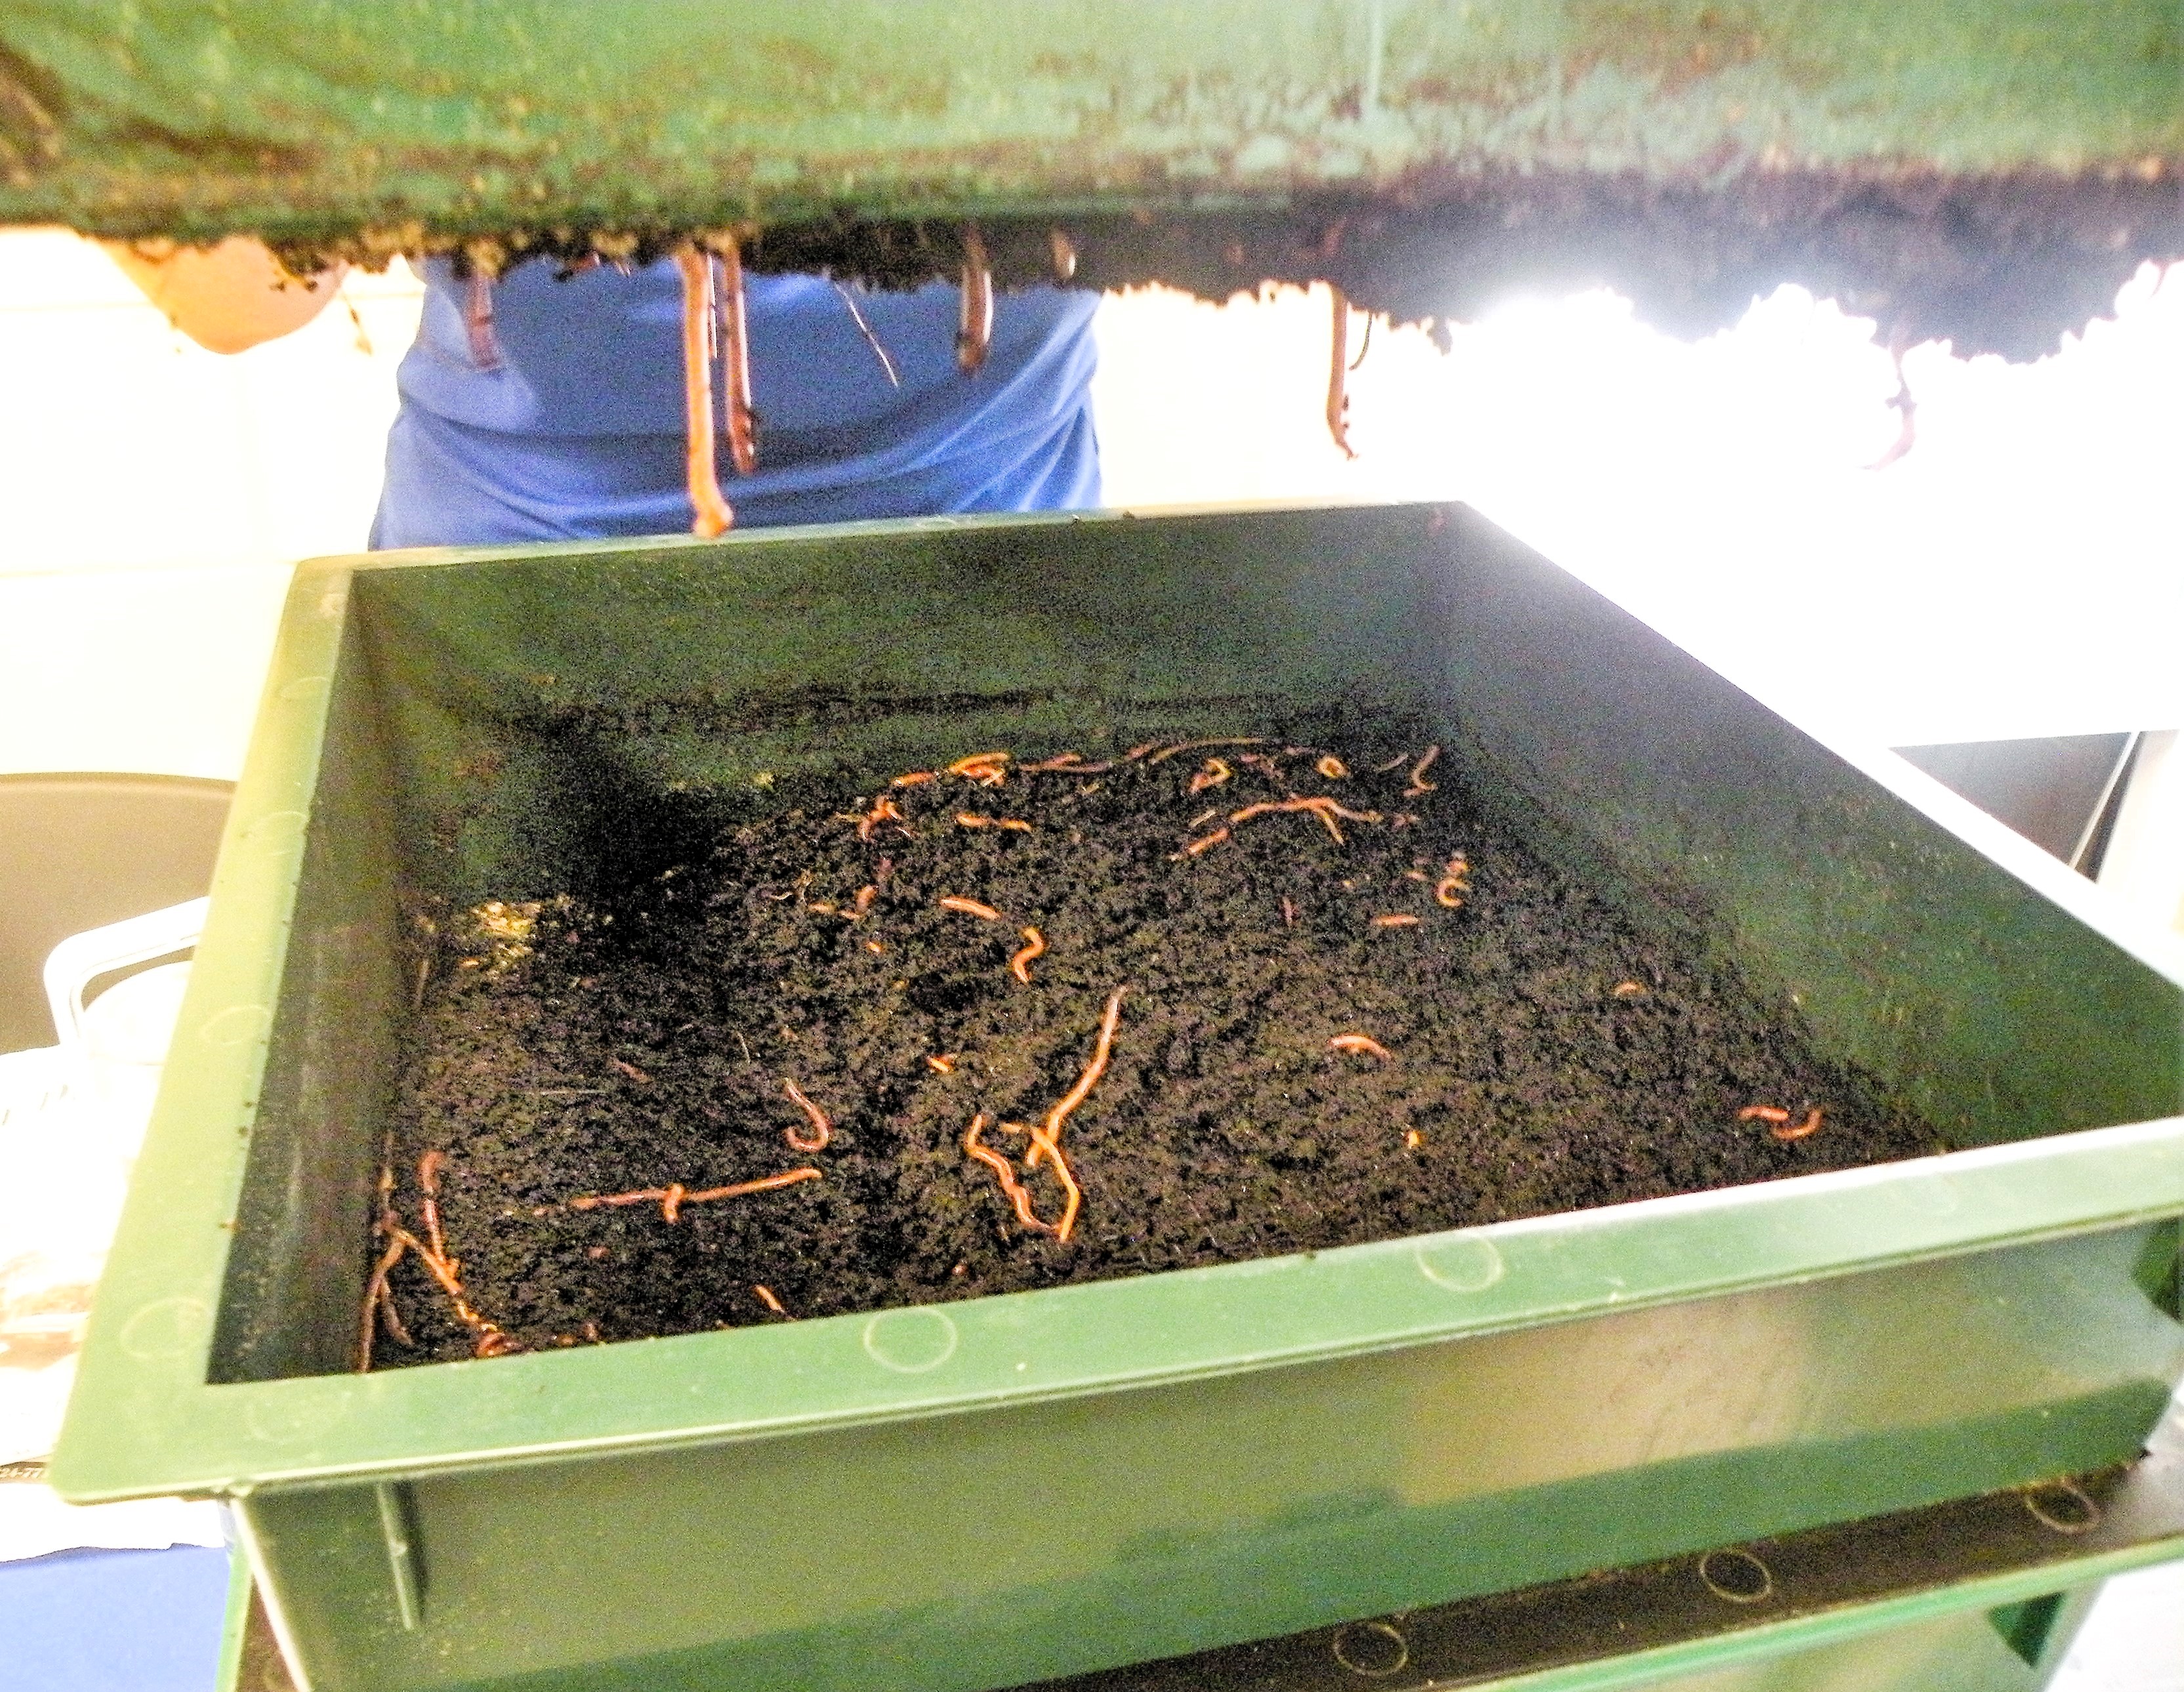
- Store-Bought Systems: Multi-tiered worm composting systems are available for purchase, offering convenience and ease of use. However, they can be more expensive than DIY options.
For this guide, we'll focus on building a simple and effective DIY plastic tote bin.
DIY Bin Instructions:
Gather Your Materials:
- A plastic tote (approx. 18-24 gallons)
- Drill with various sized drill bits (1/8 inch, 1/4 inch, 1/2 inch)
- Newspaper, cardboard, coconut coir, or peat moss (for bedding)
- Spray bottle filled with water
Drill Drainage Holes: Drill several 1/4-inch drainage holes in the bottom of the tote to allow excess moisture to escape.
Drill Ventilation Holes: Drill 1/8-inch ventilation holes around the sides and lid of the tote to ensure proper aeration.
Prepare the Bedding: Shred newspaper, cardboard, or coconut coir into small pieces. Moisten the bedding with water until it's damp as a wrung-out sponge.
Layer the Bedding: Add a 4-6 inch layer of moistened bedding to the bottom of the tote.
Location, Location, Location:
Choosing the right location for your worm bin is crucial for its success. Worms thrive in cool, dark, and moist environments. Avoid placing the bin in direct sunlight or extreme temperatures. Ideal locations include:
- A shaded area in your backyard
- A basement or garage
- A cool, dark corner of your kitchen
Key Takeaway: A well-constructed and properly bedded bin is the foundation for a successful vermicomposting system. Don't skimp on the details!
Sourcing and Introducing Your Worms
[ ]
]
Once your bin is ready, it's time to introduce the stars of the show: the worms! But not just any worms will do.
Red Wigglers are the Best:
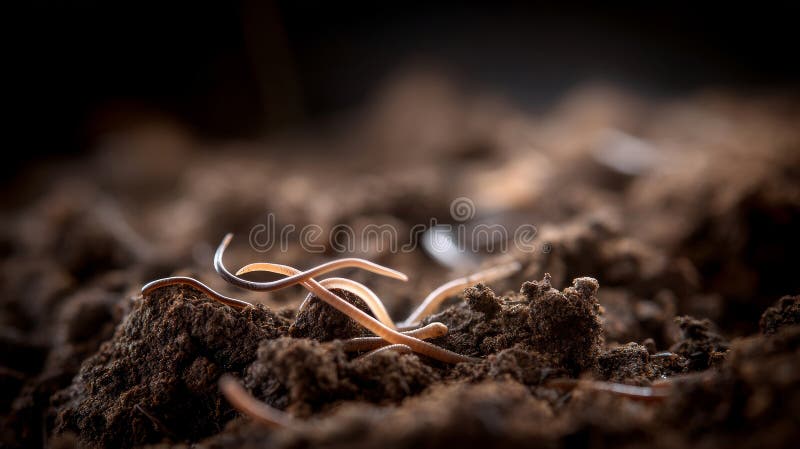
Red wigglers (Eisenia fetida) are the champions of vermicomposting. They're voracious eaters, reproduce quickly, and tolerate a wide range of conditions. Do NOT use earthworms – these are not suited for enclosed bins.
Where to Find Worms:
- Online Suppliers: Many online suppliers specialize in selling red wigglers for vermicomposting. This is a convenient option if you can't find them locally.
- Local Garden Centers: Some garden centers carry red wigglers, especially those that focus on organic gardening supplies.
- Composting Enthusiasts: Check with local gardening groups or online forums to see if anyone has red wigglers to share.
- Fishing Shops: Some local fishing shops might carry red wigglers as well.
How Many Worms Do You Need?
A good starting point is about 1 pound of worms for a standard-sized (18-24 gallon) tote bin. This will give them enough space to thrive and efficiently process your food waste.
Introducing Worms to Their New Home:
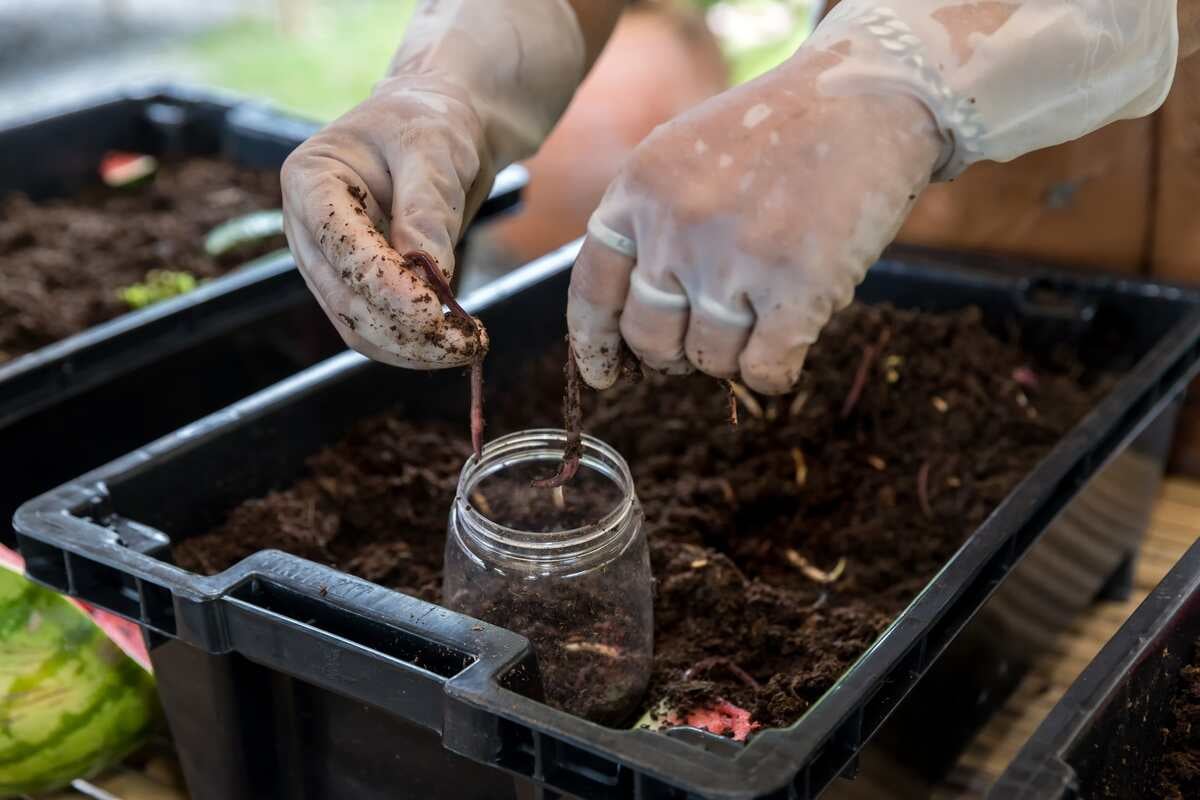
- Gently place the worms on top of the bedding.
- Let them burrow down into the bedding on their own.
- Leave a light on near the bin for the first few days to prevent them from escaping (worms don't like light!).
Adjusting to New Environment:
It takes time for worms to adjust to their new home. Don't be alarmed if they seem a bit subdued at first. They'll soon start exploring their surroundings and getting to work.
Key Takeaway: Selecting the right worms and introducing them properly will set them up for success in their new environment.
The Art of Feeding Your Worms
[ ]
]
Now that your worms are settled in, it's time to start feeding them! But what do worms eat, and how much should you give them?
What to Feed Your Worms:
- Fruit and Vegetable Scraps: Apple cores, banana peels, carrot tops, lettuce leaves, etc.
- Coffee Grounds (with Filters): A great source of nitrogen.
- Tea Bags (Remove Staples): Another good source of nitrogen.
- Crushed Eggshells: Provide calcium and help balance the pH of the bin.
- Bread, Pasta, Grains: In moderation.
Foods to Avoid:
- Meat: Attracts pests and creates foul odors.
- Dairy: Same as meat.
- Oily Foods: Difficult for worms to digest.
- Citrus (in Excess): Can make the bin too acidic.
- Onions and Garlic (in Excess): Can be harmful to worms.
Preparation is Key:
- Chop food scraps into small pieces to make them easier for worms to digest.
- Freeze and thaw food scraps to break down cell walls and speed up decomposition.
Feeding Frequency and Amount:
Start by feeding your worms a small amount of food scraps (about a handful) every few days. Observe how quickly they consume the food and adjust the amount accordingly. The amount of food waste that 1 pound of worms can consume per day is typically 1/2 pound.
Bury the Food:
Always bury the food scraps in the bedding to prevent fruit flies and odors.
Observing and Adjusting:
Pay attention to your worms' activity level and adjust your feeding habits accordingly. If the food is disappearing quickly, you can feed them more often. If the food is piling up, reduce the amount you're feeding them.
Key Takeaway: Understanding what to feed your worms and how to feed them properly is crucial for their health and productivity.
Harvesting and Using Your Worm Castings (Black Gold!)
After several months of diligent feeding, your worms will have transformed your kitchen scraps into nutrient-rich worm castings – the "black gold" of gardening!
When to Harvest:
The castings are ready to harvest when they have a dark, crumbly texture and an earthy smell. The bin will be mostly castings rather than distinguishable bedding material and food scraps.
Harvesting Methods:
- Dump and Sort: Dump the contents of the bin onto a tarp, create small piles, and let the worms migrate away from the light. Scoop up the castings as the worms move away.
- The Migration Method: Move all the contents to one side of the bin, add fresh bedding on the other, and let the worms migrate to the new bedding over a few weeks. Then, harvest the castings from the empty side.
- The Screening Method: Use a screen to separate the castings from the worms and unfinished compost.
Using Worm Castings:
- Soil Amendment: Add to garden beds, potting mixes, and planting holes.
- Top Dressing: Sprinkle around plants for a slow-release fertilizer.
- Compost Tea: Steep castings in water to make a nutrient-rich tea for your plants.
Storage:
Store worm castings in a cool, dry place in an airtight container.
Key Takeaway: Harvesting worm castings is the rewarding culmination of your efforts! They are a powerful soil amendment that will significantly improve your garden's health.
Troubleshooting Common Vermicomposting Problems
Even with the best intentions, you may encounter some challenges along the way. Here are some common vermicomposting problems and how to solve them:
- Fruit Flies: Bury food scraps completely and cover the bin with a lid. You can also use apple cider vinegar traps to catch adult fruit flies.
- Bad Odors: Reduce feeding and improve aeration by adding more bedding or turning the compost.
- Acidic Conditions: Add crushed eggshells to help balance the pH.
- Worms Escaping: Adjust moisture and temperature to create a more favorable environment.
- Slow Decomposition: Increase moisture, improve aeration, and add more worms if needed.
Key Takeaway: Troubleshooting is part of the process! Don't get discouraged. With a little observation and adjustment, you can overcome common vermicomposting challenges.
Embrace the Vermicomposting Journey
Vermicomposting is more than just a way to get rid of kitchen scraps – it's a way to connect with nature, reduce your environmental impact, and create a thriving garden. As we transition into fall, remember that vermicomposting can be done year-round, even indoors during the colder months. Embrace the journey and enjoy the "black gold" that your worms provide! Not only will you reduce your reliance on synthetic fertilizers, but you'll also be creating a sustainable and healthy ecosystem in your own backyard. And if you are selling produce, you can boast that your goods are grown from your own worm castings, giving you a unique edge at the farmer's market.
Now it's your turn! Have you tried vermicomposting? Share your experiences and tips in the comments below! And don't forget to share photos of your thriving worm bins or bountiful harvests on social media using #BHHFallHarvest. Happy composting!