Beyond Pickles: Level Up Your Farmhouse Pantry with Fermented Foods
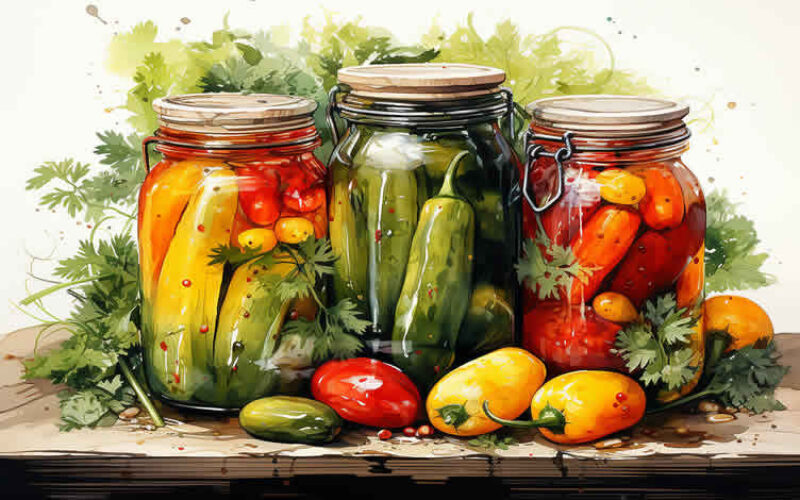
The garden is bursting, and the kitchen counter is overflowing. Zucchinis the size of your arm, cabbages threatening to take over the crisper drawer, and enough green beans to feed a small army. Sound familiar? For many of us who embrace homegrown goodness, the seasonal harvest can be both a blessing and a bit of a panic. We want to savor the fruits (and vegetables!) of our labor long after the growing season fades. While canning and freezing are staples, there's a magical, age-old technique that not only preserves your harvest but transforms it into something even more delicious and nutritious: fermentation. Forget just pickles! Get ready to unlock a world of flavor and health benefits as we explore how to build a vibrant, gut-friendly, and surprisingly simple fermented food pantry.

Fermentation Fundamentals: The Basics for Beginners
Fermentation might sound intimidating, like something best left to the professionals, but it's surprisingly accessible. At its core, fermentation is simply the process of using microorganisms – specifically bacteria, yeast, or fungi – to convert carbohydrates into alcohol, gases, or acids. Don't worry, we're talking about the good kind of bacteria! Think of it as harnessing the power of tiny helpers to transform your food.
In the realm of vegetable fermentation (also known as lacto-fermentation), the bacteria, predominantly Lactobacillus, consume the sugars in the vegetables and produce lactic acid. This acid acts as a natural preservative, inhibiting the growth of harmful bacteria and creating that characteristic tangy flavor. Alcohol fermentation, on the other hand, involves yeast converting sugars into alcohol (think beer and wine). And acetic acid fermentation? That's how vinegar is made.
For most of our farmhouse fermentation adventures, we'll be focusing on lacto-fermentation. What do you need to get started? Not much!
- Jars: Wide-mouth mason jars are ideal. Quart or half-gallon sizes are great for larger batches.
- Weights: You need something to keep the vegetables submerged under the brine. Glass fermentation weights are readily available, but a small, clean glass jar filled with water or a clean rock will also work. Even a few layers of a cabbage leaf pressed down can help!
- Airlock (Optional): An airlock allows gases to escape without letting air in. While helpful, they aren't strictly necessary. A tightly sealed lid with regular "burping" (releasing built-up pressure) can work just as well.
- Salt: Use a non-iodized salt, such as sea salt or kosher salt. Iodine can inhibit the fermentation process.
- Cleanliness is Key: Sterilizing your jars and equipment isn't essential, but thoroughly washing everything with hot, soapy water is crucial. We want to encourage the good bacteria and discourage the bad.

Garden to Jar: Easy Fermented Vegetable Recipes
Now for the fun part: transforming your garden bounty into tangy, probiotic-rich delights! These recipes are simple starting points, and you can easily adapt them to your favorite vegetables and flavor combinations.
Sauerkraut:
This classic fermented cabbage is surprisingly easy to make. Using homegrown cabbage makes it even more rewarding!
- Ingredients:
- 1 medium head of cabbage, shredded
- 1-2 tablespoons of non-iodized salt
- Optional: Caraway seeds, juniper berries, or other spices
- Instructions:
- Shred the cabbage and place it in a large bowl.
- Add the salt and massage the cabbage for several minutes until it releases its juices and becomes limp. This process draws out the water needed for fermentation.
- Pack the cabbage tightly into a clean jar, pressing down to submerge it in its own brine. If needed, add a small amount of extra brine (saltwater) to completely cover the cabbage. Use 1.5 teaspoons of salt per quart of water for extra brine.
- Weigh down the cabbage to keep it submerged.
- Cover the jar loosely with a lid or airlock.
- Ferment at room temperature (65-75°F) for 1-4 weeks, or until it reaches your desired level of tanginess. Taste it periodically.
- Once fermented, store in the refrigerator.
Kimchi (Quick Garden Version):
Forget the lengthy traditional process – this kimchi uses readily available garden vegetables for a quicker, simpler ferment.
- Ingredients:
- 1 cup shredded radish
- 1 cup chopped onion or scallions
- 1/2 cup grated carrot
- 2-3 cloves garlic, minced
- 1-2 tablespoons ginger, minced
- 1-2 tablespoons Korean chili powder (gochugaru) or red pepper flakes
- 1 tablespoon fish sauce (optional)
- 1 tablespoon soy sauce or tamari
- 1 teaspoon salt
- Instructions:
- Combine all ingredients in a bowl and massage well until vegetables release juices.
- Pack into a clean jar, pressing down to submerge. Add brine if necessary (1.5 teaspoons salt per quart of water).
- Weigh down the vegetables.
- Ferment at room temperature for 3-7 days, tasting daily.
- Refrigerate to slow fermentation.
Pickled Green Beans:
A delightful and crunchy treat!
- Ingredients:
- 1 pound green beans (snap peas or yellow beans work well too)
- 2-3 cloves garlic, smashed
- 1-2 sprigs dill
- 1/2 teaspoon red pepper flakes (optional)
- 2 cups water
- 1 tablespoon non-iodized salt
- Instructions:
- Trim the ends of the green beans.
- Pack the beans, garlic, dill, and red pepper flakes into a clean jar.
- Dissolve the salt in the water to create a brine.
- Pour the brine over the beans, ensuring they are completely submerged.
- Weigh down the beans.
- Ferment at room temperature for 3-7 days, tasting daily.
- Refrigerate to stop fermentation.
Seasonal Variations:
Don't be afraid to experiment! In the spring, try fermenting radishes and spring onions. Summer is perfect for cucumbers, tomatoes (yes, you can ferment tomatoes!), and zucchini. In the fall, focus on cabbage, carrots, and beets.

Fermented Fruits: Sweet & Tangy Delights
While vegetables often steal the fermentation spotlight, fruits can also be transformed into incredibly flavorful and healthy treats. Fermenting fruits can mellow their sweetness, develop complex flavors, and, of course, boost their probiotic content.
Fermented Applesauce:
A delightful twist on a classic!
- Ingredients:
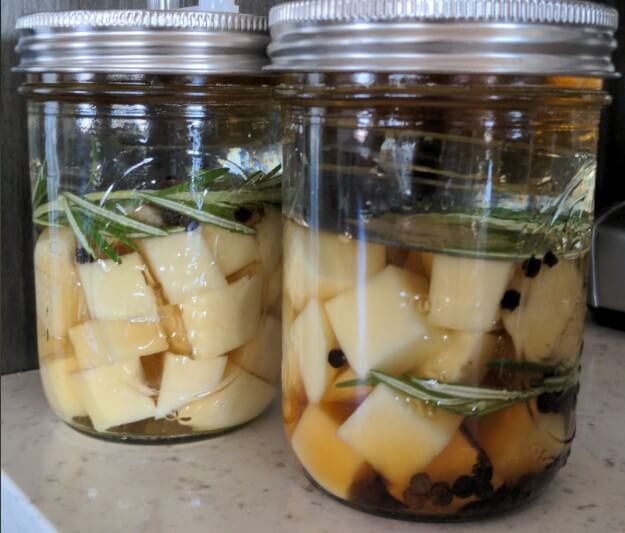
- 4 cups chopped apples (any variety)
- 1/4 cup whey (from yogurt or kefir) or 1 tablespoon of sea salt
- 1/2 teaspoon cinnamon
- 1/4 teaspoon nutmeg
- Instructions:
- Combine all ingredients in a bowl.
- Pack into a clean jar, pressing down slightly.
- Ferment at room temperature for 2-4 days, or until desired tanginess is reached.
- Refrigerate to slow fermentation.
Beyond the Basics: Fermented Beverages for the Farmhouse Table
Want to expand your fermentation horizons even further? Consider exploring the world of fermented beverages, such as water kefir.
Water kefir is a fizzy, probiotic-rich drink made using water kefir grains (also known as tibicos). These aren't actually grains, but rather a symbiotic culture of bacteria and yeast (SCOBY) that resemble small, translucent crystals. Water kefir is incredibly versatile and can be flavored with fruits, herbs, and spices.
- Ingredients:
- 1/4 cup water kefir grains
- 4 cups filtered water
- 1/4 cup sugar (organic cane sugar is ideal)
- Optional: 1/4 cup fruit juice (cranberry, grape, or apple work well), a few slices of fresh fruit (lemon, berries), or herbs (ginger, mint).
- Instructions:
- Dissolve the sugar in the water.
- Add the water kefir grains to a clean jar.
- Pour the sugar water over the grains.
- Add any optional flavorings.
- Cover loosely and ferment at room temperature for 24-48 hours.
- Strain the kefir through a non-metal sieve to remove the grains. The grains can be reused to make another batch.
- For a second fermentation and added fizz, bottle the strained kefir with more fruit juice or flavorings and seal tightly. Ferment for another 12-24 hours at room temperature. Be careful, as pressure can build up!
- Refrigerate to stop fermentation.

Troubleshooting & Tips for Fermentation Success
Fermentation can be a bit of a learning curve, but don't be discouraged by occasional mishaps. Here are a few common issues and how to address them:
- Mold: Mold is the most common concern. White, fuzzy mold on the surface is usually harmless (kahm yeast). However, if you see any mold that is green, blue, black, or pink, discard the entire batch.
- Mushy Vegetables: This can be caused by too much salt or fermenting at too high a temperature.
- Off-Flavors: Sometimes ferments can develop unpleasant odors or flavors. This can be due to a variety of factors, including improper sanitation, incorrect salt levels, or fluctuating temperatures. Trust your senses – if something smells or tastes off, it's best to discard it.
Tips for Success:
- Maintain a Consistent Temperature: Temperature fluctuations can disrupt the fermentation process. Aim for a consistent room temperature between 65-75°F.
- Experiment with Flavors: Don't be afraid to add herbs, spices, and other flavorings to your ferments.
- Use Quality Ingredients: Start with fresh, high-quality vegetables and fruits.
- Trust Your Palate: The best way to learn about fermentation is to experiment and taste!
Embracing the Living Pantry
Fermentation is more than just a preservation technique; it's a way to connect with the natural world, enhance the flavors of your homegrown produce, and nourish your body from the inside out. Building a fermented food pantry is a journey, not a destination. So, embrace the process, experiment with different recipes, and enjoy the bounty of your living pantry all year long. What are your favorite vegetables to ferment? Let us know in the comments below!

Ready to dive deeper into the world of fermentation? Sign up for our newsletter to receive exclusive tips, seasonal recipes, and homesteading inspiration! [link to newsletter signup]