Better Homes and Harvests: Mastering Late-Season Seed Saving for a Bountiful Spring
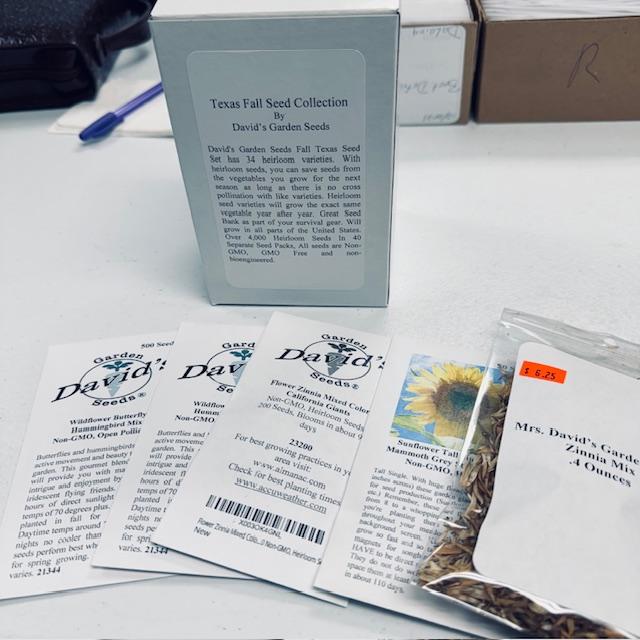
The crisp air of late autumn signals the garden's winding down, but savvy homesteaders know this is prime time for a crucial task: seed saving! Many gardeners focus on the early part of the season, but miss out on preserving seeds from some of the heartiest, most flavorful plants. As the last of the tomatoes blush and the pumpkins deepen in color, we’ll show you the secret to turning this end-of-season abundance into a spring brimming with homegrown goodness. Forget expensive seed catalogs—imagine a garden bursting with plants perfectly adapted to your microclimate, all thanks to your own late-season seed-saving efforts.
Why Late-Season Seed Saving Matters (And What You Might Be Missing!)
Late-season seed saving offers several advantages that can dramatically improve your garden's resilience and productivity. Plants that thrive late in the season often possess inherent resistance to common diseases and pests, making their offspring naturally hardier. These plants have proven themselves capable of weathering challenging conditions, such as early frosts or intense late-summer heatwaves. By saving seeds from these survivors, you're essentially selecting for traits that will benefit your garden in future years.
I remember one year when a late blight decimated most of my tomato crop. Only a few ‘Mortgage Lifter’ tomatoes stubbornly continued to produce. I diligently saved seeds from those resilient plants, and the following year, their offspring showed significantly improved blight resistance. Saving those late-season seeds not only saved me money but also provided me with a more robust and flavorful tomato harvest.
Beyond disease resistance, late-season seed saving promotes self-sufficiency and reduces reliance on external seed sources. You'll save money, gain a deeper connection to your garden, and contribute to the preservation of valuable heirloom varieties. It’s a win-win for both your wallet and the planet!
The Best Plants for Late-Season Seed Saving
Not all plants are created equal when it comes to late-season seed saving. Here are a few of my favorites and why they are excellent candidates:
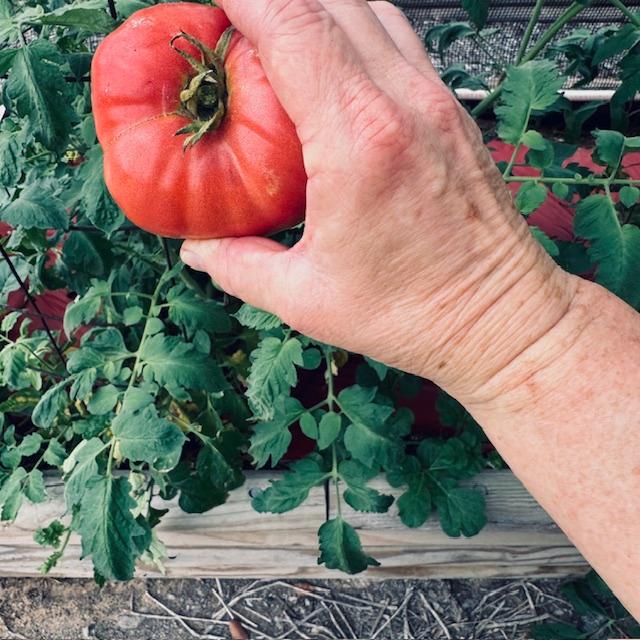
Tomatoes: Late-season tomatoes often develop exceptional flavor as they ripen in the cooler temperatures. Saving seeds from these fully ripened fruits is a simple process (more on that below!) and yields plants that are well-suited to your local climate.
Pumpkins and Winter Squash: These crops are specifically designed to mature late in the season. Choose the largest, most vibrant, and best-formed pumpkins or squash for seed saving. Ensure they've reached full maturity on the vine.
Beans: If you've allowed some of your bean plants to mature fully, you can harvest the dried pods for seed saving. Select the plumpest, most well-formed beans from healthy plants. Late-season beans often avoid early-season pest pressures.
Lettuce: If you've allowed some of your lettuce to bolt (go to seed), you can collect the seeds from the flower heads. Choose plants that bolted later in the season, indicating better heat tolerance.
Step-by-Step Guide: Tomato Seed Saving 101 (and Beyond!)
Saving tomato seeds is surprisingly easy and relies on a simple fermentation process that removes the gelatinous coating around the seeds and prevents disease transmission.
Here's how to do it:
- Select Ripe Tomatoes: Choose the ripest, healthiest tomatoes from your best-performing plants.
- Scoop Out the Seeds: Cut the tomato in half and scoop out the seeds and surrounding pulp into a clean jar.
- Add a Little Water: Add a small amount of water to the jar (about ¼ cup for every cup of pulp and seeds).
- Ferment: Cover the jar loosely with a lid or cheesecloth and let it sit at room temperature for 3-5 days, stirring daily. A layer of white mold may form on the surface – this is normal. This process removes germination inhibitors.
- Test for Completion: The fermentation is complete when the seeds sink to the bottom of the jar and the mold layer is well-formed.
- Rinse and Separate: Add more water to the jar and stir vigorously. The viable seeds will remain at the bottom, while the pulp and non-viable seeds will float to the top. Pour off the pulp and debris. Repeat this process until only clean seeds remain.
- Dry the Seeds: Spread the seeds in a single layer on a non-stick surface (such as a coffee filter or a glass plate) and let them dry completely in a cool, dry place. This may take 1-2 weeks.
- Store the Seeds: Once the seeds are completely dry, store them in an airtight container in a cool, dark, and dry place.
Tips for other late-season plants:
Pumpkins and Squash: Simply scoop out the seeds, remove any attached pulp, and dry them thoroughly. No fermentation is needed.
Beans: Allow the bean pods to dry completely on the plant. Once dry, shell the beans and store them in an airtight container.
Lettuce: When the flower heads are dry and brittle, gently crush them to release the seeds. Winnow the seeds to remove any chaff and store them in an airtight container.
Actionable Tips for Seed Saving Success
- Tip 1: Properly identify the best plants for seed saving. Look for healthy, vigorous specimens that exhibit the traits you want to preserve.
- Tip 2: Harvest only from healthy, vigorous plants. Avoid saving seeds from plants that show signs of disease or pest infestation.
- Tip 3: Understand the specific seed-saving requirements for each plant (wet vs. dry seed saving).
- Tip 4: Properly dry seeds to prevent mold and ensure viability. Use a well-ventilated area and avoid direct sunlight.
- Tip 5: Store seeds in airtight containers in a cool, dark, and dry place. This will help to maintain their viability for several years.
- Tip 6: Label seeds clearly with the plant name and date. This will help you keep track of your seed collection.
- Tip 7: Perform a germination test before planting to ensure seed viability. Simply sow a few seeds on a damp paper towel and see how many germinate.
Closing Reflection
As you gather your late-season harvest and save your precious seeds, remember that you're participating in a tradition that connects you to generations of gardeners. By saving your own seeds, you are preserving biodiversity, fostering self-sufficiency, and creating a garden uniquely adapted to your little patch of the world. We'd love to hear about your experiences with late-season seed saving! What are your favorite varieties to save? Share your tips and tricks in the comments below! Happy harvesting!