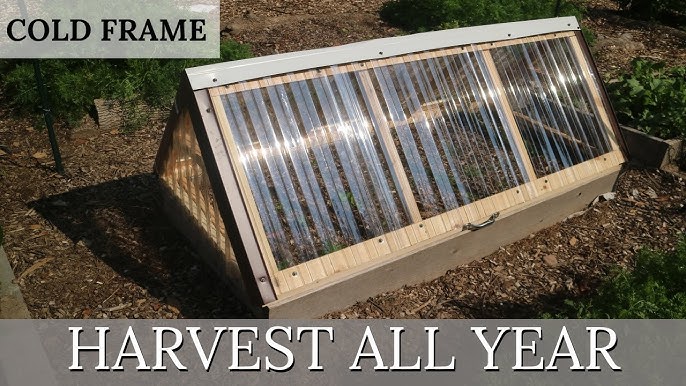
Better Homes and Harvests: Build a Beautiful & Efficient Cold Frame From Repurposed Materials
Welcome, fellow homesteaders! Here at Better Homes and Harvests, we’re all about finding practical, sustainable solutions to enhance our self-reliance. Today, we’re diving into a project that perfectly embodies that spirit: building a highly efficient and beautiful DIY cold frame from repurposed materials. Get ready to extend your growing season, protect your precious seedlings, and connect more deeply with the land!
My Cold Frame Journey: From Frustration to Flourishing
My own journey with cold frames began out of necessity. Living in a region with unpredictable spring frosts and short growing seasons, I was constantly frustrated by late starts and early endings to my gardening efforts. I tried everything from row covers to bringing plants indoors, but nothing seemed to provide the consistent protection and warmth I needed. That's when I discovered the magic of cold frames.
My first cold frame was… well, let’s just say it was functional but not pretty. It was made from salvaged lumber and a discarded shower door. While it did the job, I knew I could do better. I craved a cold frame that was not only effective but also aesthetically pleasing, seamlessly blending into the landscape of my homestead. Through trial and error, and lots of repurposing, I finally crafted a cold frame that ticked all the boxes. And now, I'm excited to share my experience with you!
Why Build a Cold Frame? The Benefits Are Endless!
Before we jump into the step-by-step guide, let's quickly recap why a cold frame is such a valuable addition to any homestead:
- Extend the Growing Season: Start your seeds earlier in spring and continue harvesting later into fall.
- Protect Plants from Frost: Shield tender seedlings and established plants from unexpected cold snaps.
- Harden Off Seedlings: Acclimate indoor-grown seedlings to outdoor conditions gradually.
- Boost Overall Yields: Enjoy a more abundant and consistent harvest throughout the year.
- Sustainable Gardening: Utilize repurposed materials and reduce your reliance on commercially grown produce.
Ready to Build? Let's Get Started!
This guide is designed for homesteaders with basic DIY skills. We'll focus on using readily available and repurposed materials to create an efficient and attractive cold frame.
Step 1: Gathering Your Materials (Repurposed Treasures!)
The beauty of this project lies in its adaptability. Get creative with your sourcing! Here's a list of materials you'll need, along with suggestions for finding them affordably:
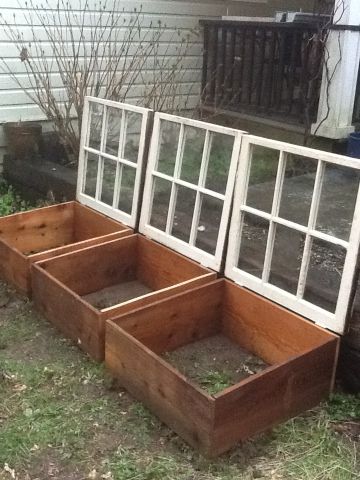
Old Windows: This is the star of the show! Look for single-pane windows at architectural salvage yards, online marketplaces (Facebook Marketplace, Craigslist), or ask friends and neighbors who might be renovating.
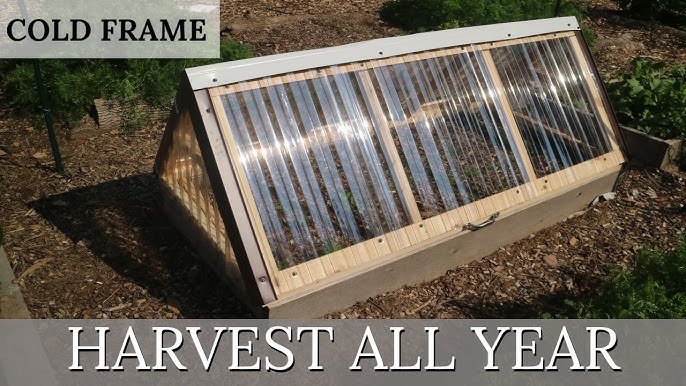
Lumber: Use reclaimed lumber from old fences, pallets (ensure they are heat-treated and not chemically treated!), or construction sites (with permission, of course).
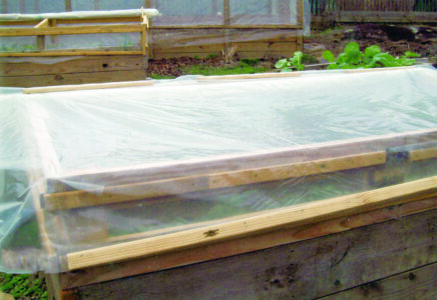
Screws/Nails: Use what you have on hand.
Hinges: For attaching the window lid. Repurposed hinges work great!
Handles/Latches (Optional): For easy opening and closing.
Caulk or Weather Stripping: To seal gaps and improve insulation.
Paint or Wood Preservative (Optional): To protect the wood and enhance appearance.
Sourcing Tip: Don't be afraid to ask! Let your network know you're looking for old windows or lumber. You'd be surprised at what people are willing to give away.
Step 2: Planning and Design
Before you start cutting, take some time to plan the dimensions of your cold frame. Consider the size of your window(s) and the available space in your garden.
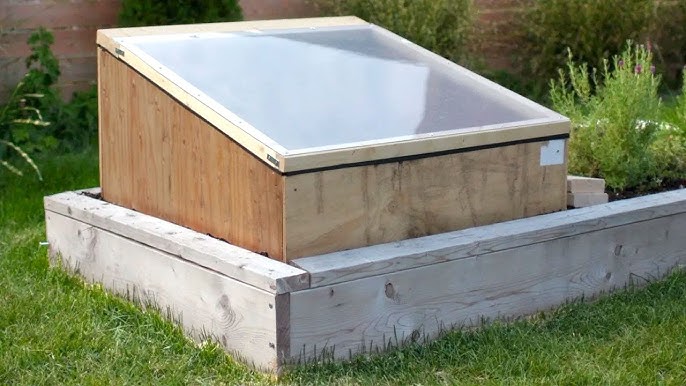
- Slope: The ideal slope is around 20-30 degrees, facing south (in the Northern Hemisphere) to maximize sunlight capture.
- Size: A good starting size is 4 feet wide by 2 feet deep, but adjust as needed.
- Height: The back of the cold frame should be taller than the front to create the slope.
Step 3: Cutting and Assembling the Frame
- Cut the Lumber: Based on your planned dimensions, cut the lumber for the front, back, and side walls of the cold frame.
- Assemble the Frame: Using screws or nails, assemble the four walls of the cold frame. Ensure the corners are square.
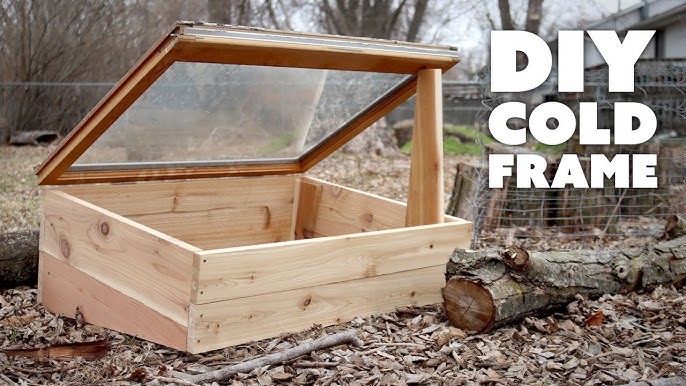
- Attach the Window Lid: Attach the hinges to the window and the back wall of the cold frame.
- Add Handles/Latches (Optional): Install handles or latches for easy opening and secure closing.
Step 4: Insulating and Sealing (Efficiency is Key!)
- Caulk the Seams: Use caulk to seal any gaps between the lumber and the window, preventing heat loss.
- Weather Stripping: Add weather stripping around the edges of the window frame to create a tighter seal.
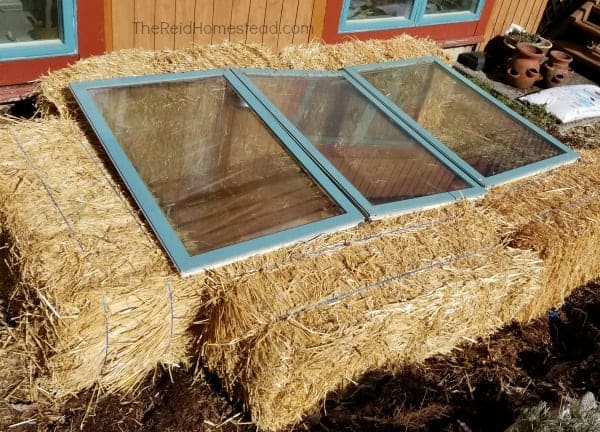
Bonus Tip: Consider insulating the north-facing wall of the cold frame with straw bales or rigid foam insulation for added protection.
Step 5: Ventilation (Preventing Overheating)
Ventilation is crucial to prevent your cold frame from overheating on sunny days. Here are a few options:
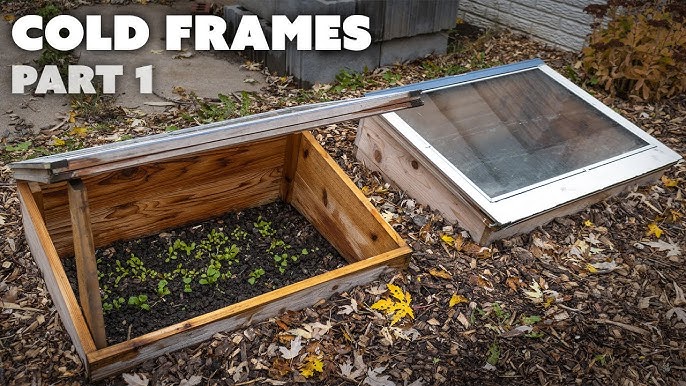
- Prop the Lid: Simply prop the lid open with a stick or brick.
- Automatic Vent Opener: Invest in an automatic vent opener that automatically adjusts the lid based on temperature.
Step 6: Finishing Touches (Make it Beautiful!)
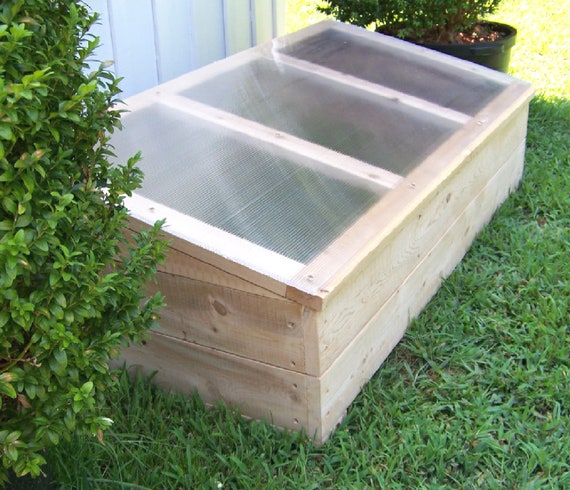
- Paint or Stain: Protect the wood and add a touch of personality with paint or stain.
- Gravel Base: Add a layer of gravel to the bottom of the cold frame for drainage.
- Placement: Choose a sunny, sheltered location for your cold frame.
Step 7: Using Your Cold Frame (Extending the Season!)
- Starting Seeds: Sow seeds directly in the cold frame or start them indoors and transplant them later.
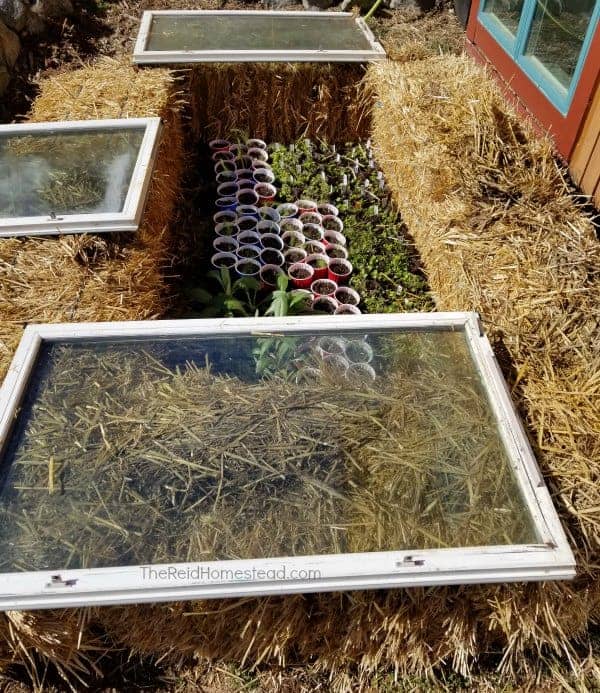
- Hardening Off Seedlings: Gradually acclimate indoor-grown seedlings to outdoor conditions by placing them in the cold frame for increasing periods each day.
- Protecting Plants: Shield tender plants from frost and harsh weather.
Troubleshooting Common Problems
Overheating: Ensure adequate ventilation by opening the lid or installing an automatic vent opener.
Pest Control: Regularly inspect your plants for pests and take appropriate action (e.g., hand-picking, insecticidal soap).
Moisture Buildup: Ensure good drainage and ventilation to prevent fungal diseases.
Lack of Sunlight: Choose a sunny location for your cold frame and consider using reflective materials to maximize light capture.
Unique Features to Consider:
- Elevated Cold Frame: Build your cold frame on legs to make it easier to access and reduce back strain.
- Cold Frame with Shelves: Add shelves to maximize growing space.
- Mobile Cold Frame: Attach wheels to your cold frame for easy relocation.
Your Turn!
Building a DIY cold frame from repurposed materials is a rewarding project that will enhance your self-reliance and connect you more deeply with the land. We hope this guide has inspired you to get creative and build your own beautiful and efficient cold frame.
Now, we want to see your creations! Share photos of your own cold frame projects in the comments section below or on social media using the hashtag #BetterHomesAndHarvestsColdFrame. We can't wait to see what you come up with!
And for more homesteading tips, DIY projects, and sustainable living inspiration, be sure to subscribe to the Better Homes and Harvests newsletter. Happy gardening!