Beeswax Candles: Slow Down & Light Up the Holidays with Nature
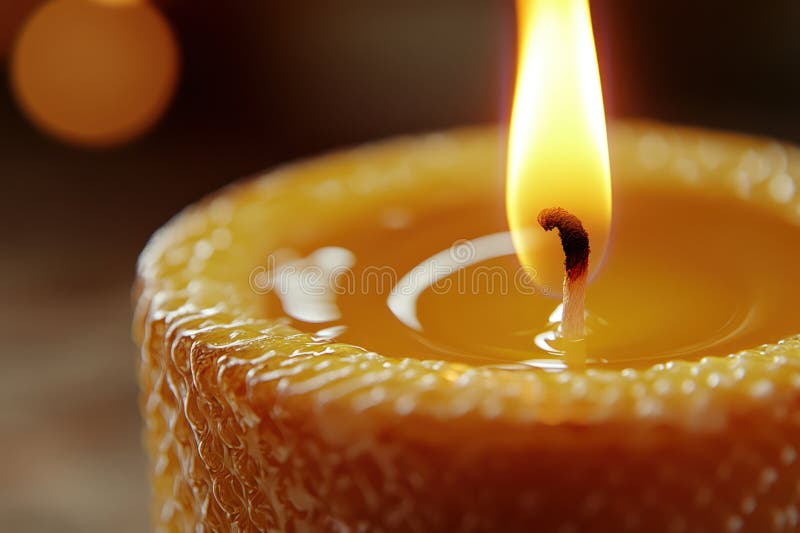
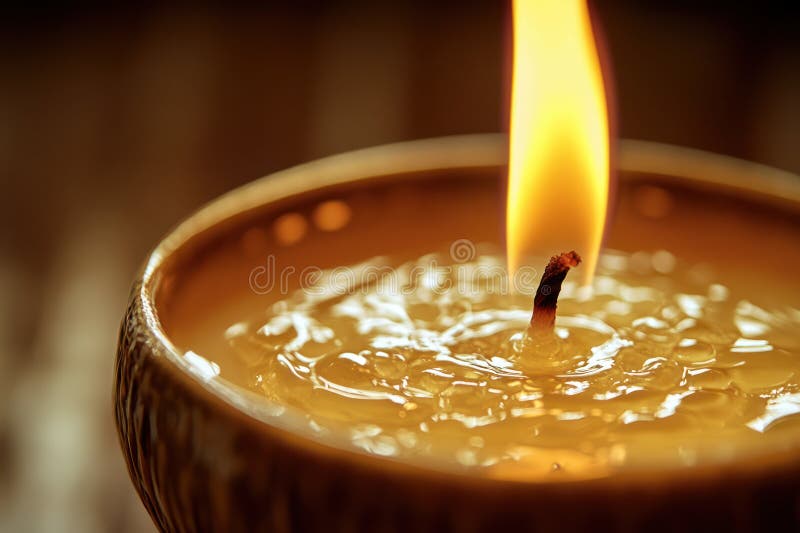
The air is crisp, a gentle frost paints the windowpanes, and the scent of pine hangs heavy in the air. But there's another aroma, a sweeter, warmer fragrance that truly signals the arrival of the holidays in our home: the honeyed scent of melting beeswax. Forget the artificial cinnamon and chemically-laden pine sprays – nothing compares to the pure, natural glow and aroma of a handmade beeswax candle.
In our increasingly consumer-driven holiday season, it's easy to get swept away by the whirlwind of shopping lists and frantic preparations. But this year, we invite you to slow down, reconnect with nature, and embrace the simple joy of crafting your own beeswax candles. It's a tradition that nourishes the soul, filling your home with warmth and light while honoring the gifts of the earth – and the industriousness of the honeybee. This isn't just about making candles; it's about creating a mindful moment, a connection to the slower rhythms of homestead life, and a refreshing alternative to the holiday frenzy.

For generations, candles were more than just decoration; they were a necessity. Before electricity, they lit our homes, guided our steps, and marked the passing of time. Beeswax candles, prized for their clean burn and sweet scent, were a luxury, often reserved for special occasions. Today, we can reclaim that sense of luxury – not in the sense of extravagance, but in the sense of appreciating the simple beauty and natural goodness that beeswax offers.
The Gift of the Bees: Sourcing Your Beeswax
The journey to a beautifully lit beeswax candle begins with sourcing your beeswax. Where does this magical substance come from, and how can we ensure we're supporting ethical and sustainable practices?
Ideally, you would source your beeswax directly from a local beekeeper. Building a relationship with a beekeeper not only provides you with the highest quality beeswax but also supports their vital work in pollinating our crops and maintaining healthy ecosystems. Ask about their beekeeping practices to ensure they prioritize the well-being of their bees.
If you don't have access to a local beekeeper, several reputable online suppliers offer sustainably sourced beeswax. Look for suppliers who are transparent about their sourcing practices and prioritize ethical treatment of bees.
There are different grades of beeswax available, ranging from cosmetic grade (often heavily filtered and processed) to standard beeswax. For candle making, standard beeswax is perfectly suitable. The color can vary from light yellow to dark brown, depending on the flowers the bees have foraged on. This variation in color adds to the unique character of your handmade candles.
If you're fortunate enough to keep your own bees, you can render your own beeswax. This is a deeply satisfying process, connecting you even more closely to the source of your candle-making material. However, rendering beeswax requires specific equipment and knowledge, so be sure to do your research beforehand.

It's crucial to acknowledge the ethical considerations of using beeswax. Beeswork hard to produce this valuable resource. We must practice responsible consumption, supporting beekeepers who prioritize the health and well-being of their colonies. By choosing local and sustainable sources, we can honor the gifts of the bees and contribute to a healthier planet. Bees and their honey products hold immense value across many cultures, often used in rituals and traditions, providing us a deeper link to the past when we use it.
Gather Your Supplies: Simplicity in Action
Once you've secured your beeswax, it's time to gather your supplies. The beauty of beeswax candle making lies in its simplicity – you don't need a lot of fancy equipment to create beautiful, fragrant candles.
Here's what you'll need:
- Beeswax: Of course! Choose the grade and color that suits your preference.
- Wicks: Pre-waxed cotton or hemp wicks are ideal. Choose the right size wick based on the diameter of your container. A wick that is too small will drown in wax, while a wick that is too large will produce excessive smoke.
- Double Boiler (or Heat-Safe Bowl and Saucepan): For safely melting the beeswax. Beeswax is flammable, so it's crucial to melt it gently and indirectly.
- Thermometer: To monitor the temperature of the beeswax. Aim for around 185°F (85°C).
- Containers (Jars, Molds): You can use recycled jars, vintage teacups, or silicone molds. Get creative!
- Popsicle Sticks or Clothespins: To center and secure the wicks in your containers.
For a rustic touch, consider using repurposed containers like mason jars or even small hollowed-out pumpkins (if you're making candles around Halloween or Thanksgiving). The beauty of this craft is its adaptability and the opportunity to give new life to old items. Using well-loved tools adds a layer of history and meaning, connecting us to generations of makers who found joy in creating with their hands.

The Craft of Candle Making: A Step-by-Step Guide
Now for the fun part – actually making the candles! Follow these step-by-step instructions for a safe and successful candle-making experience.
- Melt the Beeswax: Fill the bottom pot of your double boiler with water and bring it to a simmer. Place the beeswax in the top pot (or heat-safe bowl) and set it over the simmering water. Stir occasionally until the beeswax is completely melted. Use a thermometer to monitor the temperature, ensuring it doesn't exceed 200°F (93°C). Safety First: Never leave melting beeswax unattended.
- Prepare Your Containers: While the beeswax is melting, prepare your containers. Center the wick in the container and secure it using a popsicle stick or clothespin. This will prevent the wick from shifting during the pouring process.
- Pour the Melted Beeswax: Carefully pour the melted beeswax into your prepared containers, leaving about an inch of space at the top.
- Cool and Harden: Allow the candles to cool and harden completely. This may take several hours, or even overnight. Avoid moving the candles during the cooling process to prevent uneven surfaces.
- Trim the Wicks: Once the candles are completely hardened, trim the wicks to about ¼ inch.
(Unable to place step-by-step photos, but image can be a collage of individual steps: a) beeswax melting in a double boiler, b) wick centering in a jar, c) beeswax being poured into a jar).
Troubleshooting Tips:
- Air Bubbles: Tap the containers gently on a hard surface to release any trapped air bubbles.
- Uneven Cooling: Cover the candles loosely with a towel to slow down the cooling process and prevent cracking.
- Wick Problems: If your wick is drowning in wax, it's likely too small for the container. If your wick is producing excessive smoke, it's likely too large. Adjust the wick size accordingly for future candles.
For an extra personal touch, consider adding natural scents to your beeswax candles. Essential oils can be added to the melted beeswax just before pouring. However, be cautious about the type and amount of essential oil you use. Some essential oils are flammable or can produce harmful fumes when burned. Research safe essential oil blends for candles before adding them. You can also add dried herbs or flowers to the melted beeswax for extra personalization, though remember to keep them away from the wick to prevent fire hazards.
Beyond the Basic: Adding Personal Touches
Once you've mastered the basic beeswax candle, it's time to explore more creative decorating options. This is where you can truly personalize your candles and create unique gifts for loved ones.
Here are a few ideas:
- Natural Twine or Ribbon: Tie a piece of natural twine or ribbon around the candle for a rustic, homespun look.
- Dried Flowers or Herbs: Attach small dried flowers or herbs to the twine for a touch of natural beauty.
- Personalized Labels: Write personalized messages on labels and attach them to the candles.
- Beeswax Dipping: Dip the finished candles in melted beeswax for a decorative coating.
Consider creating different themes for your candles. Winter solstice candles could be infused with rosemary and pine, while honey-themed candles could feature honeycomb patterns. You can even create gift sets with homemade beeswax candles and local honey, creating a truly special and thoughtful present. Consider creating "intention candles" using specific herbs and essential oils to promote peace, gratitude, and joy.

Sharing the Light: Gifting and Using Your Candles
The joy of gifting handmade items is unmatched. A beeswax candle is more than just a gift; it's a symbol of warmth, light, and connection. When gifting your candles, consider packaging them in a sustainable and attractive way. Kraft paper, muslin bags, or reusable jars are all excellent options.
Safety Tips for Burning Beeswax Candles:
- Never leave burning candles unattended.
- Keep candles away from flammable materials.
- Trim wicks to ¼ inch regularly.
- Burn candles in a well-ventilated area.
Consider the ritualistic aspect of lighting candles. Creating a sense of calm and intention during the holidays can be powerful. Use your candles for meditation, relaxation, or simply to create a cozy atmosphere.
A Simple Glow of Connection
Making beeswax candles is more than just a craft; it's a way to slow down, reconnect with nature, and create meaningful traditions during the holiday season. It’s a way to honor the industrious honeybee, using their gift to bring warmth and light to our homes.
These simple candles are a reminder that the most precious gifts are often those that are made with love and intention. As the warm, honeyed scent fills your home, may it serve as a reminder of the simple joys of life and the beauty of connection. Let’s be grateful for the gifts of the bees, and let their light guide us through the holiday season and beyond.

Now, we want to hear from you! Have you ever made your own candles? What are your favorite holiday traditions? Share your thoughts and experiences in the comments below! And if you try making your own beeswax candles, be sure to share your creations on social media using #BetterHomesBeeswax and #HomesteadHolidays. We can’t wait to see what you create!