Beat the Rush: Build a DIY Seed Starting Shelf for a Thriving Spring Garden
Remember that feeling of absolute defeat when you finally got your seedlings in the ground, only to have a late frost wipe them all out? Or the disappointment of watching your neighbor's tomatoes ripen weeks before yours? Here at Better Homes and Harvests, we believe that a little planning and a whole lot of DIY can turn those gardening woes into a season of abundance. This year, take control of your garden's destiny with our practical and affordable DIY Seed Starting Shelf project.
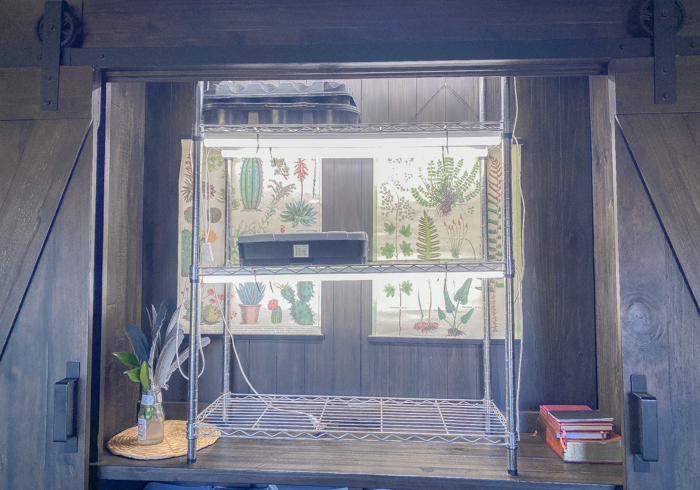
This project is perfect for both seasoned homesteaders and enthusiastic beginners. It’s a tangible way to embrace self-reliance, reduce your reliance on store-bought starts, and get a serious head start on your spring garden. Plus, you'll be surprised how satisfying it is to nurture tiny seedlings into robust plants, all thanks to your own ingenuity.
Why Start Seeds Indoors? The Homesteading Advantage
Starting seeds indoors isn't just about getting a jump on the growing season; it's about building a stronger, more resilient homestead. Here’s why it matters:
- Extends the Growing Season: Gives warmth-loving plants like tomatoes, peppers, and eggplant a head start in colder climates.
- Reduces Reliance on Store-Bought Starts: Saves money and ensures you're growing varieties suited to your local conditions.
- Greater Variety Selection: Allows you to choose from a wider range of heirloom and specialty varieties not typically found in nurseries.
- Control Over Growing Conditions: Provides a controlled environment free from pests, diseases, and unpredictable weather.
- Food Security: Bolsters your homestead's food security by ensuring a consistent supply of homegrown produce.
Our Budget-Friendly DIY Seed Starting Shelf: Overview
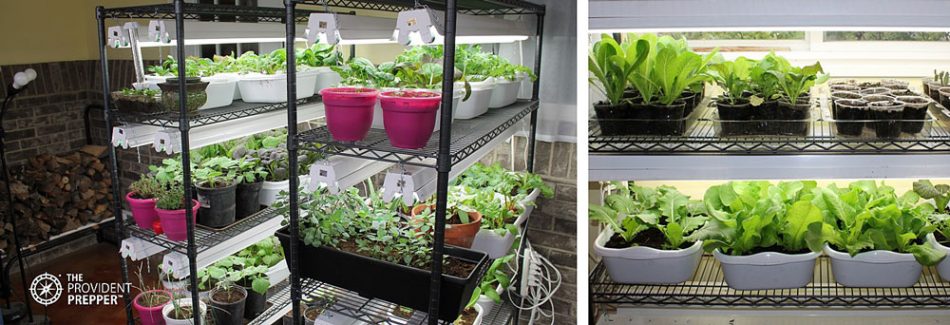
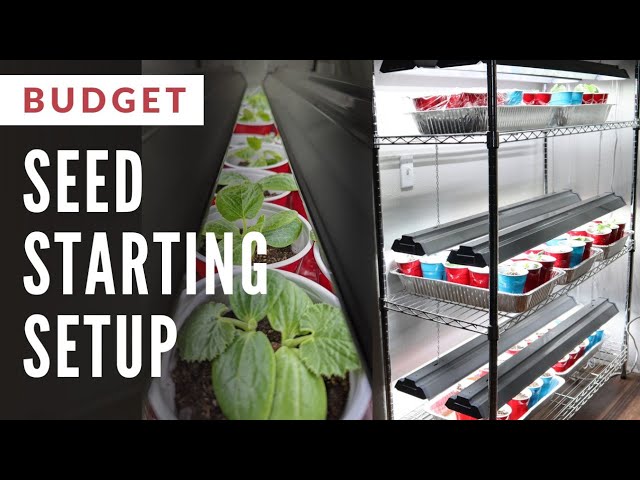
Our DIY seed starting shelf is designed to be simple, sturdy, and scalable. We'll walk you through building a basic three-shelf unit that can easily be adapted to fit your space and needs. We'll emphasize using readily available and repurposed materials to keep costs down. This homemade seed starting shelf is perfect for anyone looking for budget seed starting solutions.
Materials List: What You'll Need
Before you get started, gather the following materials. Remember to check your scrap pile and local salvage yards for cost-saving opportunities!
- Lumber:
- (4) 2x4s at 8 feet long (for the frame posts)
- (6) 1x4s at 8 feet long (for the shelf supports)
- (3) Sheets of Plywood or OSB cut to size for the shelves (See Dimensions Below)
- Fasteners:
- 2 1/2" wood screws
- 1 1/4" wood screws
- Lighting:
- (3) LED Shop Lights (4-foot recommended – look for "grow lights for seedlings" or standard LEDs)
- (3) Chains or S-Hooks for hanging lights (depending on your lighting setup)
- (1) Power strip with surge protection
- (Optional) Grow Light Timer
- Tools:
- Measuring tape
- Pencil
- Safety Glasses
- Saw (circular saw or hand saw)
- Drill with drill bits and screwdriver bits
- Level
- Sandpaper (optional)
Step-by-Step Instructions: Building Your Seed Starting Shelf
Plan Your Dimensions:
- Decide on the overall height, width, and depth of your shelf unit. A good starting point is 6 feet tall, 4 feet wide, and 18 inches deep.
- Adjust these dimensions to fit your available space and the size of your seed trays. Consider a vertical seed starting setup if space is limited.
- Shelf Spacing: Allow at least 15-18 inches between shelves to accommodate plant growth and allow space to raise the grow lights.
Cut the Lumber:
- Cut the 2x4s into four equal lengths for the vertical posts (e.g., 6 feet each if you’re building a 6-foot-tall shelf).
- Cut the 1x4s into the appropriate lengths for the shelf supports (four for each shelf - two for the front and back, and two for the sides. For a 4 foot wide shelf, cut the front and back supports to 4 feet long. For an 18 inch deep shelf, cut the side supports to 18 inches long.
- Cut the 2x4s into four equal lengths for the vertical posts (e.g., 6 feet each if you’re building a 6-foot-tall shelf).
Assemble the Frame:
- Create the frame by attaching the 1x4 shelf supports to the inside of the 2x4 posts, creating a rectangle.
- Use wood screws to secure the pieces together. Ensure the frame is square and level.
Install the Shelves:
- Cut the plywood or OSB to the desired shelf dimensions (e.g., 4 feet wide by 18 inches deep).
- Place the shelves on top of the 1x4 supports and secure them with screws.
Attach the Lights:
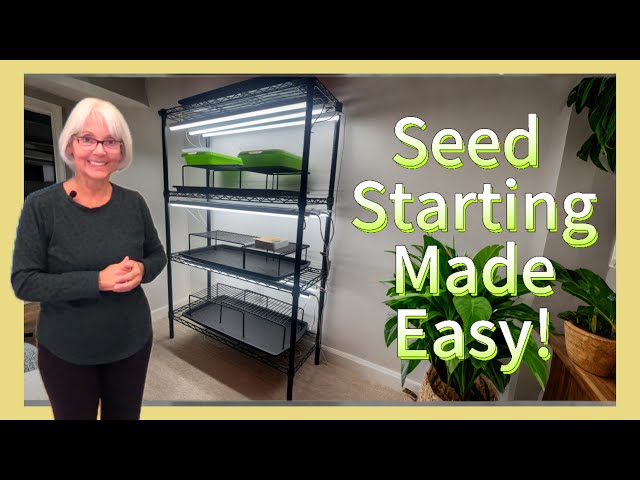
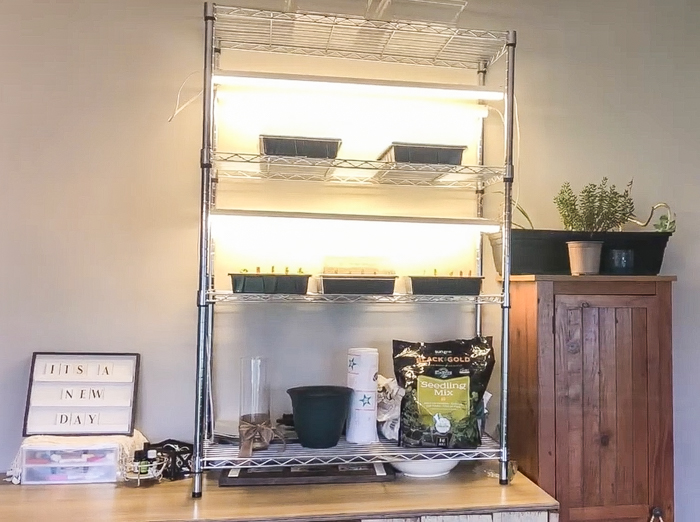
- Hang the LED shop lights above each shelf using chains or S-hooks.
- Ensure the lights are adjustable so you can raise them as your seedlings grow.
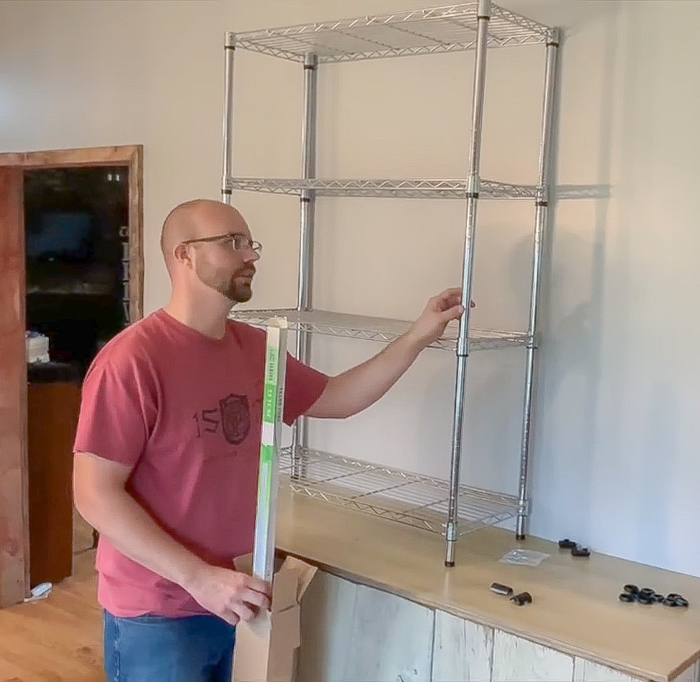
- Connect the lights to a power strip with surge protection. A grow light timer is helpful for automatically turning the lights on and off.
Finishing Touches (Optional):
- Sand any rough edges for a smoother finish.
- Consider painting or staining the shelf to protect the wood and enhance its appearance.
Sourcing Materials on a Budget
- Repurpose: Look for used lumber, shelves, or even old furniture that can be repurposed into a seed starting shelf.
- Salvage Yards: Check local salvage yards for discounted lumber and hardware.
- Sales and Discounts: Watch for sales and discounts at your local hardware store.
- Online Marketplaces: Explore online marketplaces for used or discounted materials.
- Ask Around: Let friends and neighbors know you're looking for scrap wood. You'd be surprised what people are willing to give away.
Connecting to the Homestead: Food Security and Self-Reliance
This DIY seed starting shelf is more than just a gardening project; it's an investment in your homestead's future. By starting your own seeds, you're taking control of your food supply and reducing your dependence on external sources. This directly contributes to self-sufficiency gardening and strengthens your ability to provide for yourself and your family. Getting a head start will allow you to have that spring garden seed starting before your neighbor, and enjoy the fruits (or vegetables) of your labor much sooner!
Troubleshooting Common Challenges
- Leggy Seedlings: Seedlings that are tall and spindly are not getting enough light. Lower the lights or provide additional light.
- Mold Growth: Overwatering or poor ventilation can lead to mold growth. Improve ventilation and water less frequently.
- Damping Off: This fungal disease can kill young seedlings. Use a sterile seed starting mix and avoid overwatering.
- Uneven Growth: Ensure that the grow lights are evenly distributed and that all seedlings are receiving adequate light. Rotate seed trays regularly.
Variations for Different Spaces and Skill Levels
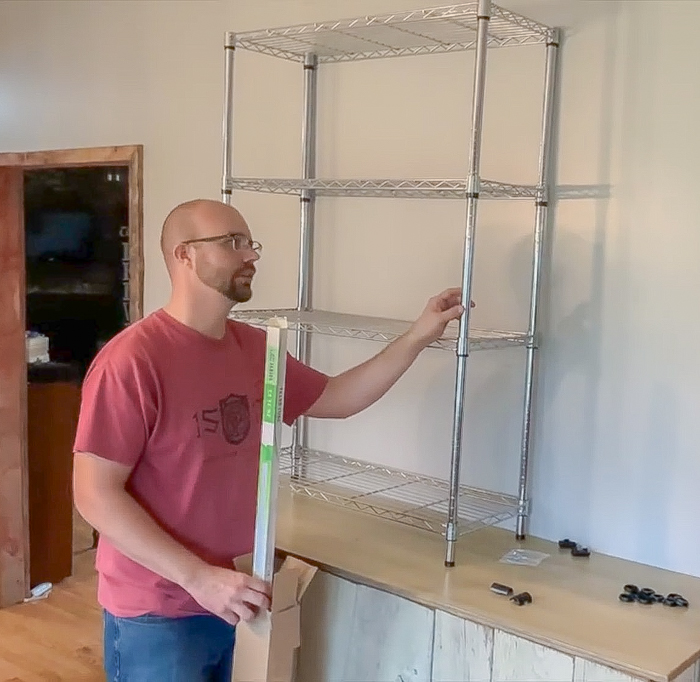
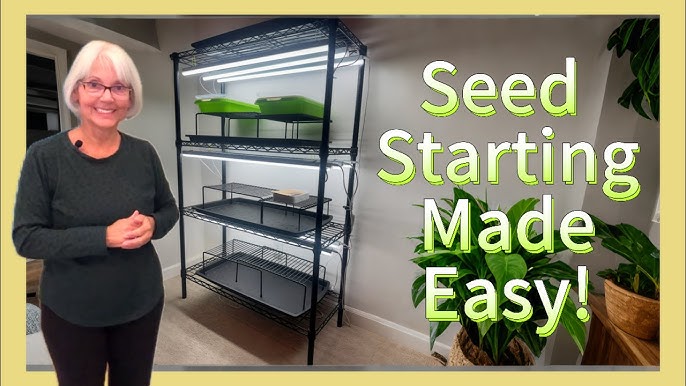
- Small Spaces: Build a vertical seed starting shelf using PVC pipe or metal shelving units.
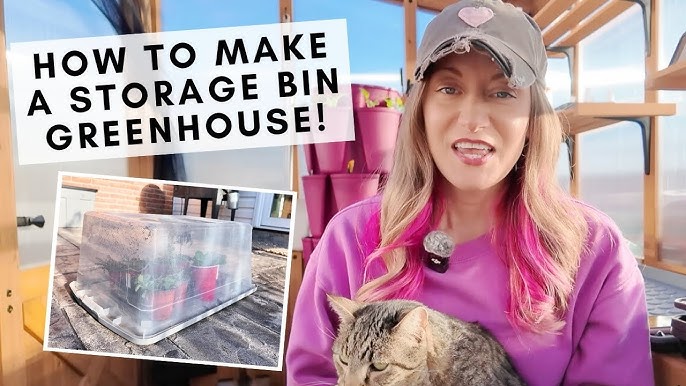
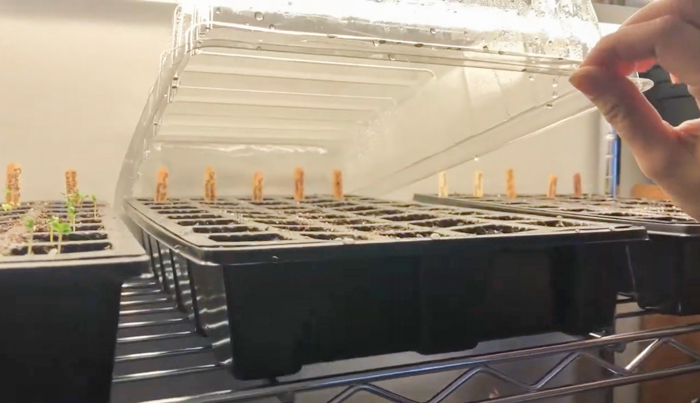
- Beginner-Friendly: Start with a single-shelf unit using a plastic storage container and a shop light.
- Advanced Builders: Incorporate automatic watering systems, temperature controls, and other advanced features.
Ready to Grow?
Building your own DIY seed starting shelf is an empowering step towards a more bountiful and self-sufficient homestead. It's a project that delivers tangible results, saves money, and connects you to the magic of growing your own food. So, grab your tools, gather your materials, and get ready to watch your garden dreams blossom.
Now, we want to hear from you! Share your own seed starting experiences in the comments below. Have you built a DIY seed starting shelf before? Post pictures of your creations or your thriving seedlings! Let's inspire each other and cultivate a community of passionate homesteaders. Happy gardening!