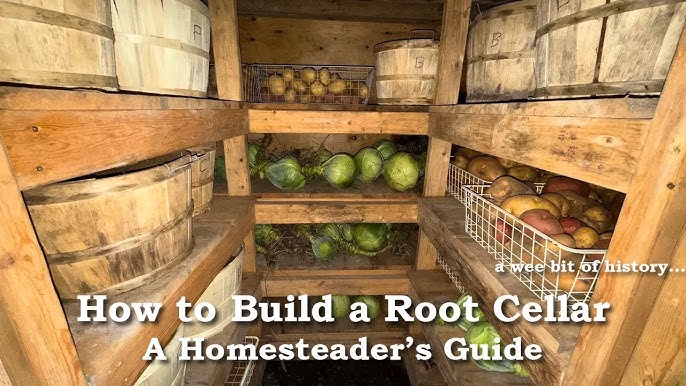
Beat the Grocery Store: Convert Your Shed into a Root Cellar for Under $500!
Are you tired of bland, out-of-season produce from the grocery store? Do you dream of a pantry overflowing with the fruits (and vegetables!) of your own labor, even in the dead of winter? I know I was. A few years ago, staring at a sad, shriveled potato I bought in January, I decided I’d had enough. That’s when I embarked on a journey to reclaim control over my food supply – a journey that led me to convert my old garden shed into a surprisingly effective and affordable DIY root cellar.
The truth is, we've become too reliant on global supply chains. Storing our own food isn't just a charming throwback; it's a vital step towards self-sufficiency and resilience. Building a full-blown, underground root cellar can be a massive undertaking. But what if you could achieve similar results with a weekend's work and a small budget? That's where converting an existing shed into a root cellar comes in. This project is perfect for homesteaders of all experience levels, especially those with limited space or resources. It solves the problem of short-term food spoilage, extends your harvest season, and gives you access to fresh, homegrown produce year-round. Plus, it’s a huge money-saver in the long run!
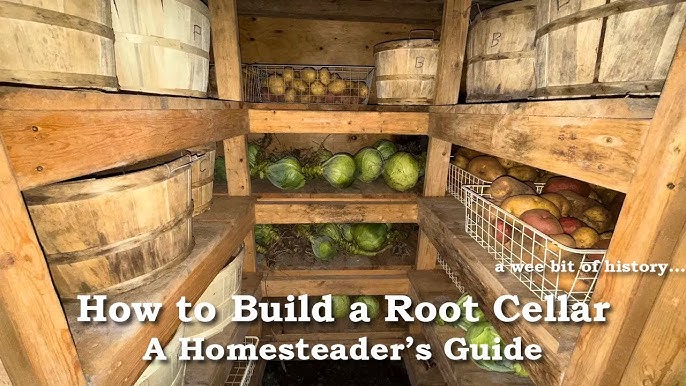
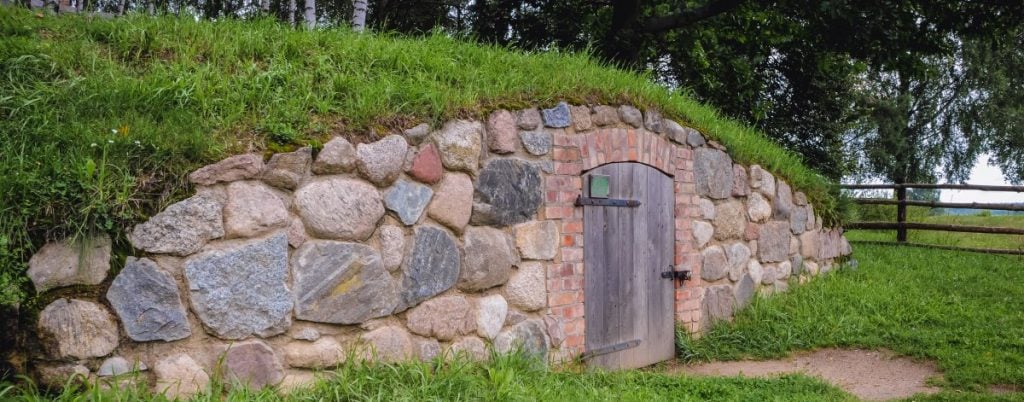
A finished shed root cellar. Imagine your own harvest stored safely inside!
Why a Shed Root Cellar? The Benefits are Rooted in Common Sense.
A DIY root cellar offers incredible benefits:
- Extended Harvest: Keep your hard-earned produce fresh for months, drastically extending your harvest season.
- Cost Savings: Reduce your grocery bills by storing your own food instead of buying expensive, imported produce.
- Improved Flavor: Enjoy the superior taste of naturally stored vegetables, allowing their flavors to develop over time.
- Emergency Preparedness: Provides a reliable food source in case of unexpected events or disruptions in the supply chain.
- Reduced Food Waste: Minimize spoilage and waste by providing optimal storage conditions for your crops.
- Environmentally Friendly: Reduces your carbon footprint by minimizing transportation and refrigeration needs.
- Ideal for homesteading practices, and off-grid living.
Who Benefits Most?
This project is ideal for:
- Homesteaders looking to increase self-sufficiency and food preservation.
- Gardeners with surplus produce they want to store long-term.
- Anyone seeking to reduce their reliance on the grocery store.
- Individuals interested in low-cost root cellar solutions.
The Conversion: A Step-by-Step Guide to Your Own Food Storage Oasis
Now, let's get down to the nitty-gritty. Here's how to convert your existing shed into a functional and efficient DIY root cellar for under $500. Remember to tailor these steps to your specific shed and climate.
Step 1: Assessment and Planning
Before you start swinging a hammer, take a good look at your shed. Consider these factors:
- Location: Is your shed in a shady spot? Direct sunlight will drastically increase temperatures inside. Ideally, choose a north-facing location to minimize sun exposure.
- Size: How much storage space do you need? Plan your shelving and layout accordingly.
- Structure: Is the shed structurally sound? Address any repairs needed before proceeding.
- Ventilation: Proper ventilation is crucial for maintaining the right humidity and temperature. Plan for vents near the floor and ceiling.
- Drainage: Ensure the area around the shed has good drainage to prevent moisture buildup.
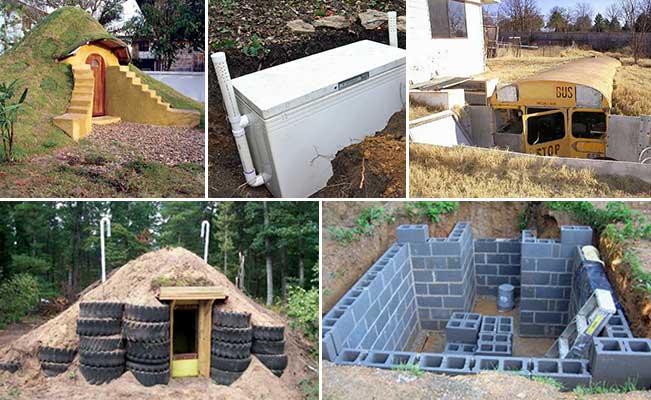
Proper airflow is essential for keeping your root cellar cool and fresh.
Step 2: Insulation – The Key to Temperature Control
Insulation is paramount to keeping your vegetable storage cool in the summer and preventing freezing in the winter.
- Walls: We used reclaimed foam board insulation that we sourced from a local construction site (ask around – they often have scraps they're willing to give away!). Cut the insulation to fit the wall cavities and secure it with construction adhesive. You can also use straw bales for a more natural (and often free!) insulation option. Be sure to cover straw bales with plastic to prevent moisture damage.
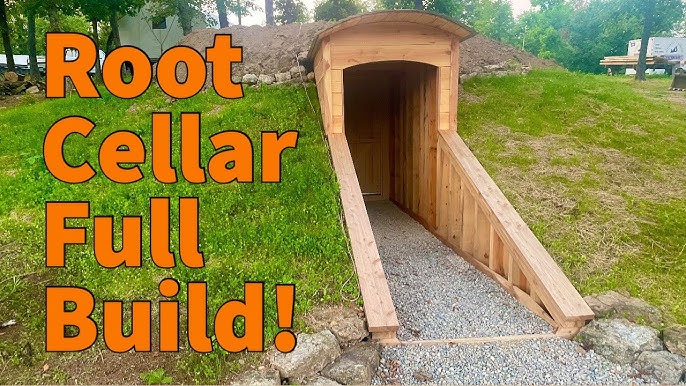
Insulating your root cellar is a key step in keeping your vegetables at the right temperature. - Floor: If your shed has a wooden floor, consider adding a layer of insulation underneath. You can use rigid foam insulation or even a thick layer of sand. An earth floor can also work well, helping to regulate humidity.
- Door: Insulate the door with foam board and weatherstripping to create a tight seal.
Step 3: Ventilation – Let the Fresh Air Flow
Proper ventilation is crucial for preventing mold and maintaining optimal humidity levels.
- Intake Vent: Install a vent near the floor on one side of the shed. This allows cool air to enter.
- Exhaust Vent: Install a vent near the ceiling on the opposite side of the shed. This allows warm, moist air to escape.
- Adjustable Vents: Use vents with adjustable dampers so you can control the airflow depending on the season.
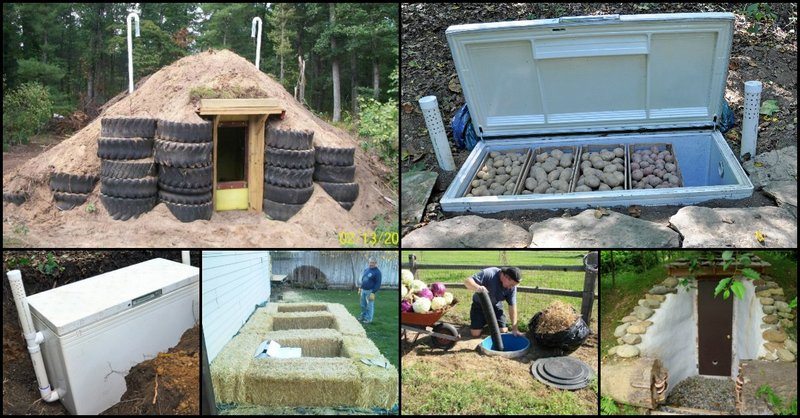
Consider various ventilation strategies to optimize air circulation.
Step 4: Shelving and Storage
Now it's time to build or install shelving to store your produce.
- Repurposed Materials: Use reclaimed lumber, pallets, or even old crates to build shelves. This is a great way to save money and reduce waste.
- Proper Spacing: Leave enough space between shelves for air circulation.
- Storage Containers: Use breathable containers like wooden crates, baskets, or mesh bags for storing your produce.
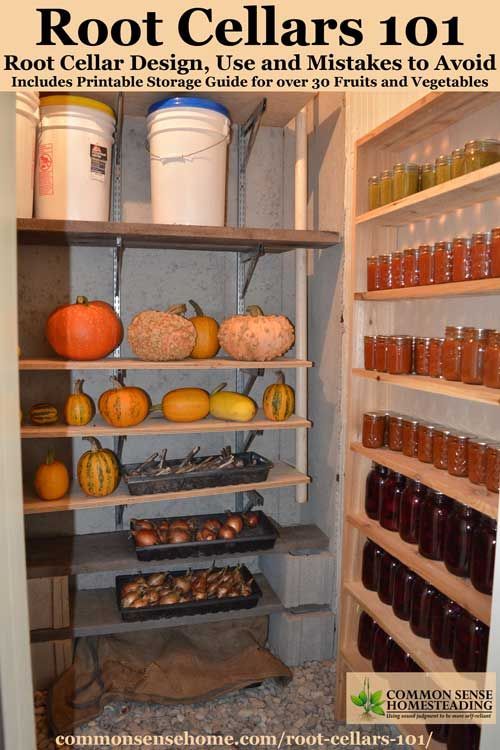
Crates and open shelving allow for proper air circulation around your produce.
Step 5: Temperature and Humidity Monitoring
Invest in a simple thermometer and hygrometer to monitor the temperature and humidity inside your root cellar design.
- Ideal Conditions: Most root vegetables store best at temperatures between 32-40°F (0-4°C) and humidity levels between 80-90%.
- Adjustments: Adjust ventilation and insulation as needed to maintain these conditions. A small humidifier or dehumidifier may be necessary in some climates.
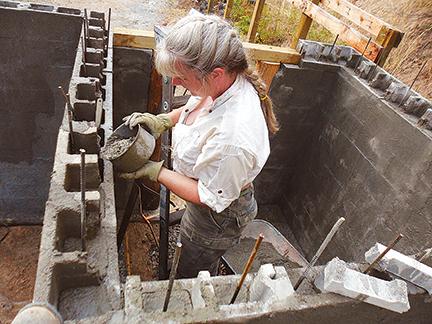
Keep an eye on temperature and humidity levels to maximize storage life.
Cost Breakdown: Keeping it Under Budget
Here's a rough estimate of the costs involved. Remember that these costs can vary depending on the materials you use and what you already have on hand.
- Reclaimed Insulation: Free - $50 (depending on availability)
- Ventilation: $20 - $50
- Shelving Materials (reclaimed): Free - $50
- Thermometer/Hygrometer: $10 - $20
- Weatherstripping: $10 - $20
- Fasteners/Adhesive: $20 - $30
Total Estimated Cost: $80 - $220
My actual cost was around $150 because I was able to scavenge a lot of the materials. With careful planning and resourcefulness, you can easily keep this project under $500.
Potential Challenges and Solutions
- Condensation: Ensure adequate ventilation to prevent moisture buildup.
- Pests: Seal any cracks or openings to prevent rodents and insects from entering. Consider using natural pest repellents like peppermint oil.
- Freezing: In extremely cold climates, you may need to add extra insulation or use a small space heater to prevent freezing.
- Humidity: Too much or too little humidity can affect storage life. Adjust ventilation or use a humidifier/dehumidifier as needed.

Some sheds may require additional modifications depending on their location and existing structure.
Safety First!
- Always wear safety glasses and gloves when working with tools and materials.
- Be careful when lifting heavy objects.
- Ensure proper ventilation when using adhesives or sealants.
- If working with electrical wiring, turn off the power at the breaker box.
My Root Cellar Journey: A Tale of Potatoes and Perseverance
Building my shed conversion into a root cellar wasn't always easy. There were moments of frustration, like when I realized I'd cut a piece of insulation too short, or when I struggled to find the right balance of ventilation. But the satisfaction of pulling a perfectly preserved carrot from my cold storage in February made it all worthwhile.
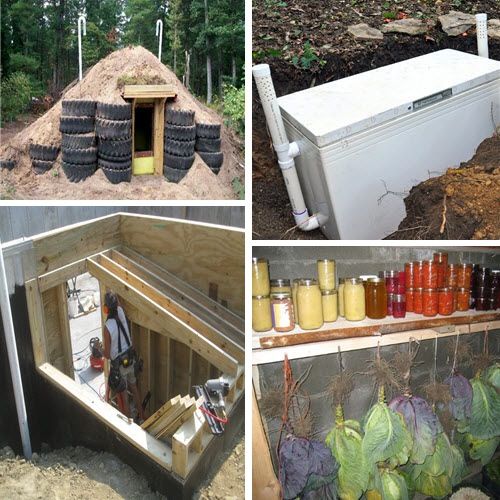
Root cellars are a great way to keep food preserved longer.
I learned so much about temperature regulation, humidity control, and the specific storage needs of different vegetables. More importantly, I gained a deeper appreciation for the cycles of nature and the importance of self-sufficiency. My food preservation efforts have not only saved me money but also connected me to my food in a way I never thought possible.
Ready to Take the Plunge?
Don't let the idea of building a cheap root cellar intimidate you. Start small, be resourceful, and learn as you go. Every step you take towards self-sufficiency is a step towards a more resilient and fulfilling life. So, go ahead – transform that old shed into a haven for your harvest. You'll be amazed at what you can achieve with a little bit of ingenuity and elbow grease. Your future self (and your taste buds) will thank you! And embrace that off-grid living!
Enjoy the fruits (and vegetables) of your labor all year round!