Beat the Frost: Build a Pallet Cold Frame This Weekend!
Hey Sarah (and all you other amazing homesteaders at "Better Homes and Harvests"), it’s your friend here, ready to tackle a common gardening woe: that agonizing wait for spring! Or worse, the heartbreaking devastation of a late frost nipping your precious seedlings. We've all been there, right? You're practically itching to get your hands dirty, but Mother Nature isn't quite cooperating.
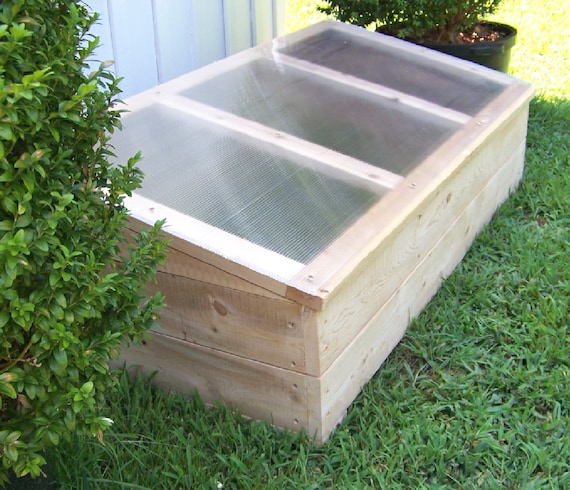
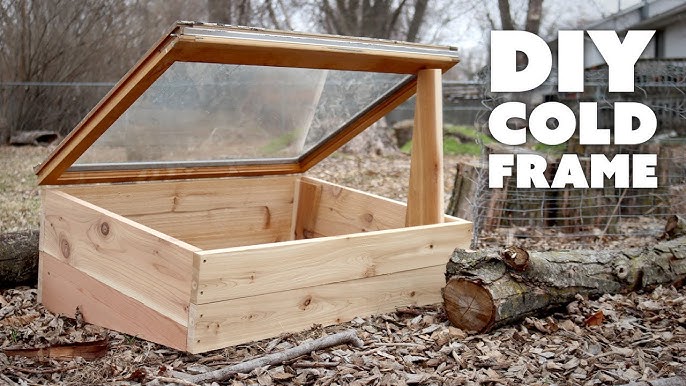
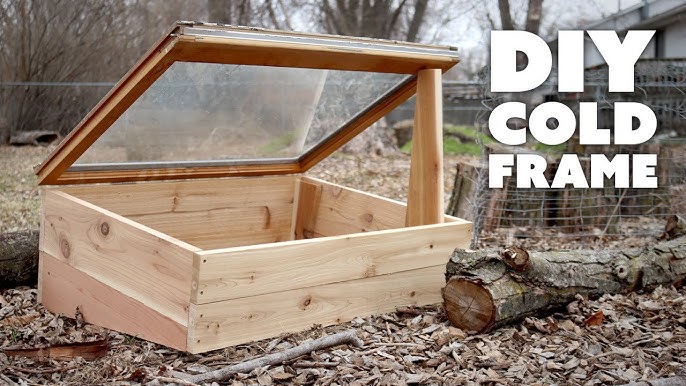
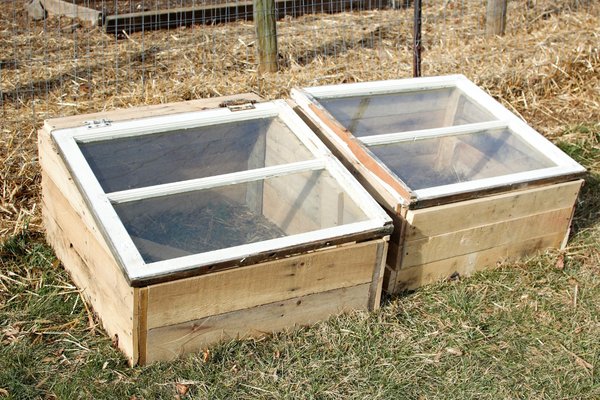
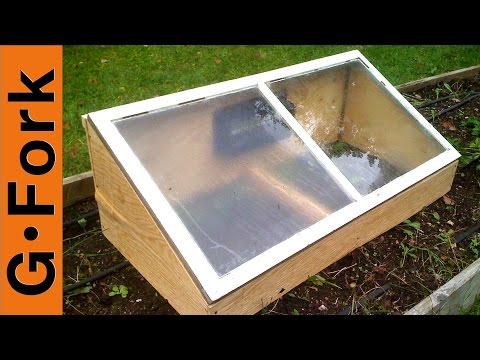
Well, fret no more! This weekend, we're building a DIY Pallet Cold Frame to extend our growing season, protect our plants, and give ourselves a serious head start on that bountiful harvest we’re dreaming of. And the best part? It's cheap, easy, and uses reclaimed materials! We're talking serious self-sufficiency points, people!
Why a Pallet Cold Frame? Is it Worth It?
Okay, so you might be thinking, "Why bother with a cold frame at all?" Here’s the scoop:
- Extend your growing season: Start seeds earlier in the spring and keep growing later into the fall. We’re talking weeks, maybe even months, of extra growing time!
- Protect your plants from frost and pests: Shield tender seedlings and established plants from unexpected cold snaps, wind, and hungry critters.
- Save money: Avoid buying expensive starter plants and grow your own from seed. Plus, using reclaimed pallets keeps costs super low. I estimate you can save at least $50-$100 this year alone by starting your own seedlings instead of buying them.
- Upcycle and reduce waste: Give those unwanted pallets a new life and reduce your environmental footprint. Talk about a win-win! This is sustainable gardening DIY at its finest.
Gathering Your Supplies:
Here's what you'll need for this weekend warrior project:
- Pallets: 2-3 pallets, depending on the size you want your cold frame to be. Look for pallets that are heat-treated (marked with "HT") rather than chemically treated (marked with "MB"). Check local businesses, construction sites, or online marketplaces for free pallets.
- Clear Plastic Sheeting: Heavy-duty plastic, old greenhouse plastic, or even repurposed shower curtains will work. This will be your "window."
- Hinges: Two hinges to attach the cold frame lid.
- Screws or Nails: For attaching the pallets and hinges.
- Lid Support: A piece of wood or a sturdy stick to prop open the lid (or fancy hinges with support arms).
- Tools: Saw, hammer or drill, measuring tape, staple gun (optional, for securing plastic), safety glasses, gloves.
Step-by-Step Guide to Building Your Pallet Cold Frame:
Alright, let's get down to business! Here's how to build your very own pallet cold frame.
Step 1: Pallet Prep
Inspect your pallets carefully. Remove any loose nails or staples. If necessary, sand down any rough edges to prevent splinters. Decide on the size and shape of your cold frame. You can either use the pallets as-is or cut them down to size using your saw. I opted to keep mine mostly intact for ease and speed.
Step 2: Assemble the Frame
Arrange the pallets to form a rectangular or square frame. Make sure one side is slightly lower than the other to create a slope for better sunlight exposure and water runoff. Secure the pallets together using screws or nails. I used screws for a sturdier connection. Pro-tip: pre-drilling holes will prevent the wood from splitting.
Step 3: Creating the Lid
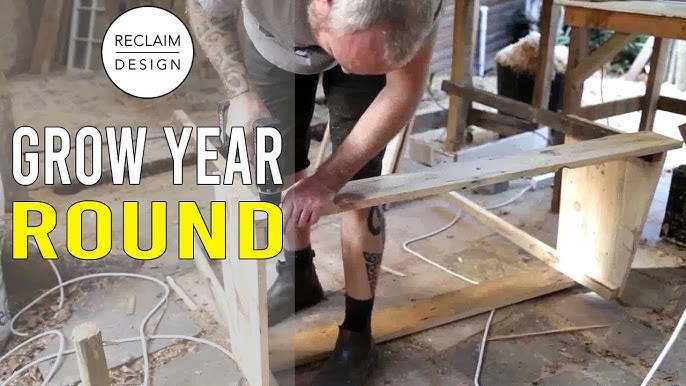
Use one of your pallets (or a section of one) for the lid. You might need to trim it down to fit snugly on top of the frame. Attach the hinges to the lid and the back of the cold frame. This will allow you to easily open and close the lid for ventilation and access.
Step 4: Adding the Plastic Sheeting
Now it’s time to create the "greenhouse" effect! Cut the clear plastic sheeting to size, making sure it overlaps the edges of the lid slightly. Secure the plastic to the lid using staples, tacks, or screws with washers. Pull the plastic taut to avoid sagging.
Step 5: Adding Support and Ventilation
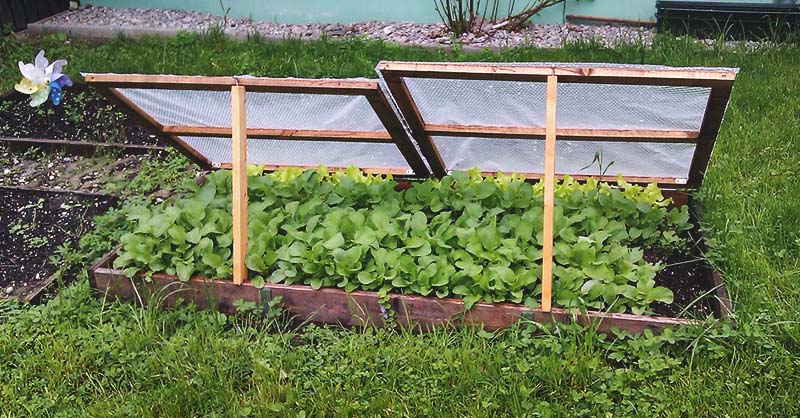
To prevent the lid from slamming shut and to allow for ventilation, add a lid support. This can be as simple as a piece of wood or a sturdy stick that you prop under the lid. Alternatively, you can purchase hinges with built-in support arms for a more polished look. Proper ventilation is key to preventing overheating inside the cold frame.
Step 6: Finishing Touches
Inspect your cold frame for any sharp edges or protruding nails. Sand them down or cover them with tape to prevent injuries. You can also paint or stain the wood to protect it from the elements and give it a more finished look, but remember to use non-toxic, garden-safe products!
Tips for Success:
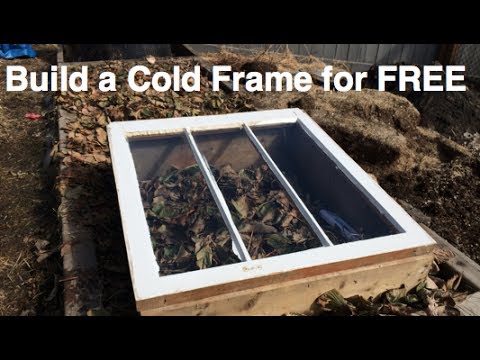
- Location, Location, Location! Choose a sunny spot in your garden for your cold frame, ideally one that gets at least 6 hours of direct sunlight per day.
- Ventilation is Key: Monitor the temperature inside the cold frame and open the lid on warm days to prevent overheating.
- Water Wisely: Water your plants regularly, but avoid overwatering, which can lead to fungal diseases.
- Soil Matters: Use a well-draining potting mix or garden soil in your cold frame.
My Experience and Lessons Learned:
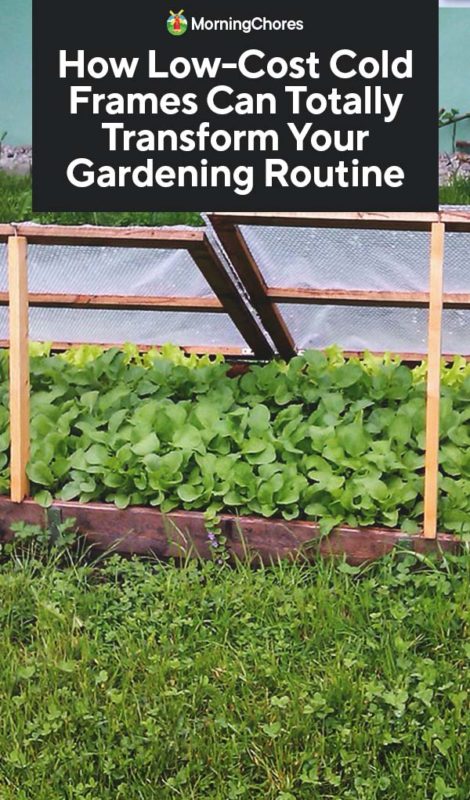
Okay, confession time. My first attempt at a pallet cold frame wasn’t exactly picture-perfect. I underestimated the importance of ventilation and ended up with a batch of steamed seedlings! Lesson learned: don't be afraid to experiment and adjust as needed. Homesteading is all about learning from our mistakes, right? Now I'm always checking the temperature and keeping a close eye on the humidity levels inside.
Get Growing!
There you have it! Your very own DIY Pallet Cold Frame is ready to go! Now you can start your seeds early, protect your plants from frost, and enjoy a longer, more bountiful growing season. This cheap cold frame is a great weekend DIY project. Remember, sustainable gardening DIY is all about working with nature, not against it.
So, what are you most excited to plant in your new cold frame? Share your thoughts and photos in the comments below! I can't wait to see what you create! And if you have any questions, don't hesitate to ask. Happy homesteading, friends!
