Beat the Freeze: Building a DIY Cold Frame for Homestead Resilience
Last winter was brutal. Here in Zone 6b, we saw weeks of sub-freezing temperatures, relentless snow, and winds that seemed to cut right through our homestead. Our late-season crops of kale and spinach, which usually provide us with fresh greens well into December, were decimated. We watched helplessly as the ground froze solid, making it impossible to harvest root vegetables. The experience was a stark reminder of how vulnerable our food supply can be in the face of unpredictable weather.
That's why this year, we're taking action. We're building a DIY Cold Frame using recycled materials to extend our growing season and ensure a more reliable supply of fresh produce throughout the colder months. This project is about more than just gardening; it's about homesteading resilience and taking control of our food security. Let's dive in and build one together!
This cold frame is an example of what we will be building to protect our crops from frost.
Why a Cold Frame? Understanding the Benefits
A cold frame is essentially a miniature greenhouse. It traps solar heat, creating a warmer microclimate for plants. This simple structure can:
- Extend the Growing Season: Plant earlier in the spring and harvest later in the fall.
- Protect Plants from Frost: Shield vulnerable crops from freezing temperatures.
- Harden Off Seedlings: Acclimate young plants to outdoor conditions before transplanting.
- Provide Winter Greens: Grow cold-hardy vegetables like spinach, kale, and lettuce throughout the winter.
- Increase Cold Frame Temperature: Maintain a more consistent and favorable growing environment.
Step-by-Step Guide: Building Your Own Recycled Cold Frame
Here's how to build a cheap cold frame using primarily recycled or repurposed materials. This design is adaptable to different sizes and climates, so feel free to adjust it to suit your needs.
Materials List:
- Reclaimed Lumber: Old fence posts, pallet wood, or scrap lumber (approximately 2x4s and 1x4s). Cost: Free - $20 (if you need to buy some)
- Old Windows or Plexiglass: This will be the lid of your cold frame. Look for discarded windows on online marketplaces or at recycling centers. Cost: Free - $30 (depending on size and availability)
- Hinges: To attach the lid to the frame. Cost: $5 - $10
- Screws/Nails: For assembling the frame. Cost: $5 - $10
- Insulation (Optional): Straw bales, rigid foam insulation, or bubble wrap to line the interior of the frame for added warmth. Cost: Free - $20
- Handles or Latches (Optional): For easy opening and closing of the lid. Cost: $5 - $10
- Total Estimated Cost: $15 - $80 (depending on the availability of recycled materials)
Tools:
- Saw (circular saw or hand saw)
- Drill with screwdriver bits
- Measuring tape
- Pencil
- Safety glasses
- Gloves
Step 1: Design and Planning
Decide on the size of your cold frame based on the available window or plexiglass. A common size is 4 feet wide by 3 feet deep, but adjust as needed. Keep in mind that the cold frame should slope towards the south to maximize sunlight exposure.
Step 2: Building the Frame
- Cut the lumber to create the four sides of your frame. The back should be taller than the front to create the slope. For example, the back could be 18 inches high, and the front 12 inches high.
- Assemble the frame by screwing or nailing the pieces together. Ensure the corners are square and the frame is sturdy.
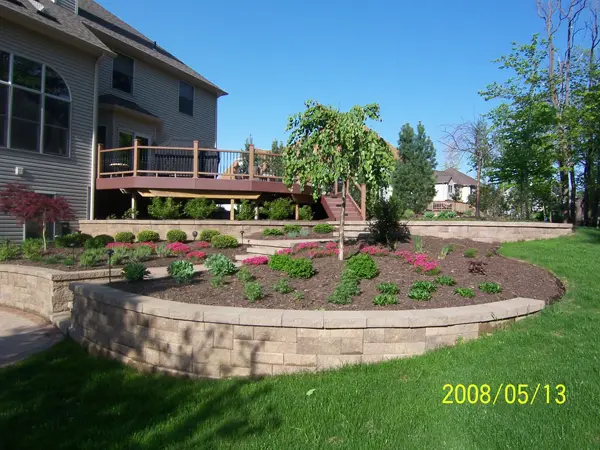
The structural integrity of the base is key, whether it's lumber or retaining wall blocks. Be sure your frame is sturdy.
Step 3: Installing the Lid
- Attach the hinges to the back of the frame and the window or plexiglass lid.
- Test the lid to ensure it opens and closes smoothly.
- Install handles or latches if desired.
Step 4: Insulation (Optional but Recommended)
- Line the interior of the frame with insulation to help retain heat. Straw bales work well and are readily available in many rural areas. Rigid foam insulation or bubble wrap are also good options.
Step 5: Site Selection and Placement
Choose a sunny location for your cold frame, ideally with a southern exposure. This will maximize sunlight exposure during the winter months. Protect it from strong prevailing winds.
Step 6: Using Your Cold Frame
- Prepare the soil inside the cold frame. You can either plant directly in the ground or use raised beds or containers.
- Plant your seeds or seedlings.
- Monitor the temperature inside the cold frame. On sunny days, you may need to vent the cold frame by opening the lid slightly to prevent overheating.
- Water your plants regularly, especially during dry periods.
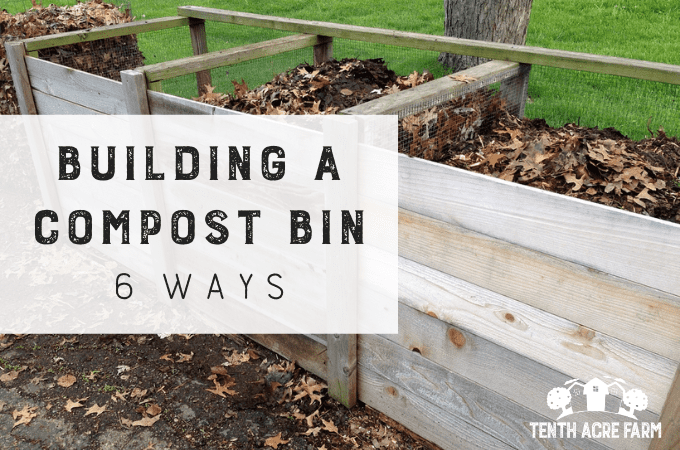
Composting can help to generate heat if done correctly, making it a suitable base for your cold frame.
Quantifying the Benefits: Data and Projections
- Temperature Increase: A well-constructed cold frame can increase the temperature inside by 10-20 degrees Fahrenheit compared to the outside air temperature.
- Extended Growing Season: Expect to extend your growing season by 4-8 weeks in the spring and fall.
- Frost Protection: A cold frame can protect plants from temperatures as low as 20 degrees Fahrenheit, depending on the insulation and the hardiness of the plants.
- Anticipated Water Collection Volume: N/A for this project (Cold Frame)
- Projected Food Dehydration Time: N/A for this project (Cold Frame)
Troubleshooting Tips
- Overheating: Monitor the temperature inside the cold frame carefully. Vent the lid on sunny days to prevent overheating.
- Moisture Buildup: Ensure adequate ventilation to prevent excessive moisture buildup, which can lead to fungal diseases.
- Pest Problems: Check regularly for pests and take appropriate action.
Adapting to Different Climates and Resource Availability
- Colder Climates: Add extra insulation to the frame. Consider using double-paned windows for the lid. A layer of snow over the cold frame can also provide additional insulation.
- Warmer Climates: Provide more ventilation to prevent overheating. Shade cloth can be used to reduce sunlight exposure during the hottest months.
- Limited Resources: Use readily available materials like plastic sheeting or tarps for the lid. Build a smaller, simpler frame to conserve resources.
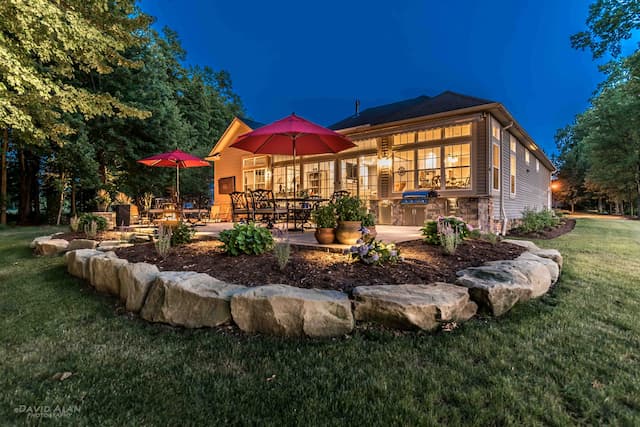
Consider the surroundings, hardscaping, and exposure when deciding where to place your cold frame.
Sharing is Caring
We hope this guide inspires you to build your own DIY Cold Frame and increase your homesteading resilience. We'd love to hear about your experiences! Share your own tips and photos in the comments below. What materials did you use? What challenges did you face? Let's learn from each other and build a more resilient future, one cold frame at a time.
If you are looking for more solutions like this, be sure to sign up for the Better Homes and Harvests newsletter for weekly DIY project ideas and homesteading tips.
Let's build something great together!
Watering your cold frame plants can be easily done using a basic watering can.
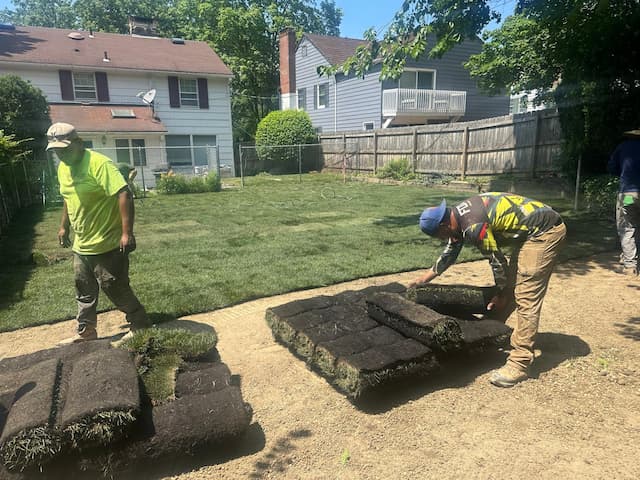
Be mindful of sprinkler systems when placing your cold frame.
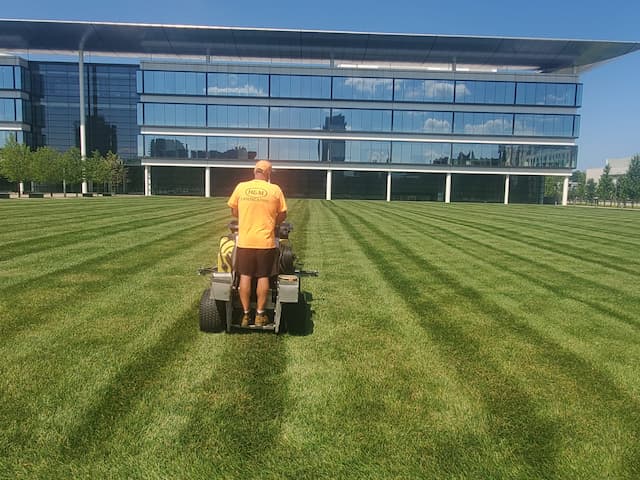
Consider the surrounding landscape when determining the appropriate location for your cold frame.
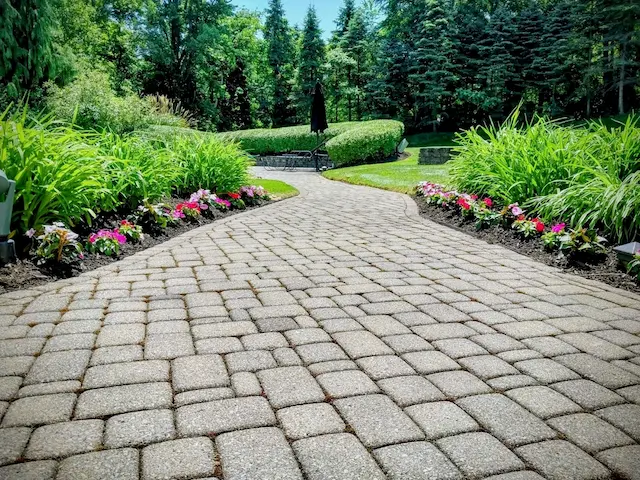
Brick can be another material considered for creating a durable cold frame base.