Beat the Freeze: Building a Budget-Friendly Root Cellar in Your Basement
Picture this: You've poured your heart and soul into your garden all summer. Now, the crisp autumn air signals the harvest. But the joy quickly turns to dismay as you realize your pantry is overflowing, and those beautiful potatoes and carrots won't last long in the modern refrigerator. The solution? A root cellar! For generations, root cellars have provided a natural and energy-efficient way to store fruits, vegetables, and even canned goods. And you don’t need a sprawling estate to have one; you can build a budget-friendly root cellar right in your basement.
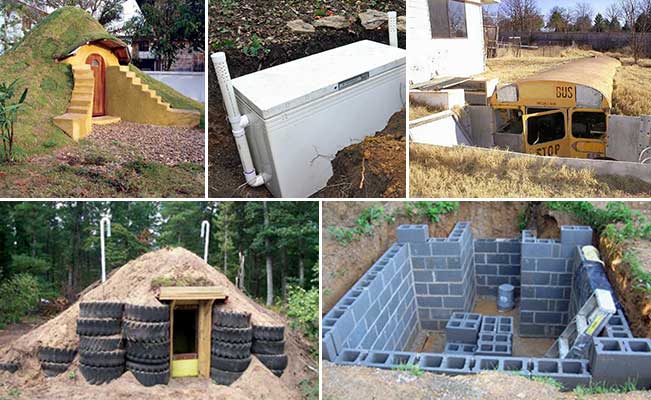
My grandmother, bless her heart, used to tell stories of how her family relied on their root cellar to survive the harsh winters. "We ate fresh all year round, thanks to that little room," she'd say, a twinkle in her eye. Inspired by her tales, I decided to reclaim that self-sufficiency and build my own. The result? A consistently cool, dark space that keeps our harvest fresh for months, drastically reducing food waste and saving us money. This guide will show you how to build a budget root cellar for food preservation, even if you're a beginner to intermediate DIYer.
Why Build a Root Cellar? The Benefits of Natural Food Storage
Before we dive into the how-to, let's talk about the why. A root cellar offers several advantages over modern refrigeration:
- Extended Storage: Keeps fruits and vegetables fresh for months longer than refrigeration.
- Energy Efficiency: Requires no electricity, saving you money and reducing your carbon footprint.
- Preserved Flavor & Nutrients: Maintains the natural flavors and nutrients of your produce.
- Reduced Food Waste: Prevents spoilage and minimizes trips to the grocery store.
- Increased Self-Sufficiency: Empowers you to control your food supply and reduce reliance on external sources.
- Budget-Friendly: Can be built with readily available and inexpensive materials.
This project boosts homesteading resilience and improves your family's food security. A properly built and maintained root cellar can dramatically extend the life of your fall harvest.
Planning Your Budget Root Cellar: Location and Design
The most common location for a DIY root cellar is in the basement. Look for an area that:
- Is Relatively Cool: North-facing or partially underground areas tend to stay cooler.
- Has Good Ventilation: A way to introduce fresh air and expel stale air is crucial.
- Is Relatively Humid: Aim for 80-90% humidity to prevent produce from drying out.
- Is Away from Furnaces or Water Heaters: These appliances generate heat that will compromise the root cellar's temperature.
Once you've chosen your location, consider the size and design. A small 6' x 8' root cellar can store a surprising amount of produce.
Step-by-Step Guide: Building Your Basement Root Cellar
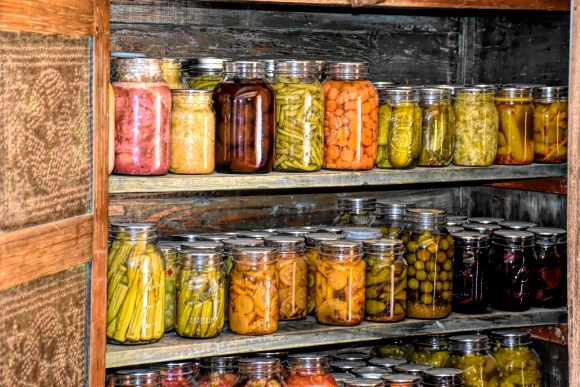
This guide outlines a simple, cost-effective approach to building a root cellar within an existing basement. This DIY project falls well within the "cheap DIY home improvement" category.
Materials List (Approximate Costs):
- 2x4 Lumber: $50-100 (depending on size of cellar)
- Insulation (Rigid Foam or Fiberglass): $50-100
- Vapor Barrier (Plastic Sheeting): $20
- Door (Reclaimed or New): $50-100
- Hardware (Hinges, Latch): $20
- Gravel/Sand for Flooring: $30
- Ventilation Pipe (PVC): $20
- Fasteners (Screws, Nails): $20
- TOTAL: $240 - $410
Tools You'll Need:
- Measuring Tape
- Saw (Circular Saw or Hand Saw)
- Drill
- Screwdriver
- Hammer
- Utility Knife
- Staple Gun
- Level
- Safety Glasses
- Dust Mask
Estimated Time: 1-2 Weekends
Step 1: Framing the Walls
- Measure and cut the lumber to create the frame for your walls. Use the 2x4s to build the top and bottom plates, as well as the vertical studs.
- Space the studs 16 inches apart for optimal support.
- Assemble the frame using screws or nails.
- Attach the framed walls to the basement walls and floor. Ensure the frame is level and secure.
Step 2: Insulating the Walls
- Cut the insulation material (rigid foam or fiberglass) to fit snugly between the studs.
- If using fiberglass, wear gloves and a dust mask for protection.
- Secure the insulation to the frame using construction adhesive or staples.
Step 3: Installing the Vapor Barrier
- Cover the insulated walls with a vapor barrier (plastic sheeting). This will prevent moisture from seeping into the insulation and causing mold.
- Overlap the seams by at least 6 inches and seal them with tape.
- Staple the vapor barrier to the frame.
Step 4: Building the Door
- You can choose to reclaim a door or buy a new one. The size will depend on the size of your entrance.
- Install the door frame, ensuring it is square and plumb.
- Attach the door to the frame using hinges.
- Install a latch or handle.
Step 5: Flooring and Ventilation
- For the flooring, consider a simple gravel or sand base. This will allow for good drainage and help maintain humidity.
- Spread a layer of gravel or sand evenly across the floor.
- Install a ventilation pipe to bring fresh air into the root cellar. Run the pipe from the outside (or another well-ventilated area) into the root cellar.
- Install another vent near the top of the cellar to allow warm air to escape.

Alternative Approaches:
- For the Super-Budget Conscious: Use reclaimed materials whenever possible. Old doors, scrap lumber, and recycled insulation can significantly reduce costs.
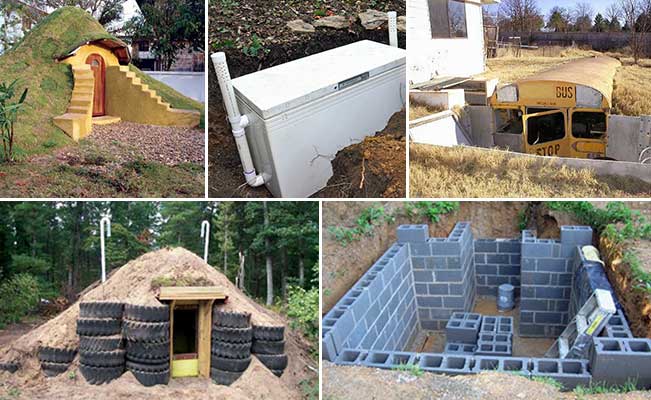
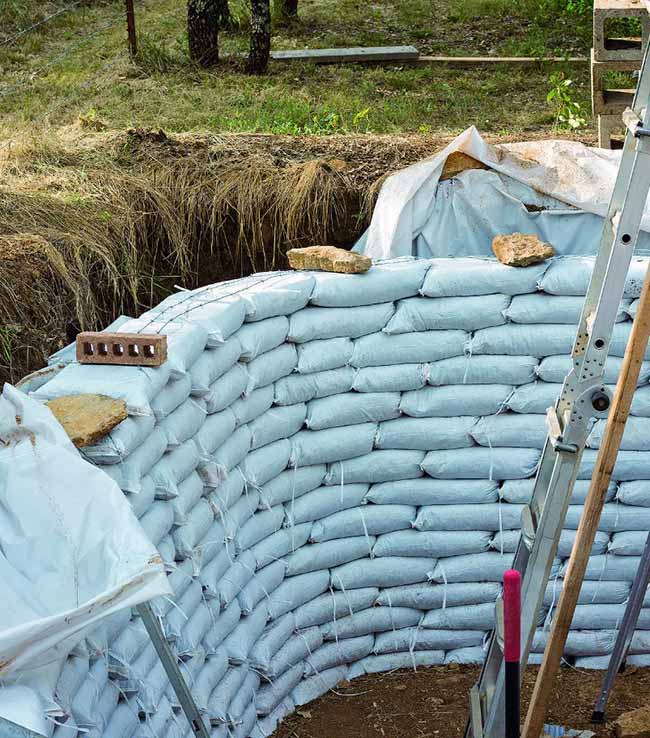
- For the Advanced DIYer: Consider building a more elaborate structure with concrete blocks or even an earthbag root cellar.
- For Renters or Small Spaces: A smaller "root box" can be created inside a cool closet or pantry.
Maintaining Your Root Cellar
Once your root cellar is complete, maintaining proper temperature and humidity is crucial.
- Temperature: Aim for 32-40°F (0-4°C). Use a thermometer to monitor the temperature and adjust ventilation as needed.
- Humidity: Aim for 80-90%. Place a pan of water inside the root cellar to increase humidity, or use a dehumidifier if it's too humid.
- Air Circulation: Ensure good airflow to prevent mold and spoilage.
- Regular Inspection: Check your produce regularly and remove any that are starting to rot.

What to Store in Your Root Cellar
Many crops are perfect for root cellar storage:
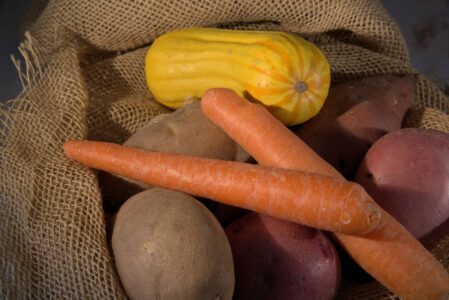
- Root Vegetables: Potatoes, carrots, beets, turnips, parsnips
- Fruits: Apples, pears
- Onions and Garlic
- Cabbage
- Winter Squash
- Canned Goods
From Garden to Table, All Year Round
Building a budget-friendly root cellar in your basement is a fantastic way to enhance your homesteading journey. It empowers you to preserve your harvest, reduce food waste, and enjoy fresh, nutritious food all year round. It's a satisfying DIY project that can provide both practical and economic benefits for your family, increasing self sufficiency without spending money. So, gather your tools, embrace the challenge, and get ready to reap the rewards of this time-honored tradition.

Now it's your turn! Have you ever built a root cellar or used natural food storage techniques? What challenges did you face, and what tips can you share with the Better Homes and Harvests community? Share your experiences, questions, and modifications in the comments below. What crops have you found store best? What are your biggest struggles with food preservation? Let's learn from each other and create a more resilient and abundant homesteading life, together!
