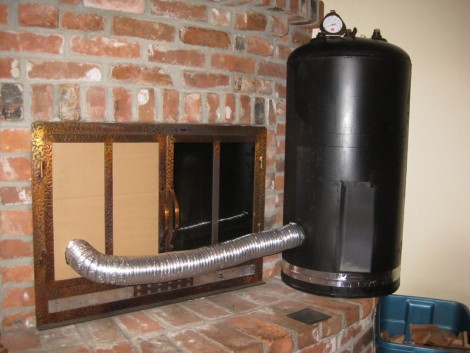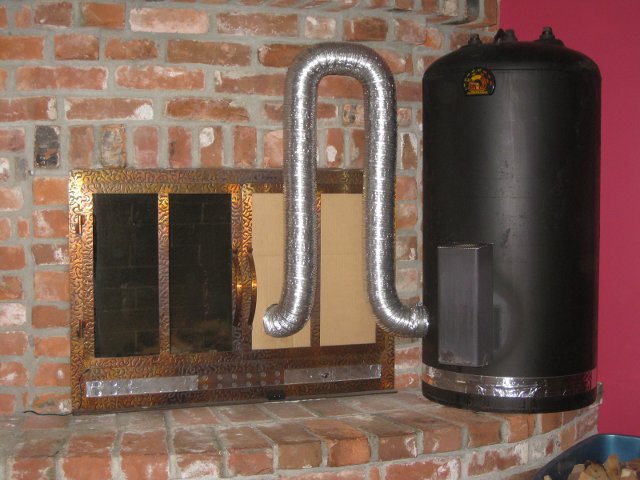
Beat the Cold: Building a Super-Efficient Rocket Mass Heater Bench for Your Homestead
Winter on the homestead. The words alone conjure images of crackling fires, cozy nights, and…sky-high heating bills? Last year, we felt that sting acutely. Our little workshop, a haven for creativity and projects during the warmer months, became an icy wasteland as soon as the temperature dipped. We were burning through firewood like crazy, and still shivering! That’s when we stumbled upon the magic of rocket mass heaters. And let me tell you, it's been a game-changer. This blog post shares how you too can build a super-efficient, low-cost rocket mass heater bench from repurposed materials and transform your small cabin, workshop, or greenhouse into a cozy haven this winter.
What is a Rocket Mass Heater?
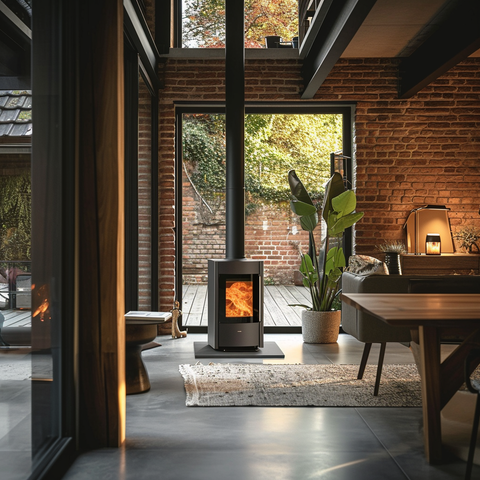
Before we dive into the "how," let's cover the "what." A rocket mass heater is a type of wood-burning stove designed for incredibly efficient combustion and heat retention. Unlike traditional wood stoves that lose much of their heat up the chimney, rocket mass heaters burn fuel very cleanly and then store the heat in a large thermal mass, like a cob bench. This allows them to release heat slowly and evenly over many hours, using far less wood and creating a much more comfortable, consistent warmth. It is an excellent DIY homestead heating solution.
Why Build a Rocket Mass Heater Bench?
For homesteaders, the benefits are clear:
- Cost Savings: Drastically reduce your reliance on propane, electricity, or excessive amounts of firewood.
- Efficiency: One small burn can provide warmth for hours, sometimes even a full day!
- Sustainability: Utilizing waste wood and repurposed materials minimizes your environmental impact.
- Self-Reliance: Gain independence from external heating sources and increase your homestead's resilience.
- Thermal Comfort: Enjoy a radiant, even heat that eliminates cold spots and chills.
Step-by-Step Guide: Building Your Rocket Mass Heater Bench
Disclaimer: Rocket mass heaters involve fire and combustion. It is crucial to prioritize safety throughout the build process and to ensure proper ventilation and construction to prevent fire hazards and carbon monoxide poisoning. Consult local building codes and regulations before starting your project.
Materials List:
- 55-Gallon Steel Drum (Clean and Empty): This will be the heart of your heater. Look for food-grade drums.
- 6" Diameter Steel Pipe (Approx. 3-4 ft): This forms the combustion chamber and heat riser.
- 8" Diameter Steel Pipe (Approx. 1 ft): This will be used for insulation around the heat riser.
- Bricks or Concrete Blocks: For the base and the core insulation. Repurposed is ideal!
- Cob Mix Ingredients (Clay, Sand, Straw): The thermal mass material for the bench.
- Insulation Material (Perlite, Vermiculite, or Clay/Straw Mix): To insulate the heat riser.
- Gravel or Small Rocks: For drainage under the firebox.
- Metal Sheet (for base of firebox): At least 12" x 12"
- Optional: Firebricks: For lining the firebox for added durability.
- Tools: Shovel, buckets, wheelbarrow (for cob mixing), trowel, level, measuring tape, angle grinder with cutting disc (for cutting steel), welding equipment (if welding pipes), safety glasses, gloves, dust mask.
Estimated Cost: $50 - $200 (depending on availability of repurposed materials).
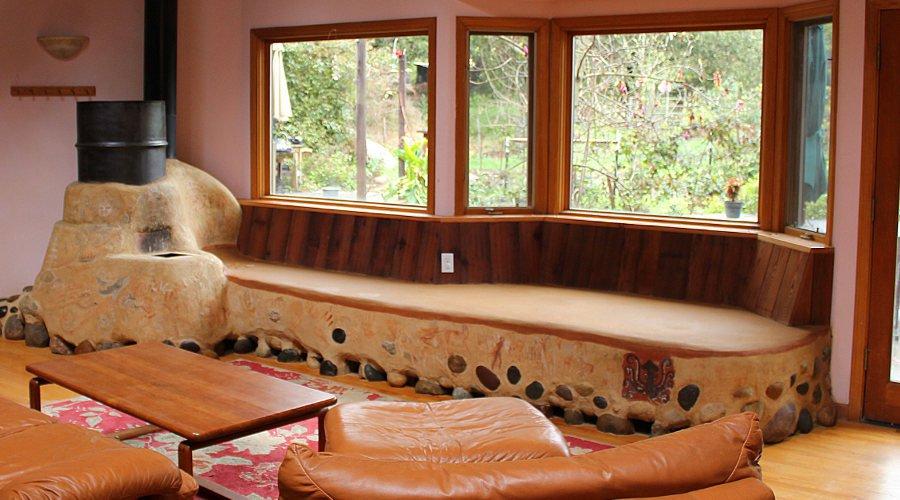
Step 1: Preparing the Site and Building the Base
Choose a location for your rocket mass heater that is safe, level, and has proper ventilation. Ensure it is away from flammable materials.
- Clear the area and create a level base using gravel or compacted earth.
- Build a brick or concrete block base for the firebox and the horizontal feed tube. This base should be high enough to allow for easy feeding of the fire.
Step 2: Constructing the Firebox and Heat Riser
This is where the magic begins!
- Cut a hole in the side of the 55-gallon drum near the bottom. This hole should be large enough to accommodate the 6" steel pipe horizontally (the feed tube).
- Attach the 6" steel pipe to the hole in the drum, ensuring a tight fit. You can weld it, use high-temperature sealant, or pack it with clay for a secure connection.
- Position the 8" steel pipe vertically around the 6" pipe inside the drum. This creates an insulating air gap. Fill the space between the 6" and 8" pipes with perlite, vermiculite, or a clay/straw mix to insulate the heat riser. This is crucial for efficient combustion.
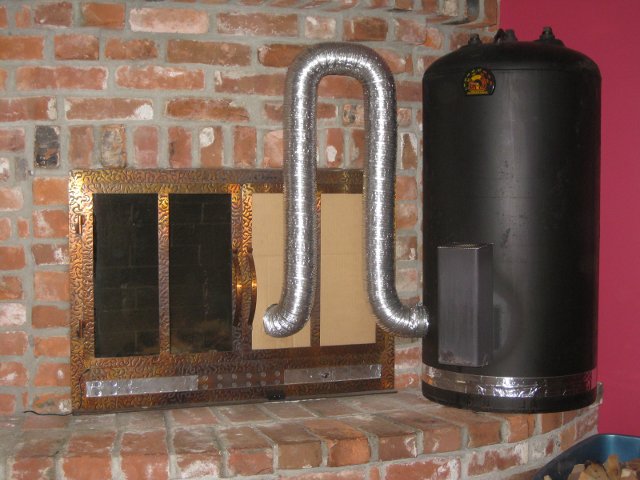
Step 3: Insulating the Core
Build a small firebox in front of the horizontal 6" pipe where you will be burning your wood.
Surround the base of the 55-gallon drum and the heat riser with bricks or concrete blocks to provide further insulation and structural support. Pack any gaps with clay or insulation material.
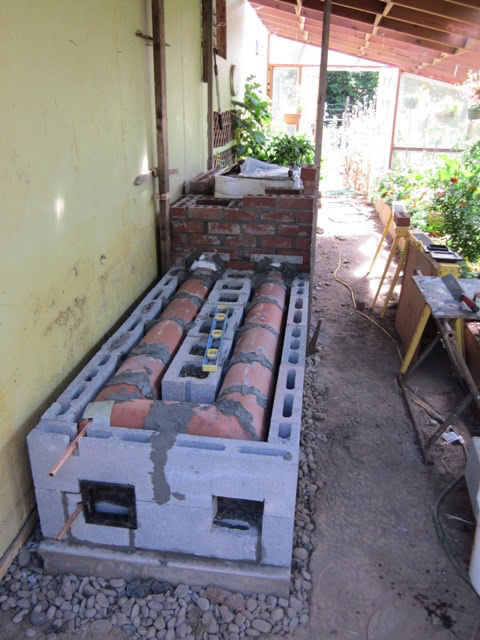
Step 4: Building the Cob Bench (Thermal Mass)
Now for the part that will store and radiate heat!
- Mix your cob: Combine clay, sand, and straw in the correct proportions (experiment to find what works best with your local materials). The mixture should be stiff but workable. A good starting point is 1 part clay, 2 parts sand, and 3 parts straw.
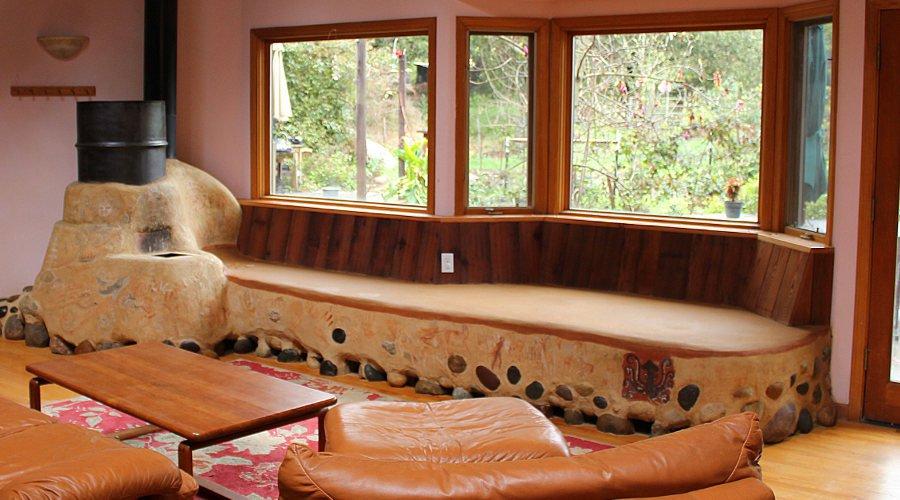
- Start building the bench around the 55-gallon drum. The drum acts as the core of your thermal mass. Leave a space for the exhaust to exit.
- Continue layering the cob, packing it tightly around the drum. Shape the bench to your desired size and form. Aim for a bench that is comfortable to sit on and has sufficient thermal mass to retain heat.
- Allow the cob to dry completely. This may take several days or even weeks, depending on the weather. Cover the bench with plastic to protect it from rain during the drying process.
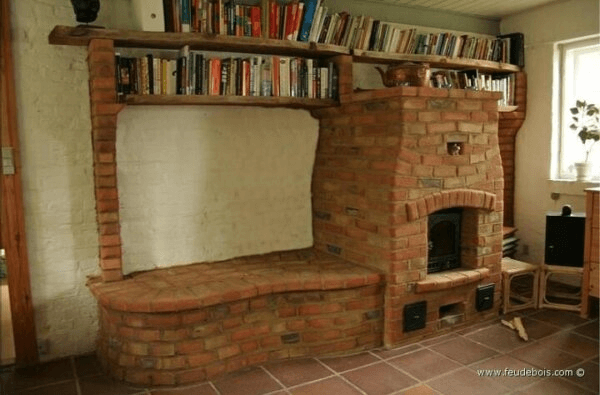
Step 5: Creating the Exhaust System
- Connect a chimney pipe to the exhaust port on the 55-gallon drum. Ensure the chimney extends above the roofline of your structure to provide adequate draft.
- Proper ventilation is critical to prevent carbon monoxide poisoning.
Step 6: The First Burn (Test Burn)
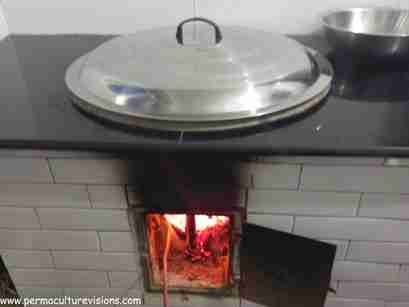
- Before using the heater regularly, perform a test burn with a small amount of wood. Monitor the heater closely for any leaks, smoke escaping from unintended areas, or other issues.
- Ensure the chimney is drafting properly and that the exhaust is venting outside.
- Feel the bench to see how the heat is distributing.
Step 7: Finishing Touches (Optional)
- Apply a clay slip or natural plaster to the cob bench for a smooth, finished look.
- Add a seating cushion for extra comfort.
- Decorate the bench with natural materials like stones or shells.
Cost Savings and Efficiency: Real-World Results
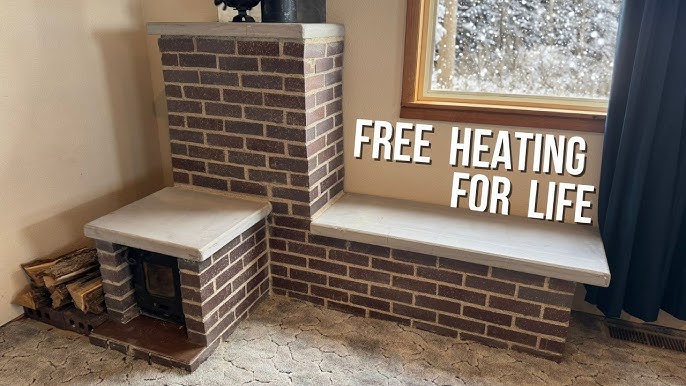
Since building our rocket mass heater bench, we've noticed a significant reduction in our firewood consumption. Where we used to burn through a wheelbarrow of wood per day to keep the workshop moderately warm, we now use just a fraction of that. A small armful of sticks can heat the space for 6-8 hours, sometimes even longer! This translates to substantial cost savings and less time spent chopping wood. The radiant heat is also much more comfortable than the dry, blasting heat of a conventional wood stove.
Safety First!
- Always supervise the heater while it is burning.
- Install a carbon monoxide detector in the space where the heater is located.
- Keep flammable materials away from the heater.
- Ensure proper ventilation.
- Regularly inspect the chimney for creosote buildup.
Embracing the Homesteading Ethos
Building a rocket mass heater bench is more than just a DIY project; it's an embodiment of the homesteading spirit. It's about resourcefulness, utilizing what you have on hand, and creating sustainable solutions that benefit both your family and the environment. By embracing this project, you're taking a step towards greater self-sufficiency and a more resilient lifestyle.
Call to Action: Share Your Experiences!
Have you ever built a rocket mass heater or explored other alternative heating solutions? We'd love to hear about your experiences in the comments below! Share your tips, challenges, and photos of your projects. Let's learn from each other and build a warmer, more sustainable future, one homestead at a time.
