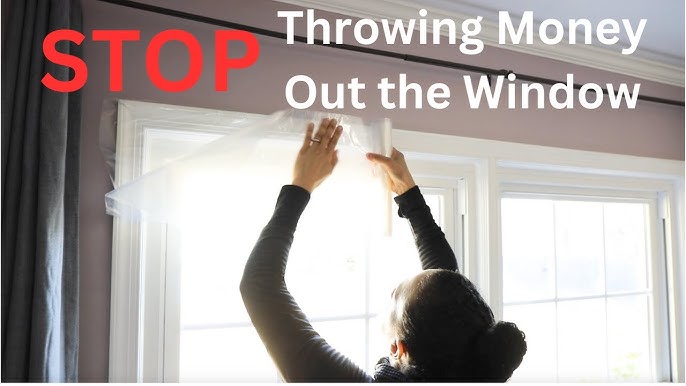
Battling the Breeze: DIY Window Insulation for a Cozy, Energy-Efficient Homestead
Picture this: the wind is howling outside, rattling your windows and whispering icy threats. But inside, you're snug and warm, wrapped in a blanket with a steaming mug of something delicious. This isn't just a dream – it's a reality achievable with a few simple weekend projects focused on DIY window insulation! Here at Better Homes and Harvests, we know you’re passionate about building a more resilient and self-sufficient life. And that starts with efficient energy usage, especially in our homes. So, let’s tackle those drafty windows and reduce heat loss without breaking the bank!
Older homes, especially those in rural areas, often struggle with inefficient windows. Replacing them can be a massive undertaking and a serious strain on the budget. But don't despair! There are several affordable and effective drafty window solutions you can implement yourself. I remember when we first moved into our homestead; the heating bills were astronomical! After some experimenting and a lot of research, I discovered some truly game-changing methods to keep the cold out. Let's dive in!
1. The Classic: DIY Window Insulation Kits
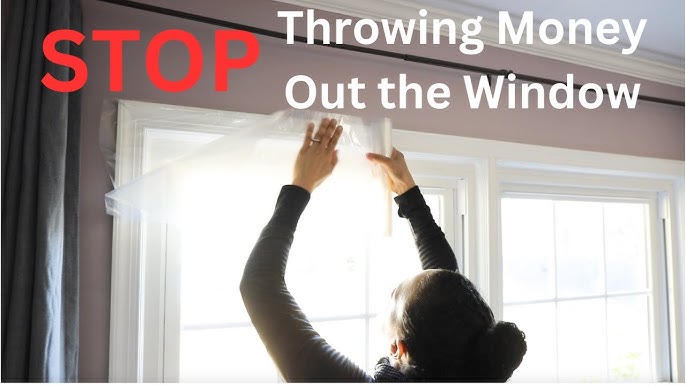
One of the most popular and effective affordable window insulation methods is using plastic film kits. These kits are readily available at most hardware stores and online retailers (like Amazon, Lowes or Home Depot). They're surprisingly effective at creating an insulating barrier against cold drafts.
What you'll need:
- Window insulation film kit (includes plastic film and double-sided tape)
- Scissors or utility knife
- Measuring tape
- Hair dryer
Step-by-Step Instructions:
- Clean the Window Frame: Thoroughly clean the window frame with soap and water and let it dry completely. This ensures proper adhesion of the tape.
- Measure and Apply Tape: Measure the perimeter of the window frame. Apply the double-sided tape from the kit around the entire frame. Ensure it’s firmly pressed down.
- Cut the Film: Measure the window opening and add a few inches to each side. Cut the plastic film to this size.
- Apply the Film: Carefully apply the plastic film to the taped frame, smoothing out any wrinkles as you go. Start at the top and work your way down.
- Shrink the Film: Use a hair dryer on a low setting to shrink the film. Hold the hair dryer a few inches away from the film and move it constantly to avoid overheating any one spot. The heat will tighten the film, creating a drum-tight, clear barrier.
Troubleshooting Tips:
- Wrinkles: If you have wrinkles, try using the hair dryer again. If they persist, gently peel back the film and reapply.
- Tape not sticking: Ensure the window frame is clean and dry. You can also try using a stronger double-sided tape.
- Film tearing: Be gentle when shrinking the film. Overheating can cause it to tear.
2. Heavy Curtains: A Stylish and Functional Solution
Another easy way to reduce heat loss windows is with heavy, insulated curtains. These curtains act as a barrier, preventing heat from escaping through the glass.
What you'll need:
- Heavy, insulated curtains (look for terms like "thermal," "blackout," or "insulated")
- Curtain rod (if you don't already have one)
- Measuring tape
- Drill and screws (if installing a new curtain rod)
Step-by-Step Instructions:
- Measure the Window: Measure the width and length of the window to determine the correct size curtains.
- Install Curtain Rod (if needed): Install a curtain rod that extends several inches beyond the window frame on each side. This helps to block more light and drafts.
- Hang the Curtains: Hang the insulated curtains, ensuring they cover the entire window.
- Maximize Efficiency: During the day, open the curtains to let sunlight in. Close them at night to retain heat.
Audience Focus: For homesteaders concerned with aesthetics, consider making your own curtains from thick, repurposed blankets or quilts for a rustic, charming look.
3. Weather Stripping: Sealing the Gaps
Even with insulated windows, drafts can sneak in around the edges. Weather stripping is an essential tool for sealing these gaps and improving window energy efficiency.
What you'll need:
- Weather stripping (foam, felt, or rubber)
- Scissors or utility knife
- Measuring tape
- Cleaning supplies
Step-by-Step Instructions:
- Clean the Window Frame: Clean the window frame where you'll be applying the weather stripping.
- Measure and Cut: Measure the length of the window frame edges. Cut the weather stripping to size.
- Apply the Weather Stripping: Peel off the backing and apply the weather stripping to the window frame. Ensure it creates a tight seal when the window is closed.
Types of Weather Stripping:
- Foam: Inexpensive and easy to install but may not last as long.
- Felt: A good option for filling small gaps.
- Rubber: More durable and provides a better seal.
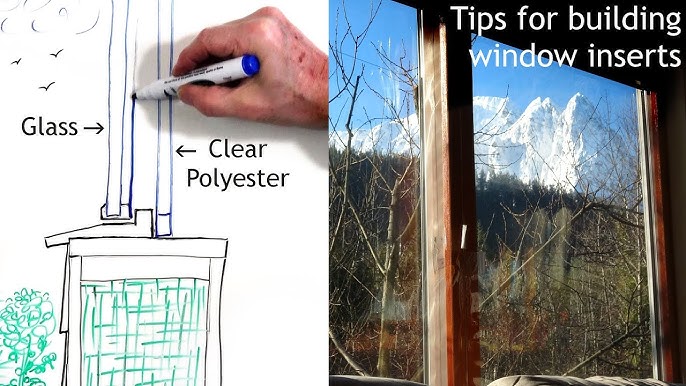
4. Caulking: Another line of Defense
Caulking around the exterior of your window frames can also prevent cold air from entering your home. Over time, old caulk can dry out, crack, and leave gaps that let air and moisture in. Recaulking is a simple, cost-effective way to improve your home's window energy efficiency.
What You'll Need:
- Caulk gun
- Exterior-grade caulk
- Utility knife or caulk removal tool
- Cleaning supplies
Step-by-Step Instructions:
- Remove old caulk: Use a utility knife or caulk removal tool to carefully remove any existing caulk around the window frame.
- Clean the area: Thoroughly clean the area with soap and water. Make sure the surface is dry before applying new caulk.
- Apply new caulk: Load the caulk tube into the caulk gun. Cut the tip of the caulk tube at a 45-degree angle. Apply a bead of caulk along the edge where the window frame meets the wall.
- Smooth the caulk: Use a wet finger or a caulk smoothing tool to create a smooth, even seal.
- Allow to dry: Let the caulk dry completely according to the manufacturer's instructions.
5. Bubble Wrap: The Unexpected Insulator
This might sound unconventional, but bubble wrap can provide surprisingly effective budget window insulation.
What you'll need:
- Bubble wrap
- Scissors
- Spray bottle with water
Step-by-Step Instructions:
- Cut the Bubble Wrap: Cut the bubble wrap slightly larger than the window pane.
- Spray the Window: Lightly spray the window pane with water.
- Apply the Bubble Wrap: Press the bubble wrap, bubble-side against the glass, onto the wet window. The water will help it stick.
Audience Focus: This method is particularly useful for windows that you don't need to see out of frequently, like those in a storage room or basement.
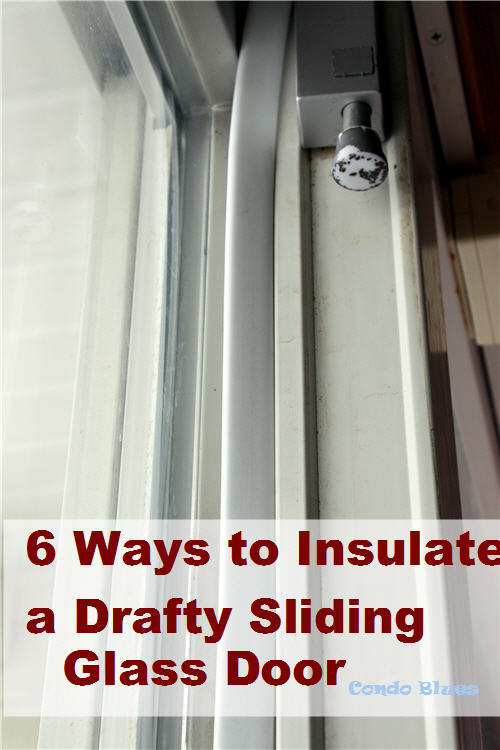
Bonus Tip: Addressing Drafty Sliding Glass Doors
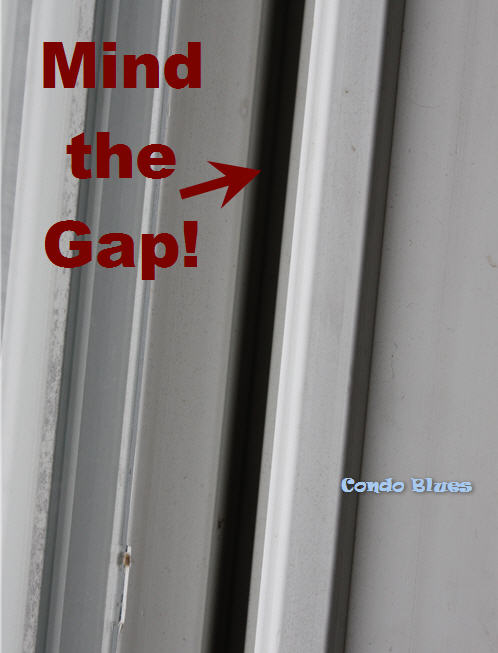
Sliding glass doors are notorious for drafts. Beyond weather stripping, consider a heavy thermal curtain specifically designed for sliding doors. Also, check the track and ensure it’s clean and the door is properly aligned for a tight seal.
The Bottom Line: Save Money and Stay Warm
By implementing these simple DIY window insulation methods, you can drastically reduce heat loss from windows in your older home, save money on heating bills, and create a more comfortable living space. Remember, even small improvements can make a big difference in your home's energy efficiency and overall comfort. These solutions are especially helpful for those in rural areas with older homes. Don't let those drafty windows win!
Now it’s your turn! What are your favorite window insulation tips? Which method are you going to try and why? Share your experiences and advice in the comments below!
And don't forget to subscribe to the Better Homes and Harvests newsletter for more practical homesteading advice! Let's build a warmer, more sustainable future together!
[Social sharing buttons here]