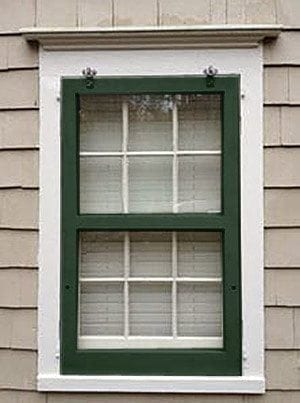
Banishing the Blizzard: A Homesteader's Guide to Draft-Proofing Old Windows
Every winter, I could feel the icy wind blasting through the gaps in the old double-hung window in our farmhouse kitchen. It was like the Arctic was staging a personal invasion, driving up our heating bills and making it nearly impossible to keep the space comfortable. We knew something had to be done, but a full window replacement wasn't in the budget. That's when we decided to tackle a DIY window insulation project, and the results were amazing! This guide will show you how to achieve the same energy savings with simple weather stripping and interior storm windows. Get ready to say goodbye to those winter drafts and hello to a warmer, more efficient home.
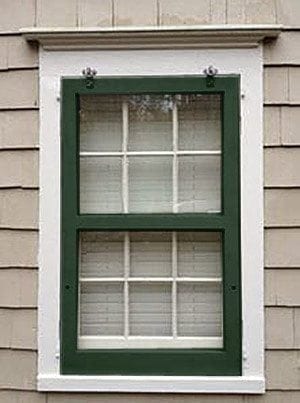
An old wooden storm window, a great example of added window protection.
Why Focus on Window Insulation?
Windows are notorious culprits for heat loss in older homes. Drafty window fix projects can significantly reduce your energy consumption, lower your heating bill, and make your home more comfortable throughout the winter. Even seemingly small gaps can let in a surprising amount of cold air, forcing your heating system to work harder. By implementing simple and affordable window insulation techniques, you can create a more sustainable and cost-effective homestead. This project falls squarely within the realm of farmhouse winterizing – a crucial step in preparing your home for the cold months.
Project Overview: Weather Stripping and Interior Storm Windows
This DIY guide focuses on two key techniques: adding weather stripping to seal gaps around your window and installing an interior storm window to create an extra layer of insulation. These methods are accessible to beginner to intermediate homesteaders and require minimal tools and materials. The focus is on an Affordable Window Energy Savings.
Tools and Materials (Affordable and Readily Available)
Before you begin, gather these essential tools and materials from your local hardware store:
- Measuring tape: For accurate measurements of your window.
- Utility knife: To cut weather stripping and plastic sheeting.
- Scissors: For trimming smaller pieces of weather stripping.
- Caulk gun and caulk (optional): For sealing any remaining gaps.
- Hammer or rubber mallet: For gently tapping weather stripping into place.
- Pencil: For marking measurements.
- Cleaning supplies (soap, water, cloth): To prepare the window surface.
- Foam weather stripping: Available in various thicknesses. Choose a type that suits the gaps in your window. (SEO KEYWORD: Foam Weather Stripping)
- Felt weather stripping: Another option for tighter gaps. (SEO KEYWORD: Felt Weather Stripping)
- Clear plastic sheeting (4-6 mil): For creating the interior storm window. (SEO KEYWORD: Clear Plastic Sheeting)
- Double-sided tape: To secure the plastic sheeting to the window frame.
- Optional: Hair dryer: To shrink the plastic film for a tighter fit (if using shrink film).
- Safety glasses: Protect your eyes from debris.
- Gloves: To protect your hands.
Step-by-Step Guide to Window Insulation
Follow these steps to revamp your drafty old window for winter energy savings. We will be targeting the Double-Hung Window Repair.
Step 1: Inspection and Cleaning

Double-hung windows are common in older homes and benefit greatly from weather stripping.
Thoroughly inspect your window for gaps and cracks. Pay close attention to the areas around the sashes (the movable parts of the window) and the frame. Clean the window frame and sash with soap and water to ensure proper adhesion of the weather stripping and tape. Let it dry completely before proceeding. This is crucial for effective DIY Window Sealing.
Step 2: Weather Stripping the Lower Sash
- Measure: Measure the length of the bottom rail (the horizontal piece) of the lower sash.
- Cut: Cut the foam or felt weather stripping to the measured length.
- Apply: Peel off the backing of the weather stripping and carefully apply it to the bottom rail of the lower sash, ensuring it aligns properly with the window frame when closed. Press firmly to secure the adhesion.
Step 3: Weather Stripping the Upper Sash
- Measure: Measure the length of the top rail (the horizontal piece) of the upper sash.
- Cut: Cut the weather stripping to the measured length.
- Apply: Apply the weather stripping to the top rail of the upper sash, ensuring it seals against the window frame when closed.
Step 4: Weather Stripping the Sides of Both Sashes
- Measure: Measure the length of the vertical sides of both the upper and lower sashes.
- Cut: Cut the weather stripping to the measured lengths.
- Apply: Apply the weather stripping to the sides of each sash. Be precise to ensure proper sealing when the window is closed.
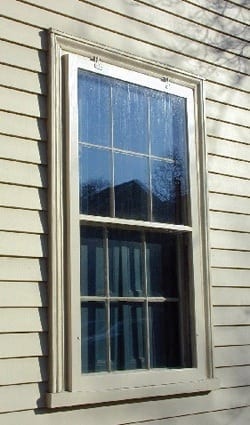
An example of the correct placement of weather stripping.
Step 5: Create an Interior Storm Window
- Measure: Measure the inside dimensions of your window frame (the area where the storm window will be placed). Add an extra inch or two to each dimension for overlap.
- Cut: Cut the clear plastic sheeting to the measured size.
- Apply Double-Sided Tape: Apply double-sided tape around the entire inside perimeter of the window frame.
- Attach Plastic Sheeting: Carefully attach the plastic sheeting to the double-sided tape, smoothing out any wrinkles or air bubbles.
- Optional: Shrink Film (If Using): If you're using shrink film, use a hair dryer on a low setting to gently shrink the plastic for a tighter, drum-like fit. Be careful not to overheat the plastic.
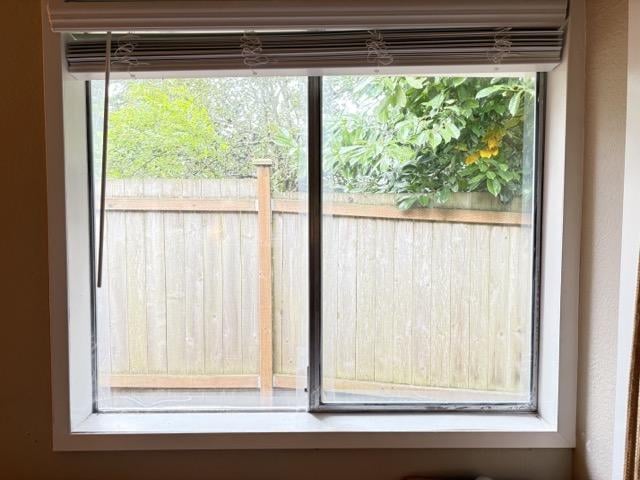
Window before adding insulation, often drafty and inefficient.
Step 6: Final Sealing (Optional)
For any remaining gaps or cracks, apply a bead of caulk to seal them. This will further reduce air leakage.
Troubleshooting and Tips
- Weather Stripping Not Sticking: Ensure the surface is clean and dry before applying weather stripping. You can also use a stronger adhesive if necessary.
- Plastic Sheeting Wrinkling: Take your time smoothing out the plastic sheeting as you apply it. If using shrink film, go slowly and evenly with the hair dryer.
- Variations for Casement Windows: The same principles apply to casement windows. Adjust the weather stripping placement to ensure a tight seal when the window is closed.
- Dealing with Rot: Address any significant rot in the window frame before insulating. This may require patching or replacing damaged wood.
- Window Film as an Alternative: If you don't want to build an interior window you can apply window film to help seal in some of the cold, they offer a very similar option.
Quantifying Energy Savings
While the exact savings will vary depending on your climate, home, and heating system, this simple project can save you up to $20-$50 per month on your heating bill. You will find a reduction on your heating bill by weatherizing your windows!. By reducing heat loss, you're not only saving money but also reducing your carbon footprint.
FAQ: Common Window Insulation Questions
- How do I know if my windows are drafty? Feel around the window frame and sashes on a cold, windy day. If you feel a noticeable draft, your window needs insulation.
- What kind of weather stripping should I use? Choose a weather stripping type that suits the size of the gaps in your window. Foam and felt weather stripping are both good options for old windows.
- Is window film effective? Yes, window film can provide a significant boost in insulation. It is another great idea for your window.
- How much does it cost to insulate windows myself? The cost of materials for this project is typically under $50 per window.
- Will this work on other types of windows? This method can be adapted for various window types with some modifications to the weather stripping placement.
Conclusion
Don't let another winter send your heating bills skyrocketing. With a few simple tools and materials, you can effectively insulate your old windows and create a warmer, more energy-efficient home. Start your DIY Window Insulation journey today and enjoy the benefits of a cozy and sustainable homestead.
Now it's your turn! Share your own window insulation experiences, ask questions in the comments below, and share this post on social media using the hashtag #HomesteadDIY. Let's help each other create warmer, more sustainable homes!
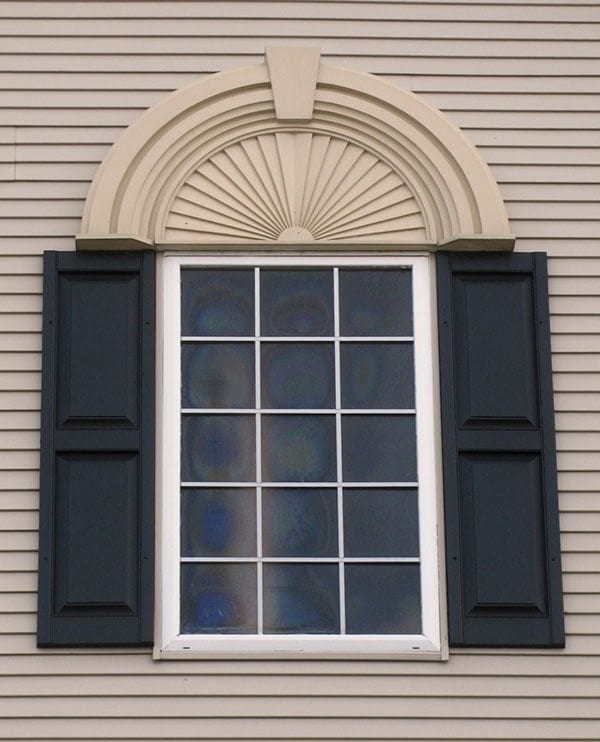
Many different windows can be made more efficient and appealing with a little love and restoration.