Banish Winter Bills: How You Can Build a Super-Efficient Root Cellar for Under $500 (Even If You're a Beginner!)
Are you tired of bland, expensive supermarket produce in the dead of winter? Do you dream of a more self-sufficient lifestyle, less reliant on global supply chains? Rising food costs and a growing desire for truly local, seasonal eating are driving more and more people to explore the age-old practice of food preservation. And one of the most effective, low-tech methods is the humble root cellar.
Imagine this: it's a crisp November day. The wind is howling, and the first snow is dusting the ground. You step outside, not to trudge to the store for a wilted head of lettuce, but to visit your own root cellar. Inside, rows of plump potatoes, crisp carrots, and perfectly ripened apples await, all harvested from your garden and ready to nourish you through the winter. This isn't just a fantasy; it's the reality you can create with an affordable, DIY root cellar!
The Magic of the Root Cellar: More Than Just Storage
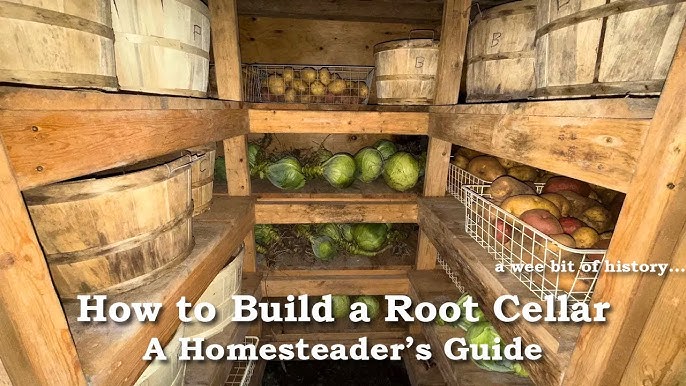
Root cellars have been used for centuries to keep fruits and vegetables fresh without electricity. They offer a cool, humid environment that slows down the ripening process and prevents spoilage. But the benefits go far beyond mere preservation.
- Cost Savings: Significantly reduce your grocery bills by storing your own garden produce.
- Fresh, Healthy Food: Enjoy the taste and nutritional benefits of fresh, locally grown food all winter long.
- Self-Sufficiency: Gain independence from the grocery store and build a more resilient food system for your family.
- Connection to Nature: Reconnect with the rhythms of the seasons and appreciate the bounty of your garden.
- Reduced Energy Consumption: Eliminate the need for energy-intensive refrigeration for many fruits and vegetables.
Our $500 Root Cellar Solution: The Buried Trash Can Method
For beginner homesteaders looking for an affordable and manageable project, the buried trash can root cellar is an excellent choice. It's relatively easy to build, requires minimal space, and can effectively store a surprising amount of produce. This method provides a stable environment by utilizing the earth's natural insulation.
Step-by-Step Guide: Building Your Buried Trash Can Root Cellar
1. Gather Your Materials:
- Heavy-Duty Plastic Trash Can with Lid (32-gallon or larger): $30 - $50 (Check your local hardware store or online retailers)
- Insulating Material (Straw bales, rigid foam insulation): $50 - $100 (Straw bales are more natural; rigid foam offers better insulation)
- Gravel: $20 (For drainage at the bottom of the hole)
- Wooden Boards or Pallets: Free (For creating a false bottom inside the trash can)
- Thermometer/Hygrometer: $10 - $20 (To monitor temperature and humidity)
- Shovel and Other Basic Gardening Tools: (Assume you already have these)
- Optional: Hardware cloth: $20 (To line the inside of the can for pest protection)
- Optional: Vent Pipe: $10 (4-inch PVC pipe)
2. Choose Your Location:
Select a well-drained area in your yard that receives shade during the hottest part of the day. A north-facing slope is ideal.
3. Dig the Hole:
Dig a hole deep enough to bury the trash can up to its lid, with about 6-12 inches of the lid above the ground. Ensure the hole is wide enough to allow for insulation around the can.
4. Prepare the Base:
Pour a layer of gravel (about 6 inches) into the bottom of the hole for drainage. This prevents water from pooling around the trash can and spoiling your produce.
5. Place the Trash Can:
Carefully lower the trash can into the hole.

6. Add Insulation:
Pack the space between the trash can and the surrounding soil with your chosen insulation material. Straw bales are a great natural option, providing good insulation and breathability. Rigid foam insulation offers superior insulation but is less environmentally friendly. Ensure the insulation extends above the ground level to prevent frost from penetrating the cellar.
7. Create a False Bottom:
Inside the trash can, create a false bottom using wooden boards or pallets. This elevates your produce above any condensation that might accumulate at the bottom. It also improves air circulation.
8. Add Ventilation (Optional but Recommended):
Install a vent pipe (4-inch PVC) extending from the bottom of the trash can to above ground level. This helps to circulate air and prevent the buildup of moisture and gases.
9. Monitor Temperature and Humidity:
Place a thermometer/hygrometer inside the trash can to monitor the temperature and humidity levels. Ideal conditions are between 32-40°F (0-4°C) and 80-90% humidity.
10. Bury and Insulate the Lid:
Partially bury the lid of the trash can with soil and cover it with additional insulation, such as straw or leaves. This helps to maintain a consistent temperature inside the root cellar.
11. Storing Your Produce:
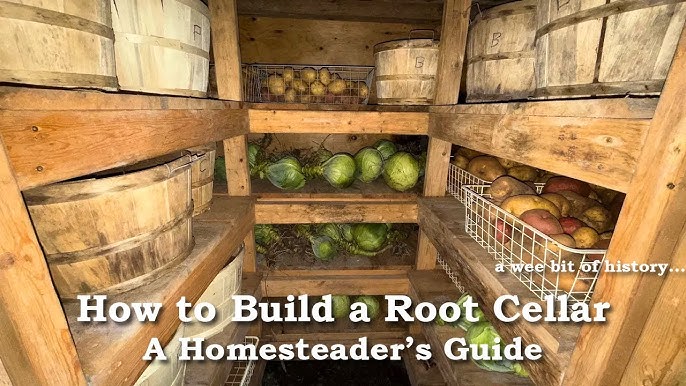
- Potatoes: Store in burlap sacks or wooden crates.
- Carrots and Root Vegetables: Pack in damp sand or sawdust to maintain humidity.
- Apples: Wrap individually in newspaper to prevent them from spoiling each other.
- Onions and Garlic: Hang in mesh bags or braid together.
Important Considerations:
- Pest Control: Consider lining the inside of the trash can with hardware cloth to prevent rodents from accessing your produce.
- Drainage: Ensure adequate drainage to prevent water from pooling in the root cellar.
- Regular Monitoring: Check the temperature and humidity regularly and adjust ventilation as needed.
- Culling: Regularly inspect your produce and remove any spoiled items to prevent them from affecting the rest of your stored food.
Budget Breakdown: Keeping it Under $500
- Trash Can: $40
- Insulation (Straw Bales): $60
- Gravel: $20
- Wooden Boards/Pallets: $0 (Repurposed)
- Thermometer/Hygrometer: $15
- Hardware Cloth (Optional): $20
- Vent Pipe (Optional): $10
- Total: $165 (Well Under Budget!)
This budget demonstrates how achievable a DIY root cellar can be for under $500, leaving plenty of room for adjustments and upgrades based on your specific needs and preferences.
My Root Cellar Revelation: A Personal Story
Years ago, I was completely reliant on the grocery store for my winter vegetables. The selection was limited, the quality was often poor, and the prices were always high. One particularly harsh winter, after a series of snowstorms, the shelves were practically bare. That's when I decided to take matters into my own hands and build my first root cellar.
It was a simple, above-ground structure made from reclaimed materials, but it made a world of difference. Suddenly, I had access to fresh, homegrown produce throughout the winter. The taste was incredible, the cost savings were significant, and the sense of self-sufficiency was empowering. It was a game-changer, and it inspired me to embrace a more sustainable and resilient way of life.
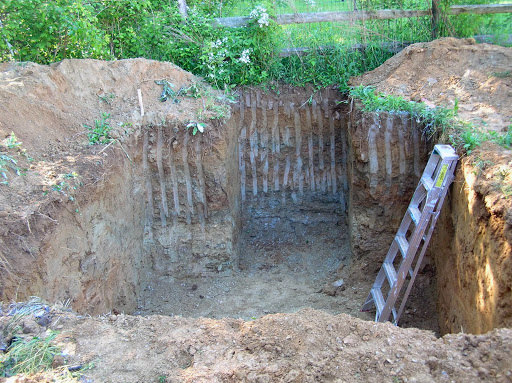
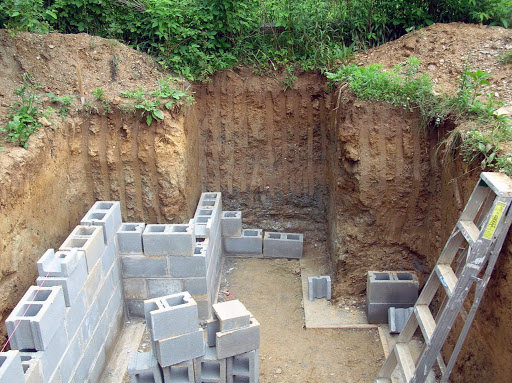
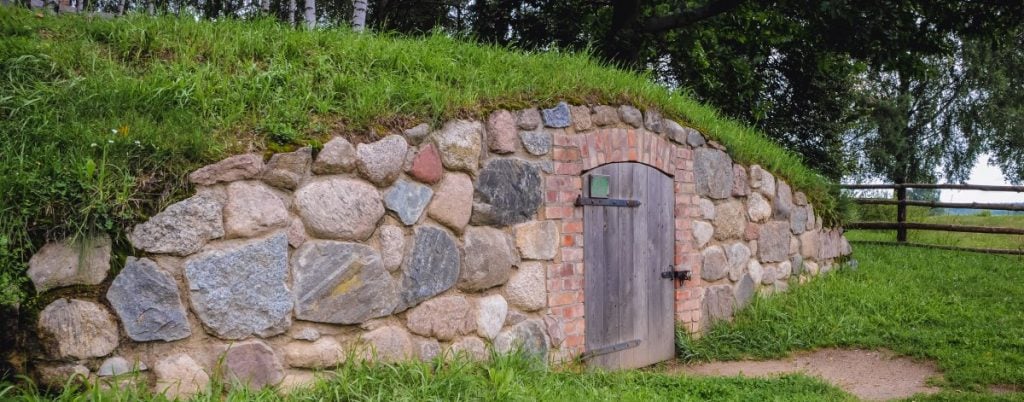
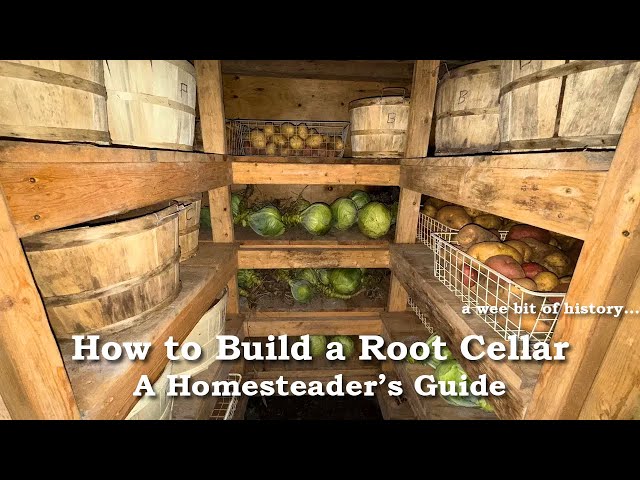

Beyond the Basics: Other Affordable Root Cellar Options
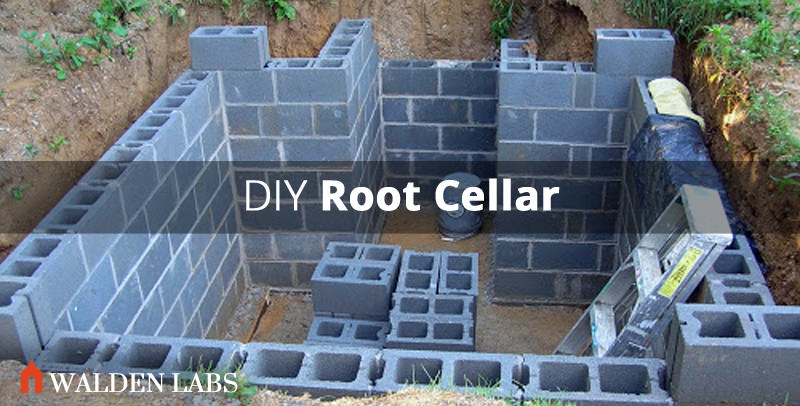
While the buried trash can method is a great starting point, there are other affordable root cellar options to consider:
- Repurposed Refrigerator (Properly Sealed): An old refrigerator can be converted into a root cellar by removing the motor and sealing it properly to prevent the buildup of harmful gases. Burying it partially in the ground provides additional insulation. Caution: Ensure the refrigerant is properly removed by a qualified technician before repurposing.
- Above-Ground Insulated Structure: A small, well-insulated shed or box can be used as a root cellar, especially in areas with mild winters. Focus on using recycled materials and maximizing insulation.
Time to Get Digging!
Building a root cellar is an investment in your health, your wallet, and your self-sufficiency. It's a project that connects you to the land and empowers you to take control of your food supply. So, gather your materials, roll up your sleeves, and get digging! Banish those winter bills and enjoy the taste of fresh, homegrown goodness all year long.
Now it's your turn! Share your own root cellar ideas, experiences, or questions in the comments below. And don't forget to subscribe to our newsletter for more homesteading tips and tricks!