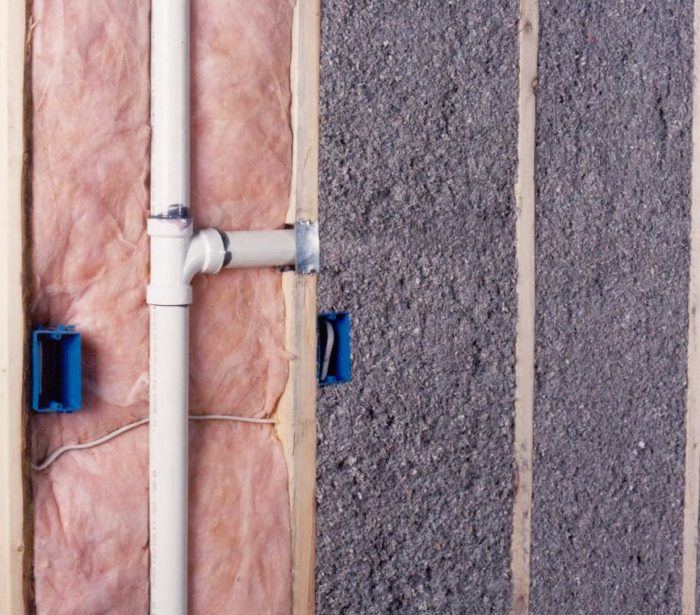
Banish the Drafts: A Homesteader's Guide to Insulating Your Old Home
There's a certain charm to an old home, isn't there? The creaking floors, the quirky architectural details, the sense of history humming within its walls. But that charm can quickly fade when winter winds howl and your energy bills skyrocket. The culprit? Drafty, under-insulated walls, ceilings, and floors. If you're feeling the chill even with the thermostat cranked up, it's time to consider insulating your old home and create a truly cozy and sustainable living space. Let’s look into DIY home insulation!
Think of it this way: your home is like a cozy winter coat. Without proper insulation, it's like wearing a thin jacket in a blizzard. The cold seeps in, and your furnace works overtime to compensate. But with effective home insulation, you're wrapping your home in a warm blanket, keeping the heat in and the cold out. This not only makes your home more comfortable but also saves you money and reduces your environmental impact. Ready to learn how to banish those drafts? Let's get started.
Why Insulate? The Benefits of a Warmer Homestead
Before we dive into the how-to, let's talk about the why. Insulating your old home is more than just a comfort upgrade; it's a smart investment in your home's efficiency and your family's well-being.
- Reduced Energy Consumption: This is the big one. Proper insulation minimizes heat loss in the winter and heat gain in the summer, reducing your reliance on your heating and cooling systems. This translates directly into lower energy bills.
- Lower Heating/Cooling Bills: Imagine saving hundreds of dollars each year on your energy bills. That's the potential impact of a well-insulated home. Think of all the things you could do with that extra cash – maybe a new garden shed or a flock of laying hens!
- Increased Comfort: Say goodbye to cold drafts and uneven temperatures. Insulation creates a more consistent and comfortable living environment throughout your home. No more battling over the thermostat!
- Smaller Carbon Footprint: By reducing your energy consumption, you're also reducing your carbon footprint. You’ll be contributing to a more sustainable future. Every little bit helps!
- Increased Home Value: Home insulation is a home improvement that will increase the value of your home.
- Feels Amazing: The difference an insulated wall feels is something else! Walk over to an exterior wall and feel it. In winter, if it's cold to the touch, your heat is flowing right through it. Then, after insulating, you'll touch the wall and it will feel like the same ambient air temperature as the rest of the room.
Is My Old Home Under-Insulated? Signs to Look For
Not sure if your home needs more insulation? Here are a few telltale signs:
- High Energy Bills: If your heating and cooling costs seem consistently high, even when compared to similar homes in your area, poor insulation could be the culprit.
- Drafty Rooms: Notice cold air seeping in around windows, doors, or walls? That's a sign that air is leaking in and out of your home due to inadequate insulation.
- Uneven Temperatures: Are some rooms always colder or hotter than others? This could be due to inconsistent insulation throughout your home.
- Ice Dams: In colder climates, ice dams forming on your roof can indicate heat loss due to poor insulation in your attic.
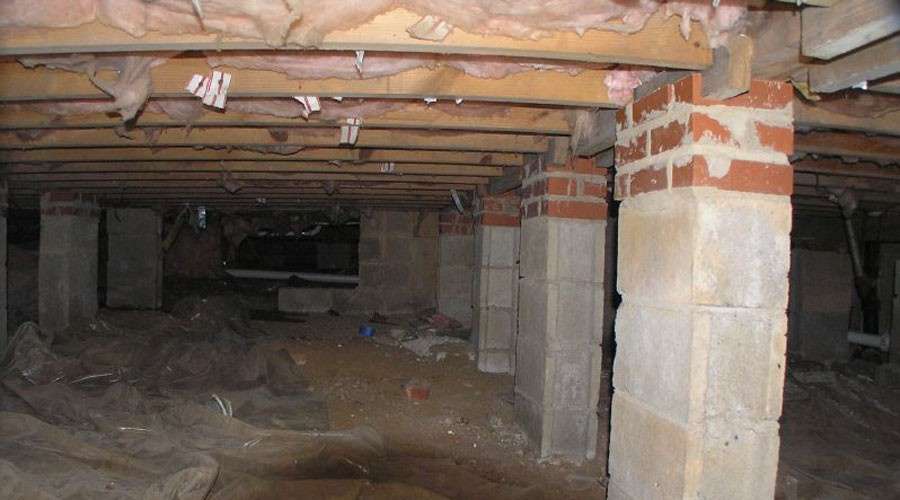
- Cold Walls and Floors: Touch your exterior walls and floors during the winter. If they feel cold to the touch, that means heat is escaping.
Choosing the Right Insulation Material: A Homesteader's Perspective
When it comes to insulating your old home, you have several options. Here's a look at a few common choices, with a focus on their suitability for homesteading:
- Rockwool (Mineral Wool): Made from recycled rock or slag, rockwool is a fire-resistant and moisture-resistant insulation option. It's relatively easy to install and provides good soundproofing. It's a good choice for walls, attics, and floors.
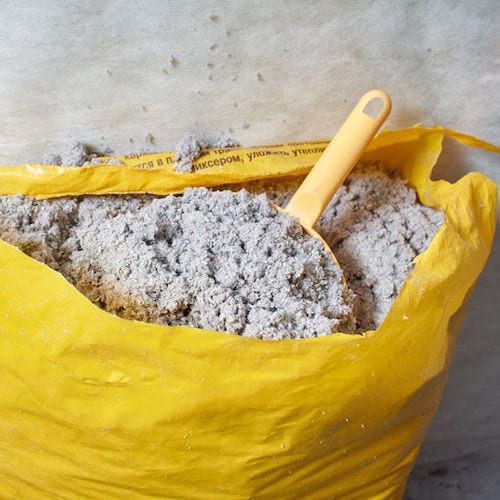
- Cellulose: Made from recycled paper, cellulose is an eco-friendly insulation option that's often treated with borates to resist pests and fire. It's typically blown into wall cavities or attics. Cellulose is great at filling small cracks in walls and offers good insulation and fire retardant properties.
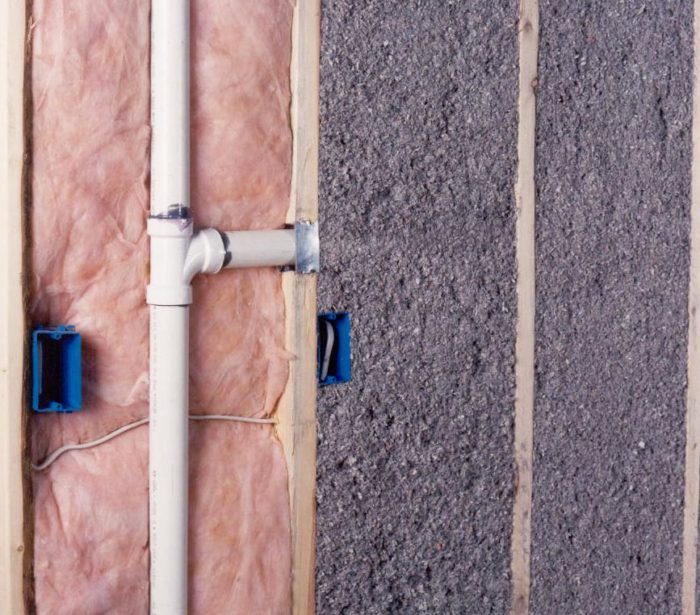
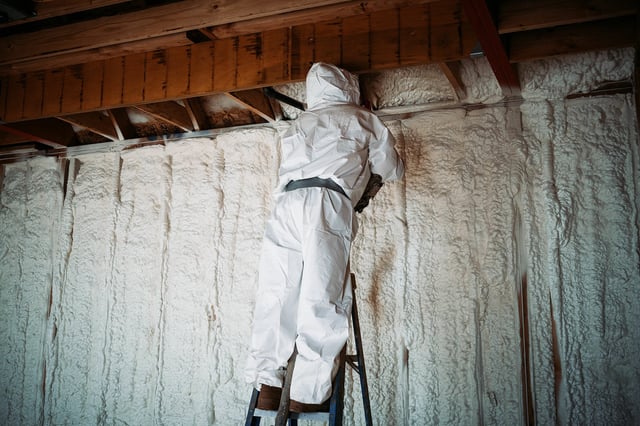
- Spray Foam: Spray foam expands to fill gaps and cracks, creating an airtight seal. It offers excellent insulation value and can help prevent moisture problems. However, it can be more expensive and may require professional installation. There are two types of spray foam: open cell and closed cell. Open cell is a less expensive and less effective insulation. Closed cell is more expensive and more effective. Closed cell is also more moisture resistant.

- Fiberglass: Although a classic insulation, this is the least environmentally friendly option due to the manufacturing process. If you go with fiberglass, ensure it is formaldehyde-free.
DIY Project: Insulating a Small Wall Cavity with Rockwool
For this project, we'll focus on insulating a small wall cavity using rockwool. This is a manageable project for beginners and will give you a good feel for the process.
Materials & Tools List:
- Rockwool insulation batts
- Utility knife
- Measuring tape
- Safety glasses
- Gloves
- Dust mask
Approximate Costs:
- Rockwool insulation batts: $1.00 - $2.00 per square foot
- Utility knife: $10 - $20
- Measuring tape: $10 - $20
- Safety glasses: $5 - $10
- Gloves: $5 - $10
- Dust mask: $1 - $5
Where to Source:
- Home improvement stores (e.g., Home Depot, Lowe's)
- Local hardware stores
- Online retailers (e.g., Amazon)
Step-by-Step Guide:
- Prepare the Area: Identify a small wall cavity that needs insulation. This could be an area where you feel a draft or where you suspect there's missing insulation.
- Measure the Cavity: Use your measuring tape to determine the width, height, and depth of the cavity. This will help you cut the rockwool to the correct size.
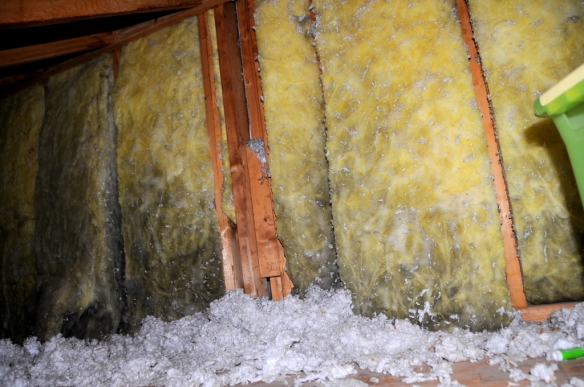
- Cut the Rockwool: Using your utility knife, carefully cut the rockwool batt to the dimensions you measured. Make sure to cut slightly larger than the actual dimensions so that the material fits snug. It’s easy to compress the material a bit, but you can’t add material if you cut short.
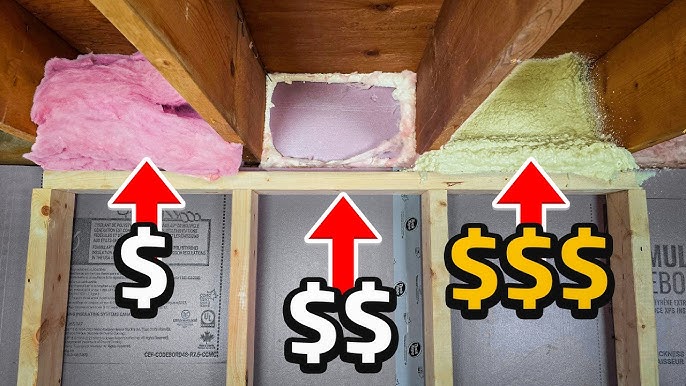
- Install the Rockwool: Wearing your safety glasses, gloves, and dust mask, carefully insert the cut rockwool into the wall cavity. Gently compress the rockwool to ensure a snug fit, but avoid over-compressing it, as this can reduce its insulation value.
- Repeat: Repeat steps 2-4 for any remaining cavities.
- Finishing Up: Once you’ve finished insulating, make sure to properly dispose of any leftover rockwool scraps. And that’s it!
Safety Precautions:
- Always wear safety glasses, gloves, and a dust mask when working with insulation.
- Use a sharp utility knife and cut away from your body.
- Work in a well-ventilated area.
Troubleshooting Tips:
- If the rockwool is too difficult to cut, try using a longer, sharper blade.
- If the rockwool is too loose in the cavity, add more material or use shims to secure it in place.
- If you're unsure about any step of the process, consult a professional.
Personal Anecdote:
I remember the first winter we spent in our old farmhouse. The wind howled through the gaps in the windows and the floorboards felt like ice. We spent a fortune on heating oil and still shivered under blankets. That's when I knew we had to do something about the insulation. It was a long and sometimes challenging process, but the results were well worth it. The house is now much warmer, our energy bills are lower, and we can finally enjoy the winter months without feeling like we're living in an icebox. It's made our house feel even more like home.
Take the Plunge: Start Your Insulation Journey Today!
Insulating your old home is an investment in your comfort, your wallet, and the environment. While it may seem daunting at first, with a little planning and effort, you can significantly improve your home's energy efficiency and create a cozier, more sustainable living space. Don't let another winter go by with drafty rooms and high energy bills. Start your DIY home insulation journey today!
Call to Action
Have you insulated your old home? What materials did you use, and what challenges did you face? Share your experiences in the comments section below! Do you have any questions about how to insulate an old house? We’re here to help! We encourage you to ask questions, share your photos of finished projects, and continue learning with Better Homes and Harvests. For more on home improvement and sustainable living, check out our other articles on Better Homes and Harvests. Let’s build a community of informed and empowered homesteaders together!