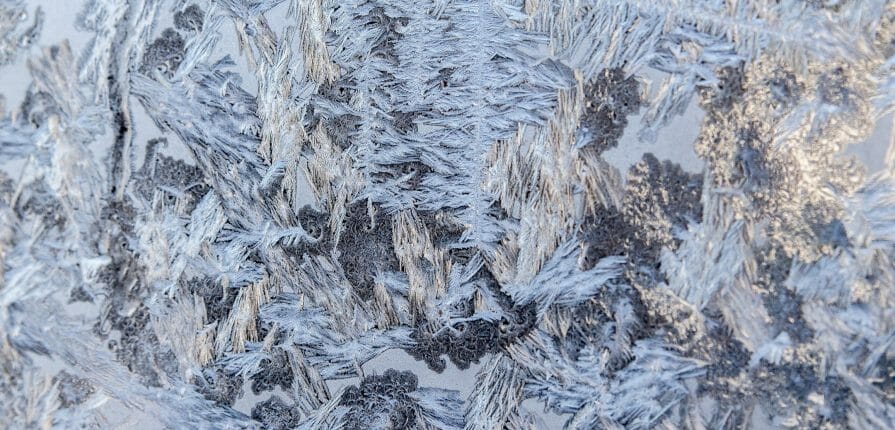
Banish the Chill: DIY Window Insulation for a Cozy, Energy-Efficient Homestead This Fall!
Remember last winter? The thermostat wars, the perpetually cold feet, and that nagging feeling that your hard-earned money was quite literally flying out the window? Here at "Better Homes and Harvests," we understand the desire for a warmer, more comfortable home – and a fatter wallet. We also know that energy efficiency is vital for a thriving homestead and a healthier planet. So, let's tackle one of the biggest culprits of heat loss: your windows.
Windows, despite their sunshine-bringing capabilities, can be major sources of energy inefficiency. Think of them as "thermal bridges," allowing precious heat to escape and icy drafts to sneak in. But don't despair! This fall, we're empowering you to take control with a quick win: DIY window insulation! We're talking about a project you can realistically complete in a single weekend, using readily available materials and basic tools. Get ready to reduce heating bills this winter, one window at a time!
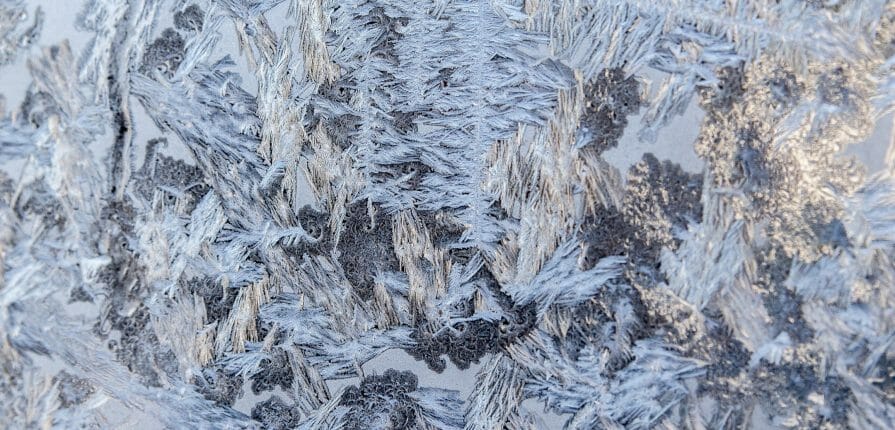
Project Selection: Simple Magnetic Interior Window Covers
For this project, we're focusing on simple magnetic interior window covers. This method is affordable, relatively easy, and surprisingly effective at blocking drafts and improving your home's insulation. It's an ideal way to winterize windows without breaking the bank, especially for those new to energy-efficient homesteading. Magnetic window insulation creates an airtight seal, greatly reducing thermal bridging and helping you reduce heating bills.
Step-by-Step Instructions: Magnetic Window Insulation
Here's a breakdown of how to create your own homemade storm windows using the magnetic strip method. This cheap window insulation option is perfect for beginners!
Materials List (Approximate Cost per Window: $20-$40)
- Clear Vinyl Sheeting (4-6 mil): Available at most hardware or fabric stores. (Approx. $10-$20 per window, depending on size)
- Magnetic Tape (with adhesive backing): Ensure it's strong enough to hold the vinyl. (Approx. $5-$10 per window)
- Steel Tape (with adhesive backing): This will adhere to your window frame for the magnets to attach to. (Approx. $5-$10 per window)
- Scissors or Utility Knife: For cutting the vinyl and tape.
- Measuring Tape: Accuracy is key!
- Cleaning Supplies: For cleaning the window frame.
- Optional: Hair Dryer or Heat Gun: To smooth out any wrinkles in the vinyl.
Safety Precautions:
- Always use caution when using sharp tools like scissors or utility knives.
- Work in a well-lit area.
- If using a heat gun, be careful not to overheat the vinyl, as it could melt or distort.
Step 1: Measure Your Windows
- Carefully measure the inside dimensions of your window frame where the steel tape will adhere. Measure width and height. Be as precise as possible! A slightly smaller cover is better than one that's too large.
Step 2: Cut the Vinyl Sheeting
- Lay the vinyl sheeting on a flat surface.
- Add 2 inches to both the width and height measurements you took in Step 1. This will allow for overlap and ensure a good seal.
- Use scissors or a utility knife to cut the vinyl to the correct size. A rotary cutter and self-healing mat, if you have them, can make this step easier and cleaner.

Step 3: Prepare the Window Frame
- Thoroughly clean the inside of your window frame where the steel tape will be applied. Remove any dirt, dust, or grease. Isopropyl alcohol works well for this.
- Allow the frame to dry completely before proceeding. This is crucial for proper adhesion.
Step 4: Apply the Steel Tape
- Measure and cut the steel tape to match the inside perimeter of your window frame.
- Peel off the adhesive backing and carefully apply the steel tape to the window frame, ensuring a smooth and even application. Press firmly to secure the tape.
Step 5: Apply the Magnetic Tape to the Vinyl
- Lay the vinyl sheeting flat, with the side you want facing inward facing up.
- Measure and cut the magnetic tape to match the perimeter of the vinyl sheeting.
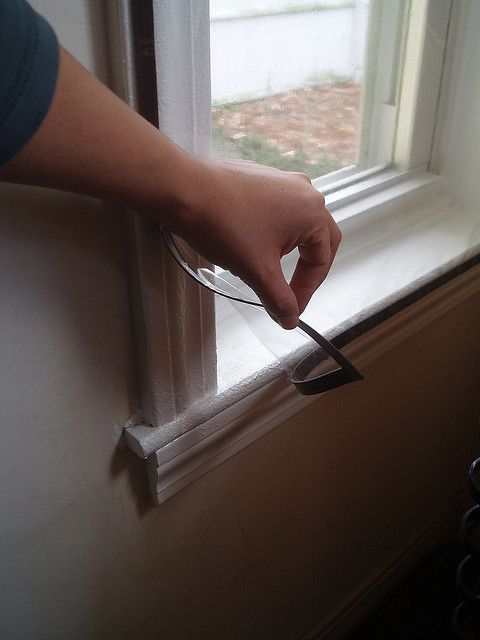
- Peel off the adhesive backing and carefully apply the magnetic tape to the edge of the vinyl, ensuring it's aligned properly. Press firmly to secure the tape.
Step 6: Install Your Magnetic Window Cover
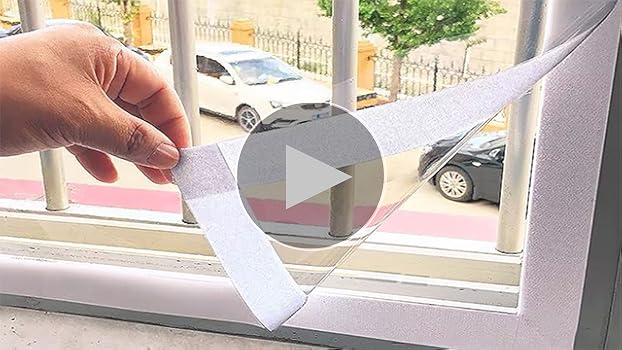
- Simply align the magnetic tape on the vinyl cover with the steel tape on the window frame. The magnets should attract and hold the cover in place, creating an airtight seal.
Step 7 (Optional): Fine-Tuning
- If you notice any wrinkles or sagging in the vinyl, you can use a hair dryer or heat gun (on a low setting) to gently heat the vinyl and smooth it out. Be careful not to overheat the vinyl.
Troubleshooting Tips
- What if my window isn't perfectly square? Don't worry! Measure each side individually and cut the vinyl accordingly. Slight imperfections are usually not noticeable.
- How do I avoid condensation? Condensation can occur if there's a significant temperature difference between the inside and outside of the window. Ensure a tight seal to minimize air leakage. You can also try adding a desiccant packet (like those found in shoe boxes) between the window and the vinyl to absorb moisture. Make sure that you are regularly circulating air within the home as well.
- The magnetic tape isn't sticking well: Make sure the surface is clean and dry before applying the tape. You can also try using a stronger adhesive, but be careful not to damage the window frame.
- The vinyl is cloudy: Make sure you are using clear vinyl and that it is clean.
- If the corners don't stick completely: Use small squares of magnetic tape to enforce the seal in the corners.
Cost Savings & Impact: A Warmer Home, a Lighter Wallet
While the exact energy savings will vary depending on your climate, window size, and home's insulation, magnetic window covers can significantly reduce heating bills. Many homeowners report a noticeable decrease in drafts and a more consistent room temperature after installing them. By reducing heat loss, you're also lowering your carbon footprint, contributing to a more sustainable energy-efficient homesteading lifestyle. You'll likely see a return on investment (ROI) within the first winter! Also, the components should last for years, providing multiple years of service.
Other Affordable Insulation Ideas
While the magnetic strips are an excellent option, there are other cheap window insulation methods:
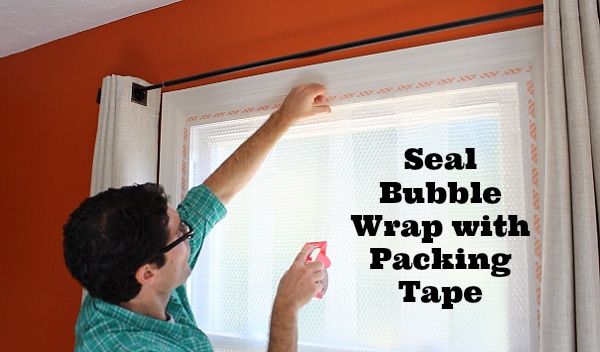
- Bubble Wrap: This is another viable solution that provides an insulating layer of trapped air.
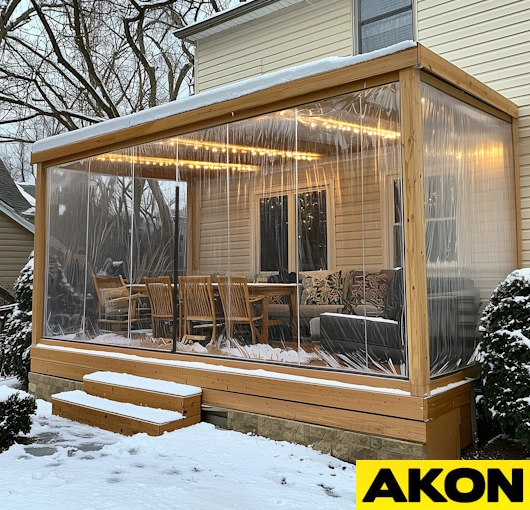
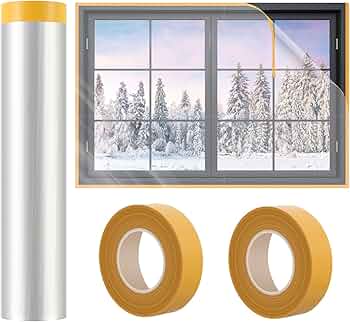
- Window Film: Available as either a heat shrink application or applied similar to a sticker.
- Interior Shutters: These can be closed to provide additional insulation.

- Curtains or Drapes: These trap a layer of air against the window to help provide more insulation.
Take Action: Warm Up Your Homestead Today!
Ready to banish the chill and embrace affordable insulation? Give this DIY magnetic window insulation project a try! It's a simple, effective way to winterize windows and reduce heating bills this winter. Don't wait until the first frost – get started today and enjoy a warmer, more comfortable, and energy-efficient homesteading experience.
Share your results in the comments below! We'd love to hear about your experience and any tips you have. And don't forget to post photos of your completed windows on Instagram using #[BetterHomesAndHarvests] & #[DIYWindowInsulation]. Share this post with your network and help spread the warmth!