
Banish the Breeze: DIY Home Insulation for a Cozier, More Self-Sufficient Homestead
Remember those bone-chilling evenings when the wind howled outside, and you swore you could feel it whispering through the walls of your homestead? I certainly do. Last winter, I battled a relentless draft in our 1920s bungalow. Even with the wood stove roaring, there were pockets of icy air that made staying warm feel like a constant uphill battle. The energy bills soared, and the dream of a self-sufficient, cozy homestead felt further away than ever. The feeling of frustration, bundled under layers of blankets, ignited a determination to tackle the problem head-on.
That's when I dove into the world of DIY home insulation. It turns out, taking control of your home's energy efficiency is not only practical but incredibly empowering. By reducing energy consumption, slashing heating costs, and creating a more comfortable living space, you're taking a significant step towards greater self-sufficiency and a more sustainable lifestyle. This post will be your comprehensive guide to insulating your own old home, step-by-step, so you can finally banish the breeze and embrace a warmer, more inviting homestead.

Step-by-Step Guide: Insulating an Old Home
Section 1: Identifying Problem Areas - Visual
The first step in winning the war against drafts is identifying where they're coming from. You can't fix what you can't see (or feel!). A simple "draft test" is your best weapon here. Light a candle or incense stick and slowly move it around windows, doors, outlets, and where the walls meet the floor or ceiling. If the flame flickers dramatically, or the smoke wavers erratically, you've found a significant air leak. Another great tool is an infrared thermometer. Scan your walls on a cold day; cold spots indicate areas where heat is escaping due to poor insulation or air leaks.
Visually, look for obvious signs of trouble. Gaps in caulking around windows and doors are prime suspects. Crumbling weather stripping is another telltale sign. Check your attic or crawl space for areas of missing or damaged insulation. Pay close attention to areas where pipes or wires enter the house, as these are often poorly sealed.
Section 2: Choosing the Right Insulation - Technical
Once you know where the problems are, it's time to consider how to fix them. Choosing the right insulation is crucial. Several types are suitable for older homes, each with its own pros and cons.
- Fiberglass Batts: These are a common and relatively inexpensive option. They're easy to install between studs and joists. However, they can be less effective if not installed perfectly, and they don't always conform well to irregular spaces. They are also known to cause some irritation when exposed to skin.
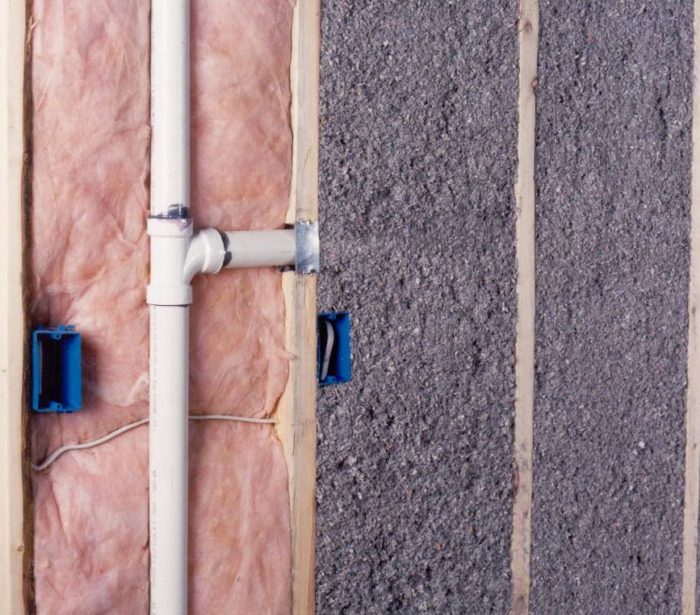
- Cellulose: Made from recycled paper, cellulose is an eco-friendly option. It's often blown into wall cavities, making it a good choice for insulating existing walls. It also has good soundproofing qualities.
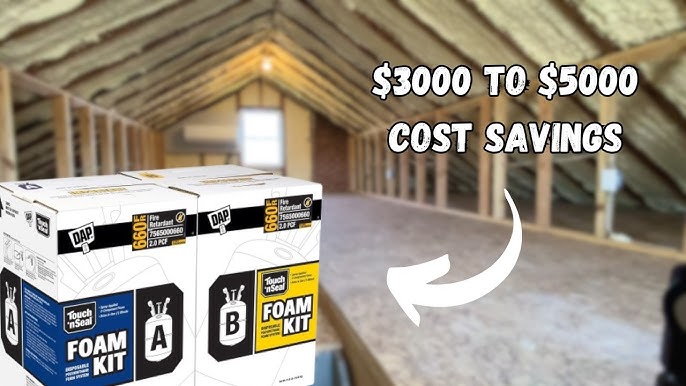
- Spray Foam (Closed and Open Cell): Spray foam creates an airtight seal, making it excellent for preventing air leaks. Closed-cell foam has a higher R-value and is more resistant to moisture, but it's also more expensive. Open-cell foam is less expensive but less effective at preventing moisture. Spray foam can be a good option for areas where moisture is a concern, but it's important to ensure proper ventilation to prevent moisture buildup elsewhere.
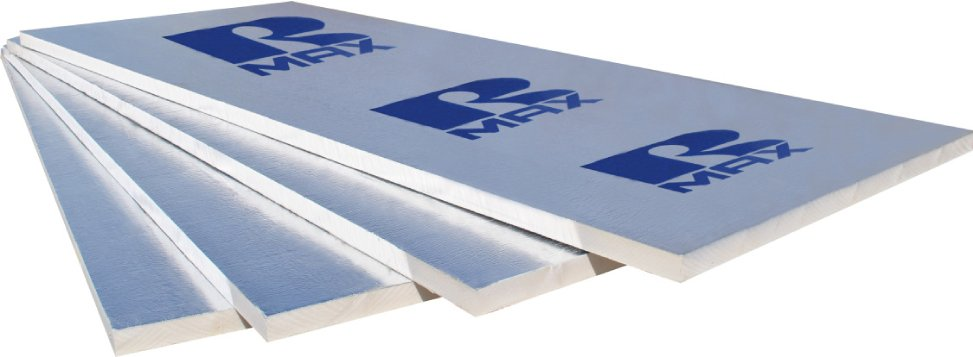
- Rigid Foam Boards: These are often used for insulating exterior walls or basements. They provide a high R-value and are relatively easy to install.
The "R-value" of insulation measures its resistance to heat flow. The higher the R-value, the better the insulation. Select the appropriate R-value for your climate zone based on recommendations from the Department of Energy (DOE). In older homes, moisture and ventilation are critical considerations. Avoid creating a "sealed box" that can trap moisture and lead to mold growth. Ensure adequate ventilation in attics and crawl spaces. Finally, don’t forget to weigh cost differences and environmental impacts when making your decision.
Section 3: Sealing Air Leaks - Practical
Before adding insulation, seal those air leaks! This is often the most cost-effective way to improve energy efficiency.
- Caulk: Use caulk to seal gaps around windows, doors, and where different building materials meet. Choose a caulk that is paintable and suitable for exterior use. Apply it smoothly and evenly for a professional finish.
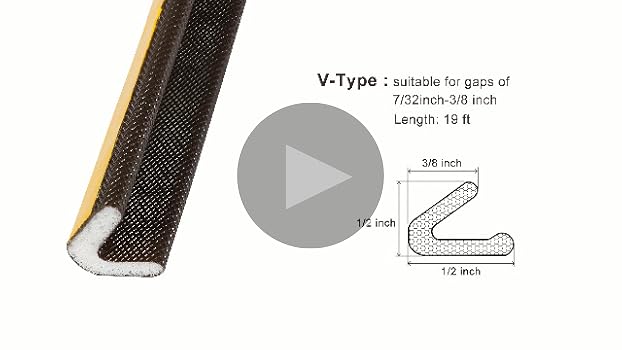
- Weather Stripping: Replace old or damaged weather stripping around doors and windows. Weather stripping comes in various materials, including foam, felt, and rubber. Choose the right type for your specific needs.
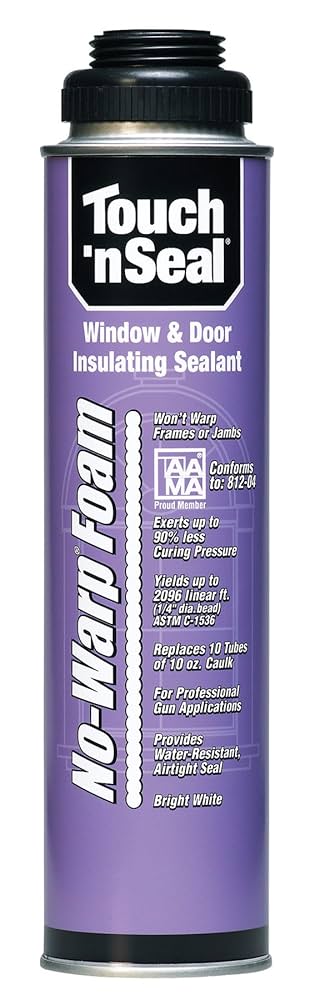
- Expanding Foam: For larger gaps, expanding foam can be a lifesaver. Be careful not to overfill the gap, as the foam expands significantly. Trim any excess foam after it dries.
Always wear appropriate safety gear, including gloves and eye protection, when working with caulk, weather stripping, and expanding foam. Work in a well-ventilated area.
Section 4: Insulating Walls - Advanced
Insulating walls can be more complex, but the payoff is substantial.
- Blowing Insulation into Existing Wall Cavities: This involves drilling holes into the wall cavity and using a blower to fill it with cellulose or other loose-fill insulation. This can be a DIY project, but it's often best to hire a professional, as they have the necessary equipment and experience.
- Exterior Insulation and Siding Replacement: For a more comprehensive approach, consider adding insulation to the exterior walls and replacing the siding. This is a more expensive project, but it can significantly improve your home's energy efficiency and curb appeal.

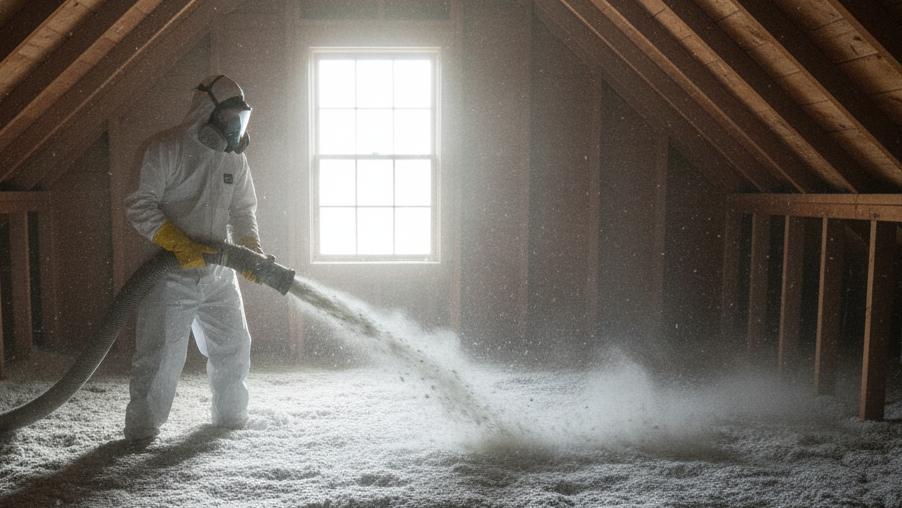
Section 5: Insulating the Attic - Crucial
The attic is where a significant amount of heat is lost, so properly insulating this space is critical.
- Measure Existing Insulation: Determine the existing insulation level and how much more is needed to meet recommended R-values for your climate zone.
- Install Fiberglass Batts or Blown-In Insulation: Install fiberglass batts between the joists, or use a blower to add loose-fill insulation. Ensure proper placement and coverage to prevent gaps.
- Seal Air Leaks: Before adding insulation, seal any air leaks in the attic floor, such as around wiring and plumbing penetrations.
- Ventilation: Maintain adequate ventilation in the attic to prevent moisture buildup. Ensure soffit vents are clear and unobstructed.

Conclusion
Insulating an old home can seem daunting, but by tackling it step-by-step, you can create a more comfortable, energy-efficient, and self-sufficient homestead. We started by identifying problem areas using simple tests and visual inspections. Then, we explored various insulation types, considering their R-values and suitability for older homes. We moved on to sealing air leaks around windows and doors, and finally, we discussed insulating walls and the all-important attic space. Based on our initial investment and projected savings, we anticipate cutting our heating bills by at least 20% this winter, not to mention the priceless comfort and peace of mind!
Now it’s your turn! Take the first step towards a warmer, more sustainable homestead by identifying those drafty areas and making a plan. Share your experiences and ask questions in the comments below. For additional resources on energy efficiency and homesteading, check out the Department of Energy's website and local homesteading groups. And be sure to share before and after pictures of your projects – we'd love to see your progress!