Banish Grocery Bills: Building My Budget-Friendly DIY Root Cellar
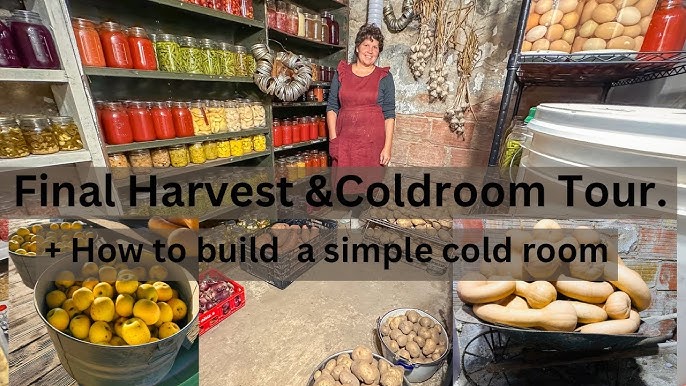
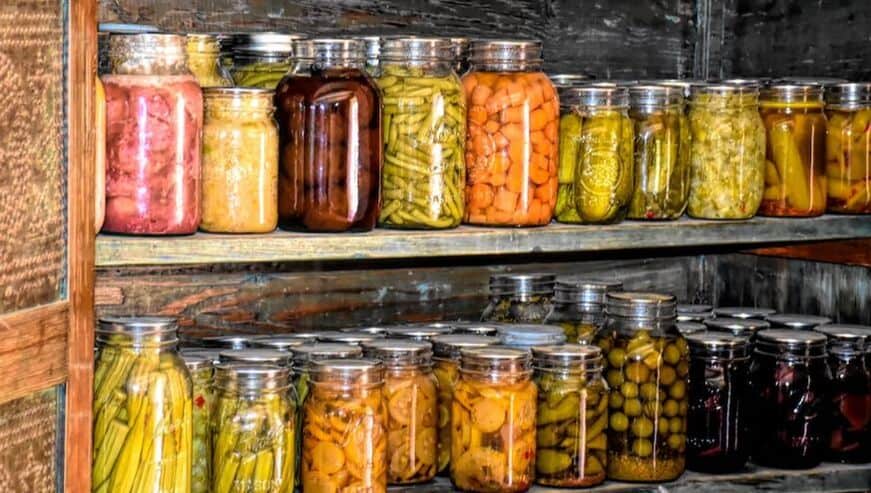
Remember the days of overflowing vegetable bins from the summer garden, followed by the stark reality of January's wilted grocery store produce? I do. Too well. Before our DIY root cellar, we were at the mercy of supermarket prices and the diminishing quality of out-of-season vegetables. That’s why I decided to reclaim control over our food supply. Building a DIY root cellar became more than just a project; it was an investment in our family's health and self-sufficiency. Now, I envision winters filled with crisp apples, perfectly cured onions, and mountains of potatoes, all harvested from our land and stored just steps from our kitchen. It's a taste of independence that every homesteader craves. Let me share my experience building this game-changing storage solution, including all the hiccups and hard-won victories along the way.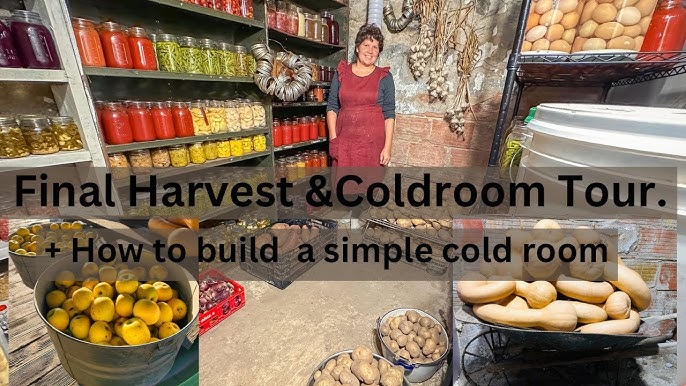
Planning and Design: Location, Location, Location!
The first step to any successful project, especially one as significant as a root cellar, is careful planning. I knew I wanted a space large enough to store a significant portion of our winter harvest – aiming for about 8ft x 12ft internally. This would give us ample room for shelves and bins without feeling cramped.
Location was critical. I initially envisioned a traditional in-ground cellar, but our property presented a unique challenge: rocky soil and a relatively high water table. After some digging (literally!), it became clear that burying the entire structure was impractical without significant excavation and drainage work.
My solution? A partially buried, earth-bermed structure. This allowed me to take advantage of the earth's insulating properties without battling the water table directly. The design called for a concrete foundation, cinder block walls, and a heavily insulated roof covered with earth.
Key Design Considerations:
- Size: 8ft x 12ft internal dimensions.
- Location: Partially buried, earth-bermed. South-facing slope (to maximize sunlight in winter, but shaded by trees in summer).
- Ventilation: Two 4-inch PVC pipes – one low for cool air intake, one high for warm air exhaust. Designed for natural convection.
- Insulation: Rigid foam insulation on the roof and walls (R-13).
- Temperature Control: Earth berming, ventilation, and insulation designed to maintain a temperature between 32-40°F (0-4°C) year-round.
- Humidity Control: Gravel floor for drainage and moisture buffering.
- Pest Control: Hardware cloth embedded in the concrete foundation to deter rodents.
- Materials: Cinder blocks, concrete, lumber, rigid foam insulation, gravel, hardware cloth, roofing membrane.
Cost-Saving Tip: I salvaged cinder blocks from a local demolition site, significantly reducing material costs. Always check local resources for reclaimed materials!
Step-by-Step Construction: From Dream to Reality
Here's a breakdown of the construction process, complete with the lessons I learned along the way:
Step 1: Site Preparation and Foundation
Clear the site, removing any vegetation and topsoil. Excavate to the desired depth for your foundation. In my case, this was only about 2 feet due to the partial burial design. Pour a concrete foundation, ensuring it is level and square. I embedded hardware cloth around the perimeter of the foundation to prevent rodents from burrowing under the walls. Tip: Renting a concrete mixer can save a lot of time and effort.
Step 2: Building the Cinder Block Walls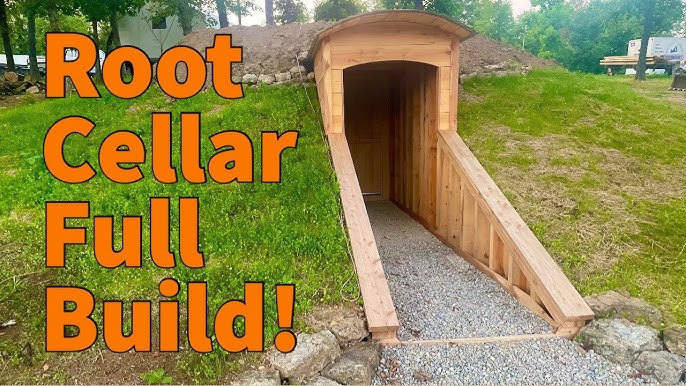
Lay the cinder blocks, ensuring each course is level and plumb. Use mortar to bind the blocks together. Incorporate the ventilation pipes during this stage, running them through the walls at the appropriate heights. Tip: Use a laser level to ensure the walls are perfectly level. This will make the rest of the construction much easier.
Step 3: Framing the Doorway and Roof Support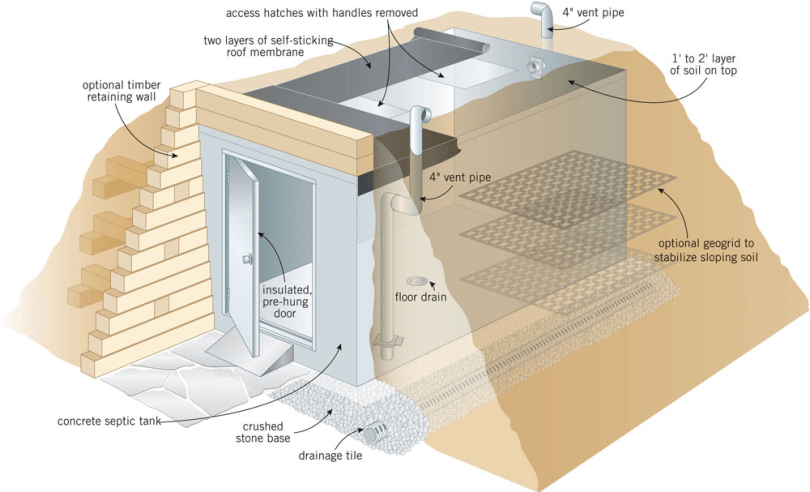
Frame the doorway using pressure-treated lumber. This will provide a solid base for the door. Construct a sturdy frame for the roof support, ensuring it can bear the weight of the earth berm. Tip: Overbuild the roof support. It's better to be safe than sorry when dealing with the weight of soil.
Step 4: Insulating the Walls and Roof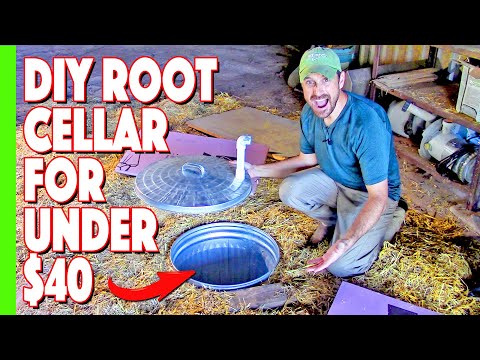
Attach rigid foam insulation to the exterior walls and roof frame. Seal all seams with tape to prevent air leaks. This is crucial for maintaining a stable temperature inside the root cellar. Tip: Use a utility knife to cut the insulation boards to size. Wear gloves and eye protection.
Step 5: Roofing and Earth Berming
Cover the roof frame with a waterproof roofing membrane. Backfill the sides and roof with earth, creating the earth berm. Compact the soil to prevent settling. Tip: Slope the earth berm away from the root cellar to prevent water from pooling.
Step 6: Installing the Door and Ventilation System
Install a sturdy, insulated door. Ensure it seals tightly to prevent drafts. Connect the ventilation pipes and install screens to prevent pests from entering. Tip: A salvaged refrigerator door can make an excellent, well-insulated root cellar door.
Step 7: Interior Finishing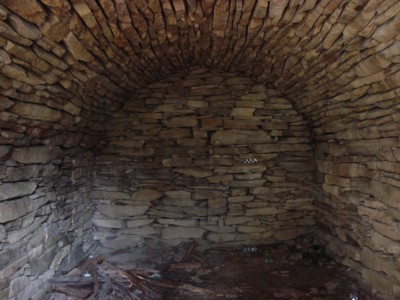
Install gravel on the floor for drainage. Build shelves and bins to organize your produce. Tip: Use untreated lumber for the shelves to avoid contaminating your food.
I used a DeWalt Drill/Driver Combo Kit [Affiliate Link to Amazon] throughout this project for everything from framing to installing shelves. A good drill is essential!
Troubleshooting: Bumps in the Road
No project is without its challenges, and my DIY root cellar was no exception. The biggest hurdle was dealing with the high water table. Even with the partial burial design, water would seep into the foundation during heavy rains. My solution was to install a French drain around the perimeter of the root cellar to divert water away from the structure.

Another issue was pest control. Despite my best efforts, mice still managed to find their way into the root cellar. I combated this by setting traps and sealing any cracks or openings. Next time, I would be even more diligent about sealing every potential entry point.
Conclusion: A Harvest of Rewards
Building my DIY root cellar was a challenging but incredibly rewarding experience. It's more than just a storage space; it's a tangible symbol of our commitment to self-sufficiency and food security. Now, we can enjoy the fruits (and vegetables!) of our labor year-round, reducing our reliance on grocery stores and savoring the taste of homegrown goodness.
If you're an intermediate homesteader looking to take control of your food supply, I highly recommend embarking on your own DIY root cellar journey. It's an investment that will pay dividends for years to come.
Share your root cellar plans and progress in the comments below! I can't wait to see what you create. And be sure to tag us in your root cellar photos on Instagram using #BetterHomesAndHarvestsRootCellar!