Bake Like a Pueblo: Building a Southwestern Cob and Brick Bread Oven
Imagine the scent of freshly baked bread mingling with the crisp, dry air of the Southwest. Picture yourself pulling a perfectly charred pizza from your own handcrafted oven, the setting sun painting the mesas in hues of orange and purple. Baking outdoors is a time-honored tradition, and in the arid climate of the Southwestern United States, a cob oven is a highly efficient and sustainable way to connect with this culinary heritage. Inspired by the region's traditional adobe architecture and cooking methods, a cob and brick oven offers unparalleled heat retention and a unique flavor profile, all while minimizing fuel consumption. This guide will walk you step-by-step through building your own small, yet powerful, outdoor oven, perfect for bread, pizzas, and more.
Materials You'll Need
Building your own Southwestern bread oven requires a few key materials, all readily sourced and, in many cases, reclaimable. Here’s a breakdown:
Cob
The heart of your oven is the cob – a mixture of clay, sand, and straw.
- Clay: Look for clay soil on your property or in a nearby arroyo. Always obtain permission before harvesting materials from public or private land. The best clay will be relatively free of organic matter. To test for clay content, roll a moist ball of soil into a coil. If it holds its shape without crumbling, it's likely suitable.
- Sand: Use clean, sharp sand, free of silt and organic matter. This provides structure and prevents excessive cracking.
- Straw: Wheat or rice straw works best. It binds the mixture together and adds tensile strength.
- Ratio: A typical ratio is 1 part clay, 2-3 parts sand, and enough straw to bind it all together.
- The "Squish Test": Mix a small batch of cob and form it into a ball. Drop it from waist height. If it holds its shape with minimal cracking, your ratio is good. If it crumbles, add more clay. If it cracks excessively, add more sand and straw.
Bricks
- Reclaimed Red Clay Bricks: Aim for 50-75 locally sourced, reclaimed red clay bricks. These are ideal due to their heat resistance and aesthetic appeal. Salvage yards and demolition sites are excellent sources.
Foundation
- Gravel, Sand, and Concrete Blocks: For a stable, level base, you'll need gravel for drainage, sand for leveling, and concrete blocks to build the foundation itself. Plan for a foundation approximately 4ft x 4ft.
Insulation
- Straw, Sand, and Glass Bottles: These will provide excellent insulation, helping your oven retain heat for longer periods. Recycled glass bottles are particularly effective.
Fuel
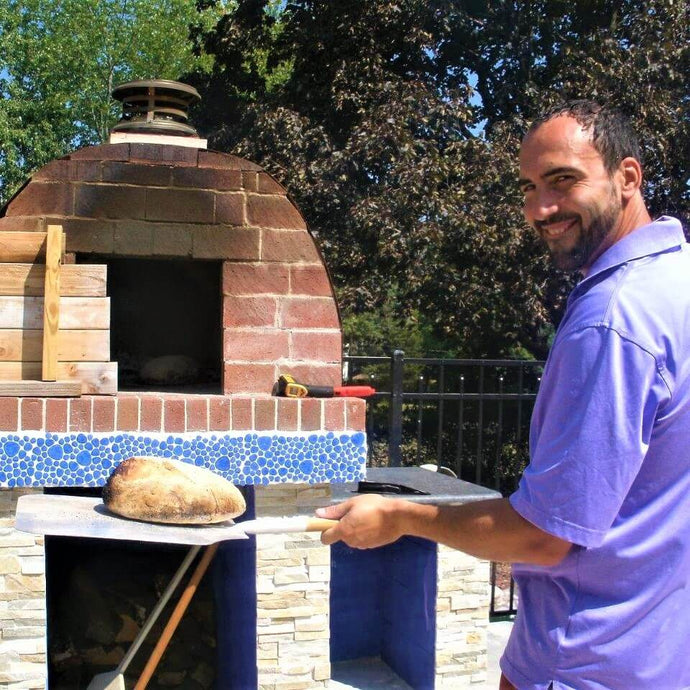
- Seasoned Mesquite or Juniper Wood: These woods are readily available in the Southwest and impart a unique flavor to your cooking.
Tools
- Shovels
- Buckets
- Trowels
- Wheelbarrow
- Level
- Measuring Tape
- Brick Hammer
- Gloves
- Protective Eyewear
Construction Steps
1. Foundation
Start by building a stable, level foundation. Dig down several inches and fill the area with gravel for drainage. Compact the gravel and then add a layer of sand, leveling it carefully. Place concrete blocks on top of the sand, ensuring the foundation is perfectly level. A 4ft x 4ft foundation is recommended, providing ample space for the oven base. This stable foundation will prevent cracking and settling over time.
2. Brick Base
Next, lay a circular or square brick base on top of the foundation. Use a mortar mix appropriate for the Southwestern climate – a mix of clay, sand, and lime works well. Ensure the base is solid and level, as this will be the floor of your oven. A level floor is crucial for even cooking.

3. Cob Mixing
Now it's time to mix the cob. You can do this by hand or with a mixer. Start by combining the clay and sand, then gradually add water until the mixture reaches a workable consistency. Add the straw last, mixing it thoroughly into the clay and sand. The cob should be sticky but not too wet. Remember the "squish test" to ensure proper consistency.
4. Oven Dome Construction
This is where your oven takes shape! Create a sand form on top of the brick base, shaping it into the desired dome size and shape. Start applying the cob around the sand form, layering it for strength and insulation. Embed glass bottles into the cob for added insulation – they help trap heat. Ensure the entrance is small (no more than 12 inches high) to minimize heat loss. This process requires patience and careful layering.

5. Brick Facing
Once the cob dome is complete, carefully lay the reclaimed red clay bricks on the exterior. This creates an aesthetically pleasing and protective layer. Use a clay-based mortar to adhere the bricks to the cob. This step enhances the oven's structural integrity and visual appeal.
6. Insulation Layer
Add an insulating layer of straw and additional cob around the brick exterior. This is crucial for heat retention. Taper the insulation towards the top of the dome. This layer will significantly improve the oven's efficiency, allowing it to maintain high temperatures for extended periods.
7. Chimney (Optional)
A chimney improves airflow and directs smoke away from the cooking area. If you choose to include one, construct it using bricks and proper venting techniques. Ensure the chimney is properly sealed to prevent heat loss.
8. Curing and Firing
The final, and perhaps most crucial, step is curing the oven. Allow the cob to dry slowly to prevent cracking. This may take several weeks, depending on the weather. Once the cob is dry, start a small fire inside the oven, gradually increasing the intensity over several days. This process tempers the cob and bricks, preparing them for high-temperature cooking.
Design for Efficiency
The beauty of a Southwestern cob and brick oven lies in its efficiency:
- Small Size: A smaller oven heats up quickly and consumes less fuel.
- Thick Layers: The thick cob and brick layers provide excellent insulation, retaining heat for extended periods.
- Strategic Placement: Consider the prevailing winds when placing your oven. Shelter it from strong winds to maximize heat retention, but be mindful of how wind direction can affect fire control.
- Small Entrance: A small entrance minimizes heat loss, keeping the oven at optimal cooking temperatures.
Using Your Oven
- Preheating: Preheating is crucial. Build a fire inside the oven and allow it to burn down to embers. Use an infrared thermometer to check the temperature.
- Recipes: Experiment with bread and pizza recipes adapted for wood-fired cooking. The high heat and smoky flavor will elevate your dishes.
- Fire Management: Managing the fire is key to consistent results. Use small, dry pieces of wood and add them gradually.
- Wood Choice: Mesquite provides a strong, smoky flavor, while Juniper gives off a more subtle and aromatic taste. Experiment to find your preferred flavor profile.
Maintenance
- Cleaning: Regularly clean out ashes and debris.
- Repairs: Address any cracks or damage promptly with fresh cob.
- Protection: Protect the oven from the elements with a simple cover during periods of heavy rain or snow.
Conclusion
Building a Southwestern-style cob and brick bread oven is an investment in self-sufficiency, delicious food, and a connection to regional traditions. With readily available materials and a little elbow grease, you can create a functional and beautiful outdoor oven that will provide years of enjoyment. Embrace the process, experiment with recipes, and savor the unique flavors of wood-fired cooking. Your own piece of Southwestern culinary heritage awaits!
