Autumn's Touch: Nourishing Wood Furniture with Homemade Beeswax Polish
The crisp air is back, leaves are turning vibrant shades of red and gold, and that familiar cozy feeling is creeping into our homes. Autumn is a time for warmth, connection, and preparing for the colder months ahead. While we may focus on pumpkin spice lattes and cozy sweaters, our wood furniture often gets overlooked. Yet, with the fluctuating humidity levels of autumn, now is the perfect time to give our cherished wooden pieces a little extra TLC. What better way to do that than with a homemade beeswax furniture polish?
This isn’t just about cleaning; it's about nurturing the wood, protecting it from the elements, and enhancing its natural beauty using a sustainable and time-honored approach. Beeswax offers a unique blend of protection and nourishment, far surpassing many commercial alternatives. Today, I'll share my simple recipe and guide you through the process of crafting your own beeswax furniture polish, embracing the slow-living ethos of making something beautiful and useful with your own hands.

Why Beeswax for Wood? The Honeycomb's Secret
Beeswax. It's more than just the stuff that holds honey. It's a natural marvel, brimming with properties that make it an ideal choice for wood furniture care. But what makes it so special?
First and foremost, beeswax is naturally water-resistant. This protective barrier helps shield your wood from moisture damage, preventing warping and cracking – crucial during the damper autumn months and the drying winter ahead. Unlike harsh chemical coatings that sit on the surface, beeswax has the remarkable ability to penetrate the wood, providing deep moisturization from within. This keeps the wood supple and prevents it from drying out and becoming brittle.
Beyond protection, beeswax brings out the natural beauty of the wood. It enhances the grain, adding a subtle sheen without that artificial, glossy look often associated with commercial polishes. Best of all, beeswax is non-toxic and safe for use around your family and pets, a welcome relief compared to the potentially harmful chemicals lurking in conventional products.
For centuries, beeswax has been a trusted ingredient in furniture making and care. From antique restoration to modern woodworking, its benefits have been recognized and appreciated. Choosing beeswax polish is not only good for your furniture, but also good for the environment. It's a sustainable alternative that reduces your reliance on harsh chemicals and supports ethical beekeeping practices.
Key Takeaway: Understand the inherent benefits of beeswax for wood protection and restoration, emphasizing its natural and sustainable qualities.
Gathering Your Ingredients: The Homestead Harvest
Creating your own beeswax furniture polish is a truly rewarding experience, starting with gathering the right ingredients. Here's what you'll need:
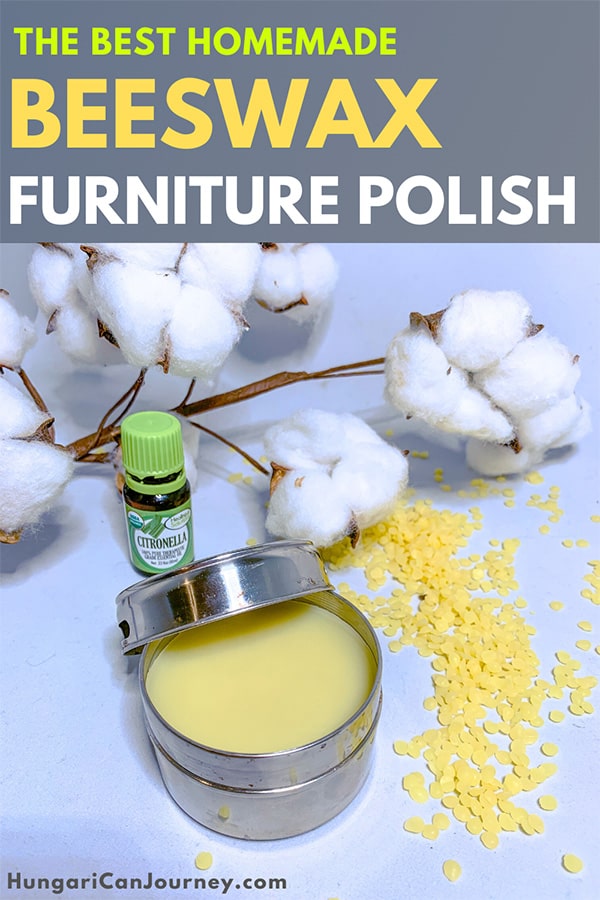
- Beeswax: The star of the show! Opt for pure, unbleached beeswax, preferably sourced from a local beekeeper. This supports your local community and ensures you're getting a high-quality product. If that's not possible, reputable online retailers also offer excellent options. Ethical sourcing is important; look for beekeepers who prioritize bee health and sustainable practices.
- Carrier Oil: This helps to soften the beeswax and makes it easier to apply. Olive oil is a readily available and affordable choice. However, other options like jojoba oil or almond oil offer their own unique benefits. Jojoba oil is known for its long shelf life and moisturizing properties, while almond oil provides a light, non-greasy finish. Experiment to find your favorite!
- Essential Oils (Optional): For a touch of fragrance and added benefits, consider adding a few drops of your favorite essential oils. Lavender offers a calming scent, cedarwood provides a classic woodsy aroma, and lemon adds a refreshing citrus note. When choosing essential oils, always opt for pure, therapeutic-grade oils to ensure quality and safety. A little goes a long way – start with just a few drops and adjust to your preference. Be mindful of essential oil safety, especially around children and pets, and avoid using oils that may be sensitizing.
- Tools: You'll need a few basic tools: a double boiler or a heatproof bowl and saucepan, measuring spoons, a wooden spoon or spatula, and clean, soft cloths for application.

Prioritize sourcing your ingredients sustainably and locally whenever possible. This reduces your environmental impact and supports your local community. Embrace the slow-living ethos by connecting with the origins of your ingredients and appreciating the craftsmanship involved in their production.
Key Takeaway: Learn about the specific ingredients needed for a quality beeswax polish, emphasizing ethical and sustainable sourcing practices.
The Recipe: Crafting Your Autumn Wood Elixir
Now for the fun part – creating your own beeswax furniture polish! This recipe is simple, customizable, and incredibly satisfying.
Ingredients:
- 1 ounce beeswax
- 4 ounces carrier oil (olive oil, jojoba oil, or almond oil)
- 10-20 drops essential oil (optional)
Instructions:
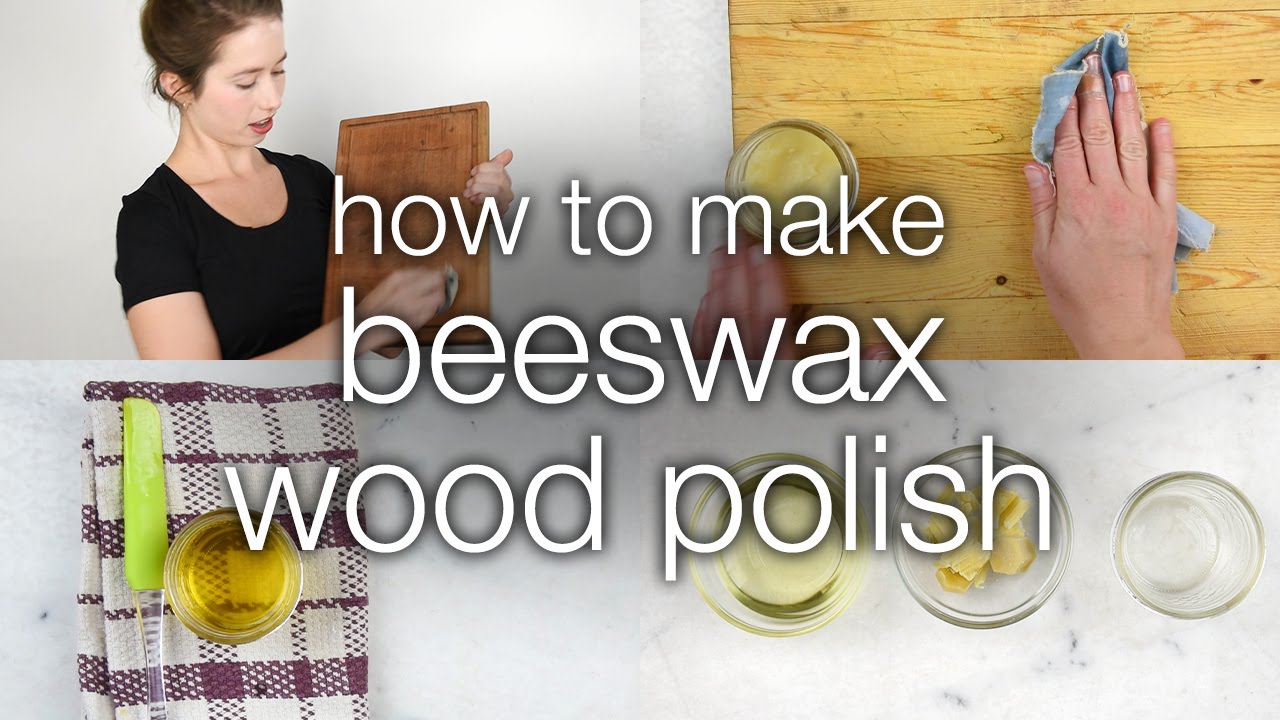
- Melt the Beeswax: Combine the beeswax and carrier oil in a double boiler or a heatproof bowl set over a saucepan of simmering water. Make sure the water doesn't touch the bottom of the bowl. Stir continuously until the beeswax is completely melted and the mixture is smooth.
- Add Essential Oils (Optional): Once the beeswax is fully melted, remove the mixture from the heat. Add your essential oils, if desired, and stir gently to combine.
- Pour & Cool: Carefully pour the mixture into clean, dry containers. Small glass jars or tins work well.
- Let it Set: Allow the polish to cool completely and harden. This may take several hours or overnight.
Variations:
- Harder Polish: For a harder polish, increase the amount of beeswax slightly.
- Softer Polish: For a softer polish, increase the amount of carrier oil.
- Scent Blends: Experiment with different essential oil combinations to create your own signature scent.
Safety Precautions:
- Always use caution when working with melted wax and hot materials.
- Use oven mitts or pot holders to protect your hands.
- Never leave the double boiler or saucepan unattended while heating.
Troubleshooting:
- If the polish is too hard: Gently remelt the polish and add more carrier oil.
- If the polish is too soft: Gently remelt the polish and add more beeswax.
Key Takeaway: Master the simple recipe for making homemade beeswax furniture polish, including safety tips and potential variations.
Applying the Magic: Revitalizing Your Wood Furniture
Your homemade beeswax furniture polish is ready! Now, let's breathe new life into your wooden pieces.
- Clean the Furniture: Start by dusting and cleaning the wood surface thoroughly. Remove any dirt, grime, or old polish buildup. A damp cloth or a gentle wood cleaner can be used. Make sure the surface is completely dry before applying the polish.
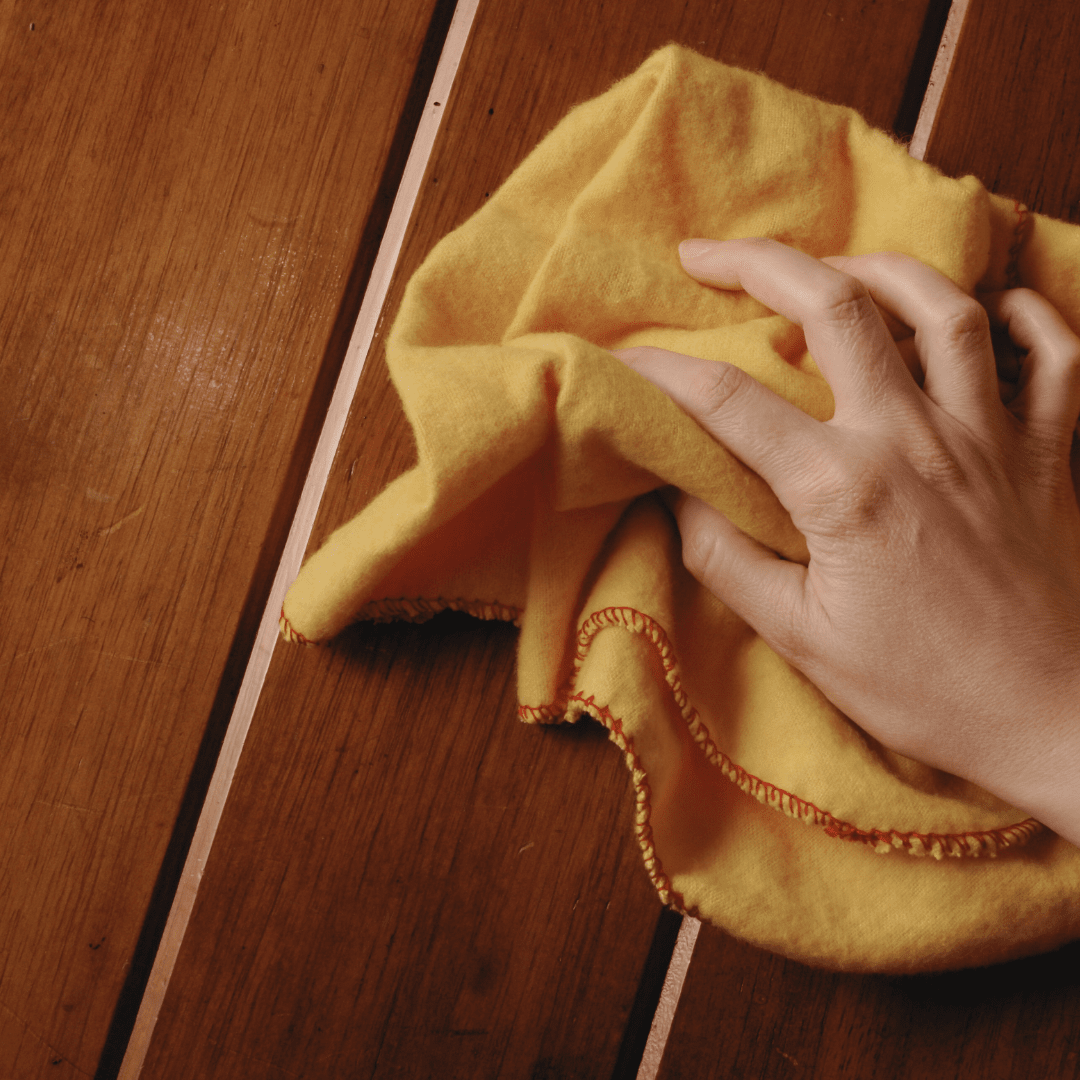
- Apply Sparingly: Using a clean, soft cloth, apply a small amount of polish to the wood surface. Work in a circular motion, spreading the polish evenly. A little goes a long way! Avoid applying too much polish, as this can leave a sticky residue.
- Buff to Shine: Allow the polish to sit for a few minutes, then buff with a clean, dry cloth to a beautiful shine. The more you buff, the more lustrous the finish will be.

Tips for Different Types of Wood Furniture:
- Antique Furniture: Exercise caution when polishing antique furniture. Test the polish in an inconspicuous area first to ensure it doesn't damage the finish.
- Painted Furniture: Beeswax polish can also be used on painted furniture to add a protective layer and enhance the color. However, be sure to test in an inconspicuous area first, as it may slightly alter the appearance of the paint.
Frequency of Application:
- The frequency of application will depend on the type of wood, the environment, and how often the furniture is used. In general, polishing every few months is sufficient.
Proper Storage:
- Store your beeswax furniture polish in a cool, dry place, away from direct sunlight. The polish should last for several months.
Key Takeaway: Understand the correct application techniques to achieve optimal results and revitalize wood furniture with the homemade polish.
Embrace the Glow of Autumn with Beeswax
Crafting your own beeswax furniture polish is more than just a cleaning task; it's a mindful act of self-sufficiency and sustainability. By using natural ingredients and embracing a slow-living approach, you're not only caring for your wood furniture but also contributing to a healthier home and a more sustainable lifestyle. The warmth and richness of polished wood can truly transform a space, especially as the days get shorter and we crave the comfort of home. Take the time to connect with the process, appreciate the natural ingredients, and enjoy the satisfaction of creating something beautiful and useful with your own two hands. Now, go forth and let your furniture shine!
Try this recipe yourself and share your results in the comments below! Do you have any favorite natural cleaning recipes? Share them with us!