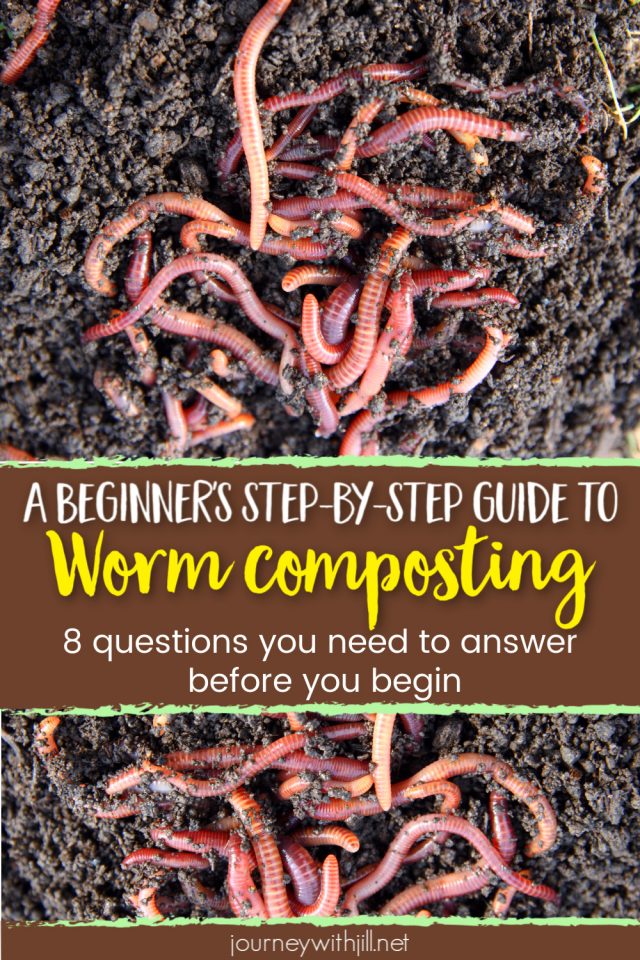
Autumn's Secret Weapon: Unlock Rich Soil with Vermicomposting
The leaves are turning, the air is crisp, and the garden is winding down… or is it? While the vibrant blooms of summer might be fading, fall presents a unique opportunity to nurture your soil and set the stage for a spectacular spring. Have you ever wondered how you could transform fallen leaves and kitchen scraps into a powerful elixir that supercharges your garden's fertility, even indoors? The answer lies in the fascinating world of vermicomposting!
Vermicomposting, or composting with worms, is a simple, effective, and sustainable way to turn your organic waste into nutrient-rich compost, also known as "worm castings." This "black gold" is packed with beneficial microbes and nutrients that improve soil structure, boost plant growth, and reduce your reliance on synthetic fertilizers. Best of all, you can do it indoors, offering a cozy homestead project and a way to continue composting even when the weather turns cold. In this post, we'll guide you through setting up your own vermicomposting bin, choosing the right worms, feeding and maintaining your wriggly workforce, and using the incredible vermicompost they produce.

Vermicomposting 101: What, Why, and Where
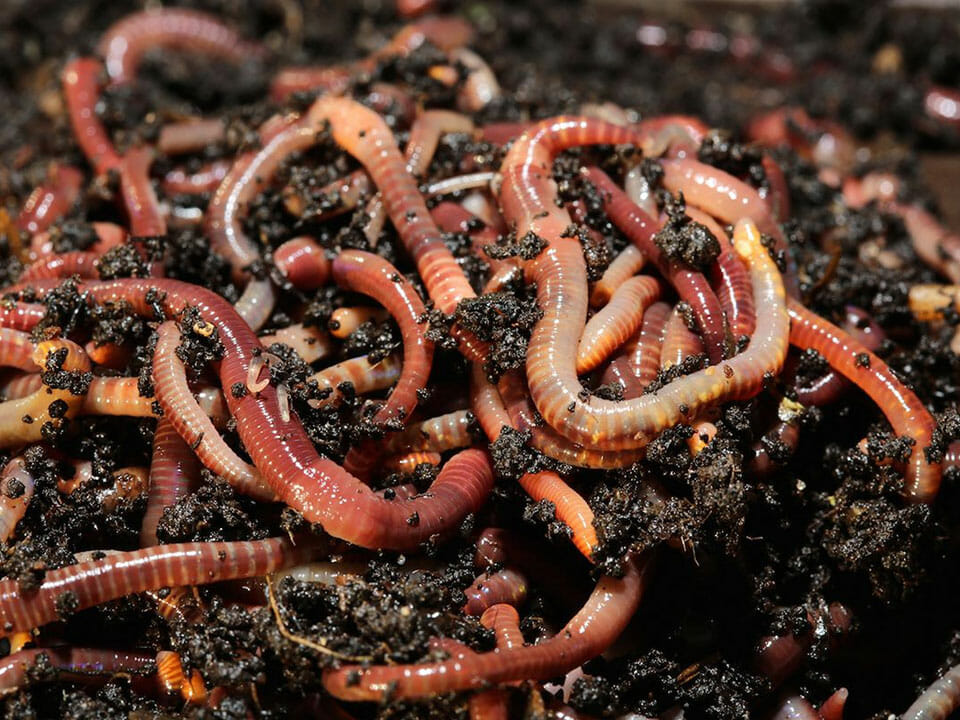
So, what exactly is vermicomposting? It’s essentially composting using worms, specifically red wigglers ( Eisenia fetida ), to break down organic matter. Unlike traditional composting, which relies on heat and a wider range of microorganisms, vermicomposting is a cooler process that results in a more concentrated and nutrient-rich end product.
Why choose vermicomposting? The benefits are numerous:
- Richer Nutrients: Worm castings contain significantly higher levels of essential plant nutrients like nitrogen, phosphorus, potassium, and micronutrients compared to traditional compost.
- Better Water Retention: Vermicompost improves the soil's ability to retain water, reducing the need for frequent watering.
- Improved Soil Structure: It helps to aerate the soil, improving drainage and root growth.
- Reduced Reliance on Synthetic Fertilizers: By using vermicompost, you can significantly reduce your dependence on chemical fertilizers, creating a more sustainable and eco-friendly garden.
- Year-Round Composting: Vermicomposting can easily be done indoors, allowing you to compost even during the colder months. This is perfect for modern homesteaders aiming for self-sufficiency.
Where can you keep your vermicomposting bin? The beauty of vermicomposting is its versatility. You can keep it indoors in a basement, garage, under the kitchen sink, or even in a spare room. A well-maintained bin shouldn't produce unpleasant odors. Alternatively, you can place it in a sheltered outdoor spot, protected from extreme temperatures and direct sunlight.
Setting Up Your Vermicomposting Bin: DIY or Purchased?
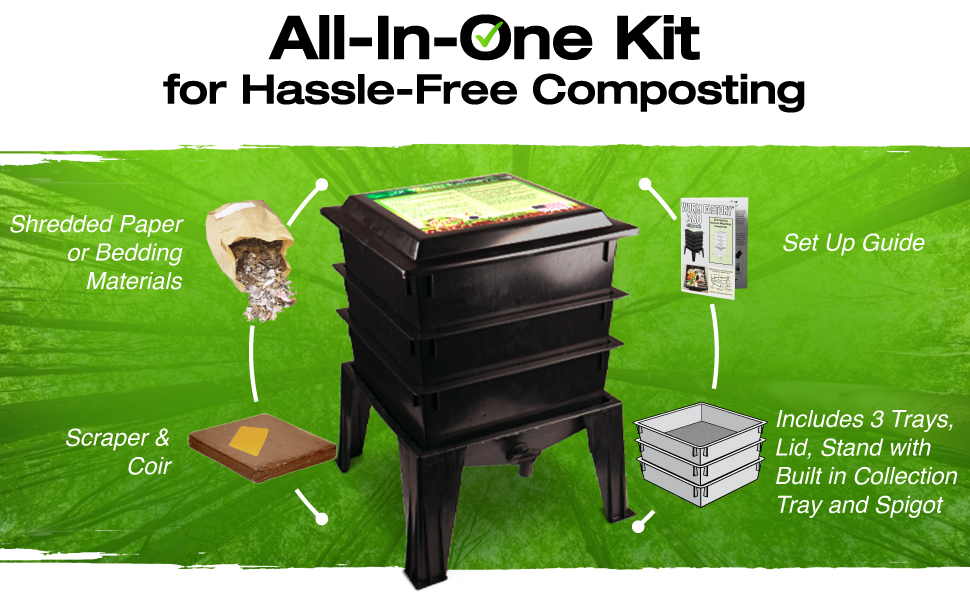
When it comes to setting up your vermicomposting bin, you have two main options: purchase a commercially available bin or build your own DIY system.
Commercially Available Bins: These bins often feature stacking trays or a flow-through design, making it easier to harvest the vermicompost. They are generally made from durable plastic and are designed to provide optimal conditions for the worms.
DIY Vermicomposting Bins: Building your own bin is a budget-friendly and rewarding project. A simple and effective DIY bin can be made from a plastic tote. Here's how:
- Choose a Tote: Select a sturdy plastic tote with a lid. A 10-20 gallon tote is a good starting size.
- Drill Drainage Holes: Drill several drainage holes in the bottom of the tote to allow excess moisture to escape.
- Drill Ventilation Holes: Drill ventilation holes in the lid and along the sides of the tote to provide adequate airflow.
- Create Bedding: Prepare the bedding by shredding newspaper, cardboard, coconut coir, or peat moss. Moisten the bedding until it feels damp like a wrung-out sponge. This provides a comfortable habitat and food source for the worms.
- Add Bedding to the Bin: Fill the tote about halfway with the moistened bedding.
Worms at Work: Choosing the Right Species
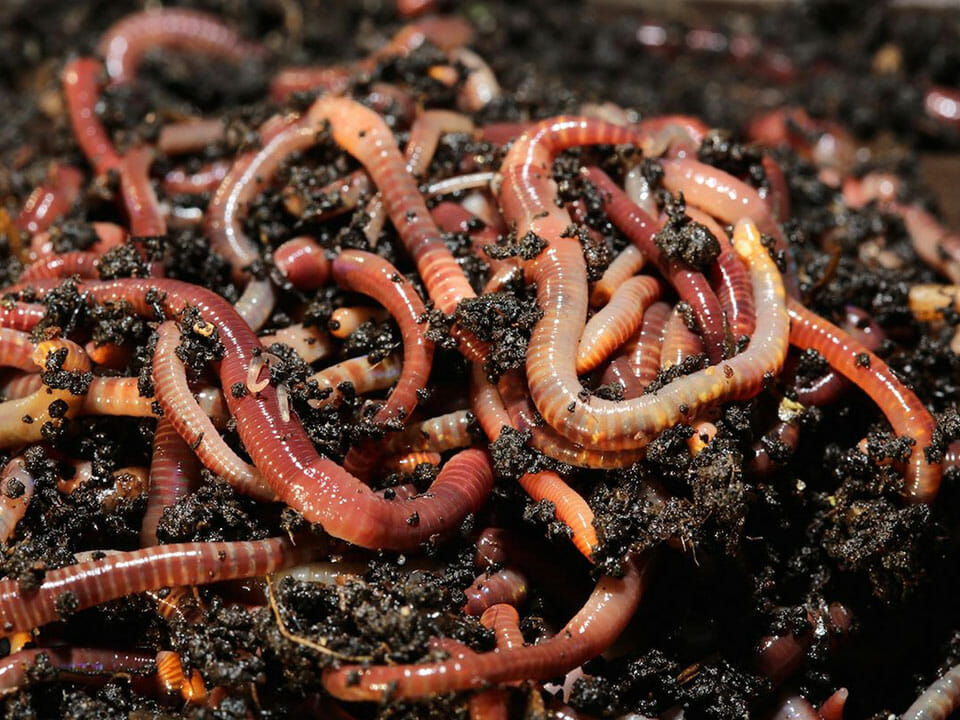
Not just any worm will do for vermicomposting. You need a specific species that thrives in a confined environment and readily consumes organic waste. The clear winner is Eisenia fetida, commonly known as red wigglers.
Why Red Wigglers? Red wigglers are surface dwellers that feed on decaying organic matter. They are prolific breeders and can tolerate a wide range of temperatures. Unlike earthworms, which prefer to burrow deep into the soil, red wigglers are well-suited to living in a vermicomposting bin.
Where to Buy Red Wigglers: You can purchase red wigglers from online retailers, local nurseries, or composting groups. A quick online search for "red wigglers for sale" will yield numerous options.
Introducing Worms to the Bin: Gently place the worms on top of the bedding and allow them to burrow in. They will naturally seek out the moist, dark environment.
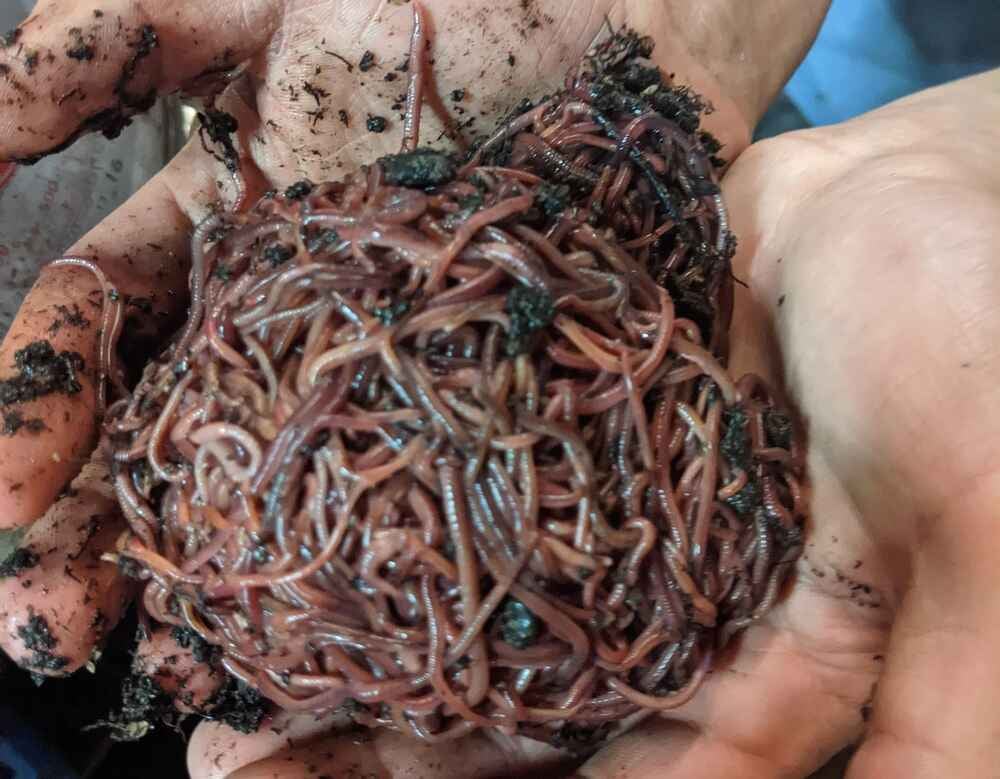
How Many Worms to Start With: A pound of red wigglers (approximately 1,000 worms) can process about 0.5 pounds of food scraps per day. Start with a pound and gradually increase the amount of food you provide as the worm population grows.
Feeding Your Worms: What to Give and What to Avoid
Feeding your worms the right diet is crucial for their health and productivity. Here's a list of what to give and what to avoid:
Suitable Food Scraps:
- Fruit and vegetable scraps
- Coffee grounds and filters
- Tea bags (remove the staples)
- Crushed eggshells
- Shredded newspaper and cardboard (in small amounts)
Foods to Avoid:
- Meat and dairy products (can attract pests and create unpleasant odors)
- Oily foods (can clog the bin and harm the worms)
- Citrus fruits (in large quantities, can make the bin too acidic)
- Processed foods (contain chemicals that can be harmful to the worms)
Tips for Feeding:
- Bury food scraps in the bedding to prevent fruit flies and odors.
- Chop food scraps into smaller pieces to speed up decomposition.
- Start with a small amount of food and gradually increase as the worm population grows.
- Consider creating a "feeding schedule" and keeping a record of what you're feeding them.

Maintaining Your Vermicomposting Bin: Moisture, Temperature, and Troubleshooting
Maintaining the right conditions in your vermicomposting bin is essential for the health and happiness of your worms.
Moisture: The bedding should feel damp like a wrung-out sponge. If it's too dry, add water using a spray bottle. If it's too wet, add more dry bedding material.
Temperature: The ideal temperature range for vermicomposting is 55-77°F (13-25°C). Avoid exposing the bin to extreme temperatures.
Troubleshooting Common Problems:
- Fruit Flies: Bury food scraps deeper in the bedding and cover them with a layer of dry bedding material. You can also use fruit fly traps.
- Foul Odors: Improve ventilation by adding more ventilation holes. Reduce moisture by adding more dry bedding material.
- Slow Decomposition: Chop food scraps into smaller pieces. Add more bedding material. Ensure the bin is not too acidic.
- Worms Escaping: This usually indicates that the conditions in the bin are not ideal. Check the moisture level, temperature, and food supply. Ensure the bin is dark.
Harvesting Worm Castings:
- The easiest method is the "Side-by-Side" method. Stop feeding the worms on one side of the bin for a week or two, and start placing all food scraps on the other side. The worms will naturally migrate toward the food source. Once most of the worms have moved, you can harvest the vermicompost from the empty side of the bin.
- Alternatively, separate out the worms using a screen or by hand.
Black Gold for Your Garden: Using Vermicompost
Vermicompost is a powerhouse of nutrients and beneficial microbes that can transform your garden. Here's how to use it:
- Soil Amendment: Mix vermicompost into your garden soil to improve its structure, water retention, and nutrient content.
- Potting Mix Ingredient: Add vermicompost to your potting mix to provide seedlings and transplants with a nutrient-rich growing medium.
- Top Dressing: Sprinkle vermicompost around the base of established plants to provide them with a slow-release source of nutrients.
- Worm Tea: Steep worm castings in water to create a liquid fertilizer known as worm tea. Use worm tea to foliar feed plants or water them at the base.
Application Rates:
- Soil Amendment: Use 1-2 inches of vermicompost per square foot of garden soil.
- Potting Mix Ingredient: Mix 1 part vermicompost with 3 parts potting mix.
- Top Dressing: Apply a thin layer of vermicompost around the base of plants.
- Worm Tea: Dilute worm tea with water at a ratio of 1:10.

Embrace the Wormy Way to a Healthier Harvest
Vermicomposting is a simple, rewarding, and sustainable way to improve your garden's health and reduce your environmental impact. It is especially beneficial for extending the growing season and creating a more self-sufficient homestead. Fall is the perfect time to start vermicomposting, taking advantage of the abundance of fallen leaves and garden waste. Using vermicompost now will create healthier soil, and directly benefit your spring garden. So, gather your supplies, get your worms, and get ready to experience the magic of vermicomposting!
Now it's your turn! Share your experiences with composting or vermicomposting in the comments below. Do you have any tips or tricks to share? What are your best harvests from the fall season? Ask your questions - we are here to help each other on our homesteading journeys! Don't forget to subscribe to the blog for more gardening and homesteading tips, and share this post with your friends and family. Let's all embrace the wormy way to a healthier harvest!