Autumn's Harvest: Maple-Glazed Carrots, Hay Bale Garden, and Fire Cider
As the last leaves flutter from the trees and a cool wind sweeps through the homestead, we find ourselves drawn to the earthy treasures that remain. Carrots, tucked away in the cool soil, offer a final burst of sweetness before winter's embrace. As we harvest them, our thoughts turn to protecting the earth for the growing season ahead, and bolstering ourselves against the coming winter. Let's celebrate autumn's resilience by creating a warm and inviting Maple-Glazed Carrot dish to invigorate the family, erecting a Hay Bale Garden for instant raised beds come spring, and brewing a potent Fire Cider to ward off winter's chill.

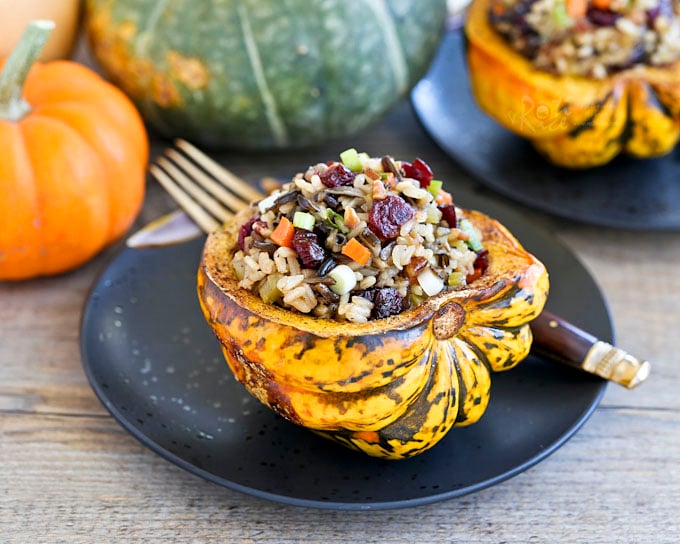
Section 1: Maple-Glazed Carrots with Toasted Walnuts and Goat Cheese: A Taste of Autumn's Earthiness
There's something deeply satisfying about harvesting the last of the garden's carrots – those sweet, vibrant roots that have soaked up the summer sun. Whether you’re pulling them from your own patch or picking them up at a local farmer's market, late-season carrots possess a unique sweetness that's begging to be celebrated. This Maple-Glazed Carrot dish is a simple yet elegant way to showcase those flavors, creating a comforting and memorable side dish for any cozy family meal.
Ingredients:
- 1 1/2 pounds Nantes carrots, freshly harvested, peeled and bias cut into 1-inch pieces. Select carrots that are firm and vibrantly orange.
- 2 tablespoons unsalted butter, preferably pasture-raised Kerrygold butter for its rich flavor.
- 1/4 cup pure maple syrup, Grade A dark amber for a richer, more complex flavor profile, ideally tapped from local trees.
- 2 tablespoons apple cider vinegar, unfiltered Bragg’s brand, adding a touch of bright tanginess.
- 1/4 cup toasted walnuts, coarsely chopped and toasted in a well-seasoned cast-iron skillet until fragrant and lightly browned.
- 4 ounces goat cheese, crumbled, from a local creamery like Vermont Creamery, preferably aged for a more intense flavor.
- Fresh thyme sprigs, from your garden, for garnish. Ensure they are freshly picked for maximum aroma.
- Sea salt and freshly cracked black peppercorns, to taste.
Instructions:
- In a large, well-seasoned cast-iron skillet, melt the butter over medium heat until shimmering and fragrant.
- Add the carrots to the skillet and cook, stirring occasionally with a wooden spoon, until lightly browned and slightly softened, about 8-10 minutes.
- Pour in the maple syrup and apple cider vinegar, stirring to evenly coat the carrots with the glaze.
- Reduce heat to low, cover the skillet with a tight-fitting lid, and simmer until the carrots are fork-tender, about 10-15 minutes, stirring occasionally to prevent sticking.
- Remove the lid and cook until the glaze has thickened slightly and clings to the carrots, about 5 minutes.
- Stir in the toasted walnuts, ensuring they are evenly distributed throughout the carrots.
- Transfer the Maple-Glazed Carrots to a warmed, rustic serving dish.
- Top with crumbled goat cheese and fresh thyme sprigs, creating a visually appealing presentation.
- Season with sea salt and freshly cracked black peppercorns to taste.
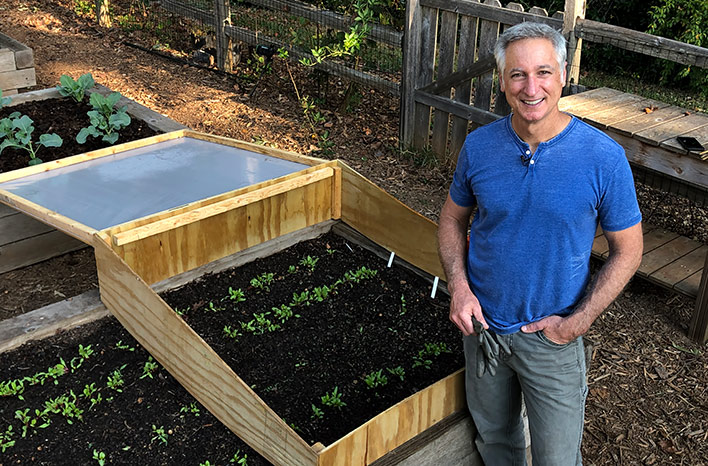
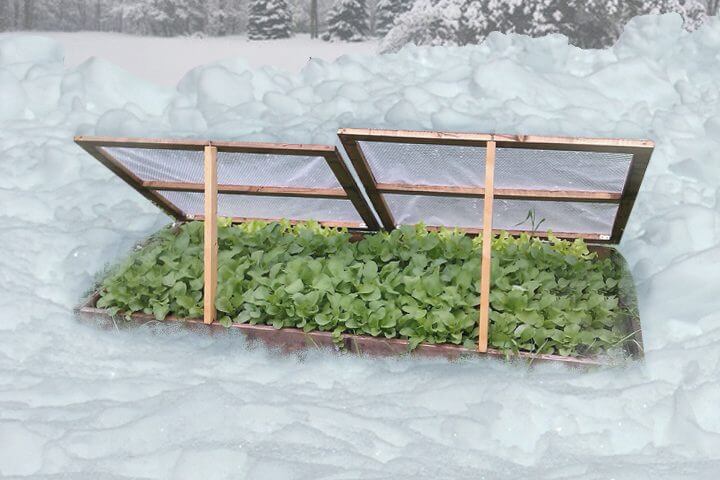
Section 2: Building a Hay Bale Garden: Instant Raised Beds for Spring
As the growing season winds down, many gardeners are already looking ahead to spring. A hay bale garden is a fantastic way to get a head start, providing instant raised beds that are easy to construct, suppress weeds, and enrich the soil as they decompose. Plus, by sourcing hay locally, you’re supporting your community’s agriculture and reducing your environmental footprint.
Materials:
- 8-10 bales of straw or hay (avoiding hay that has been sprayed with pesticides), sourced directly from a local farm. Alfalfa hay is preferred for its high nutrient content. Oat or wheat straw are also suitable alternatives. Ensure the bales are tightly packed, rectangular, and free of visible weeds. Dimensions should be roughly 3' long x 1.5' wide x 1' high.
- Organic fertilizer, such as blood meal or bone meal, providing essential nutrients for decomposition and plant growth.
- Gardening soil or compost, to create a nutrient-rich planting medium.
- Reliable water source, such as a garden hose with a spray nozzle or a watering can.
- Landscape fabric (optional), for added weed suppression around the perimeter of the bales.
- Heavy-duty gardening gloves for handling the hay bales.
Instructions:
- Carefully choose a sunny location for your hay bale garden, ideally one that receives at least 6-8 hours of direct sunlight per day. Ensure the location is relatively level to prevent uneven settling of the bales.
- Arrange the hay bales in the desired shape, such as a rectangle or square, leaving approximately 2-3 feet of space between the bales to allow for easy access and movement.
- Thoroughly water the hay bales with a gentle spray, saturating them completely for 10-14 days. This consistent moisture will initiate the essential decomposition process.
- On days 3, 6, and 9, sprinkle the hay bales with the organic fertilizer according to the specific package instructions. This provides a nutrient boost to aid in the breakdown of the straw and prepare it for planting.
- After the initial 10-14 days, the hay bales will be partially composted and ready for planting. The straw will have darkened in color and become softer to the touch.
- Add a 4-6 inch layer of high-quality gardening soil or compost to the top of each bale, creating a fertile planting surface for your chosen crops.
- Plant your seeds or seedlings directly into the prepared soil/compost layer, following the recommended spacing guidelines for each plant variety.
- Water regularly and fertilize as needed throughout the growing season, monitoring the moisture levels in the bales to ensure adequate hydration for your plants.
Tips for Success:
- Choose the right bales: Opt for straw bales whenever possible, as they break down more quickly than hay bales. If using hay, ensure it's free from weed seeds.
- Condition the bales properly: The initial watering and fertilizing process is crucial for breaking down the bales and creating a suitable growing environment.
- Select appropriate plants: Hay bale gardens are well-suited for growing vegetables like tomatoes, peppers, cucumbers, zucchini, and herbs.
Section 3: Making Fire Cider Tonic: A Winter Immunity Booster
As the weather turns colder, it's time to think about bolstering our immune systems against the inevitable colds and flu. Fire Cider, a traditional herbal remedy, is a powerful and flavorful way to do just that. By using locally sourced ingredients, especially those from your own garden, you can create a potent tonic that's both effective and deeply connected to the land.

Materials:
- 1/2 cup grated fresh ginger root, using mature ginger with a pungent aroma.
- 1/2 cup grated fresh horseradish root, select firm, unblemished roots.
- 1/4 cup chopped garlic cloves, using locally grown garlic with a strong, spicy flavor.
- 1/4 cup chopped yellow onion, choose a variety with a robust, slightly sweet flavor.
- 2 jalapeno peppers, chopped, with seeds included for extra heat.
- 1 lemon, thinly sliced, preferably an organic Meyer lemon for its delicate sweetness.
- 1 orange, thinly sliced, using a navel orange for its bright citrus flavor.
- Raw apple cider vinegar, enough to completely cover all ingredients in the jar.
- Local honey, to taste, preferably raw and unfiltered, adding sweetness and antimicrobial properties.
- Optional additions: 1 tablespoon turmeric powder, a few sprigs of fresh rosemary, a few sprigs of fresh thyme.
Instructions:
- Thoroughly combine all the prepared ingredients in a clean, sterilized quart-sized glass mason jar.
- Pour the raw apple cider vinegar over the combined ingredients, ensuring that everything is fully submerged beneath the liquid level to prevent spoilage.
- Cover the mason jar with an airtight lid and shake vigorously to combine the ingredients.
- Store the jar in a cool, dark, and dry place for a period of 4-6 weeks, shaking it daily to ensure proper infusion of the flavors and medicinal properties.
- After the 4-6 week steeping period, carefully strain the mixture through several layers of cheesecloth, collecting the infused liquid and discarding the remaining solids.
- Sweeten the strained Fire Cider with local honey to your preferred taste, adjusting the amount according to your personal preference for sweetness and spiciness.
- Store the finished Fire Cider in a clean, sterilized glass jar in the refrigerator, where it will keep for several months.
- Take 1-2 tablespoons of Fire Cider daily as a preventative measure, or increase the frequency to several times a day when feeling under the weather.
Variations and Additions:
- Spice it up: Add more jalapenos or a pinch of cayenne pepper for extra heat.
- Herbal boost: Include other immune-boosting herbs like echinacea or elderberry.
- Sweeten it naturally: Use maple syrup or agave nectar instead of honey.
As the sun dips lower on the horizon and the nights grow longer, let’s find solace and purpose in the enduring rhythms of the homestead. From the sweet, earthy warmth of Maple-Glazed Carrots, celebrating the final harvest of root vegetables, to the hopeful promise of spring embodied in the sturdy structure of the Hay Bale Garden, and the fiery, invigorating protection of homemade Fire Cider, may these cherished traditions fill our homes with joy, resilience, and a deep sense of self-sufficiency as we prepare for the approaching winter season. What are your favorite time-honored ways to prepare for the winter months on your own homestead? Please share your valuable tips, tricks, treasured family recipes, and personal experiences in the comments section below! We are eager to learn from your unique perspectives as we all navigate our individual paths toward a more resilient and sustainable way of life.


KEYWORDS: homesteading, self-sufficiency, seasonal living, root cellaring, maple glazed carrots, hay bale gardening, fire cider, herbal remedies, winter preparations, organic gardening, root vegetables, sustainable living, farm to table, winter gardening, immunity booster.