Autumn's Gold: Unlock the Power of Composting Your Seasonal Harvest for a Thriving Spring Garden
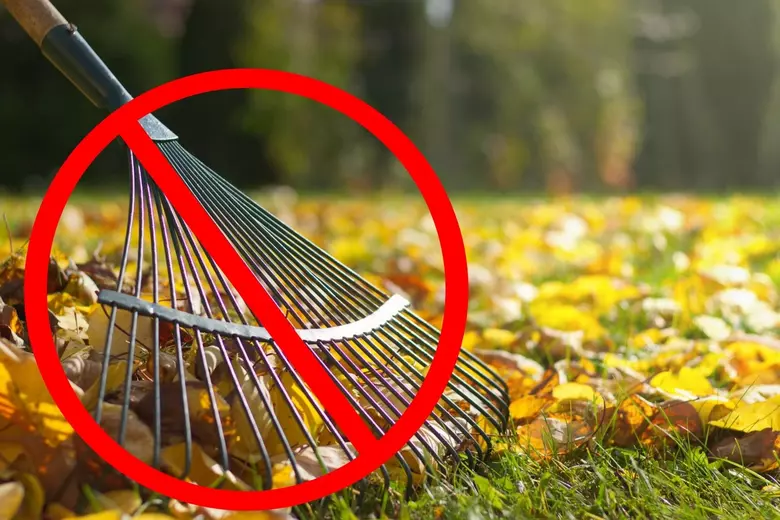
Picture this: a crisp autumn morning, the scent of woodsmoke gently swirling through the air, and the vibrant colors of your garden gracefully fading into the muted tones of winter. It's a beautiful time, but also a time when many homesteaders face a common challenge: what to do with all the leftover harvest scraps and garden debris as the growing season ends. Piles of fallen leaves, spent vegetable plants, and the remains of summer’s bounty can seem overwhelming. But what if I told you that these "leftovers" are actually golden opportunities waiting to happen?
This post promises to solve that problem by offering practical, easy-to-implement solutions for creating a nutrient-rich compost that will nourish your spring garden. We'll unlock the secrets of autumn composting, showing you how to transform your seasonal waste into "black gold" for your soil. This method will significantly reduce your reliance on store-bought fertilizers and dramatically improve your soil health – naturally. Let’s turn those autumn remnants into the foundation for a thriving spring garden!
The Magic of Autumn Composting
Autumn is, without a doubt, the perfect time to kickstart your composting journey. As the growing season winds down, nature provides an abundance of composting materials, like fallen leaves, spent plants from your seasonal harvest, and the last trimmings from your homegrown veggies. This abundance of "brown" and "green" materials makes balancing your compost pile much easier than at other times of the year.
But the magic of autumn composting extends far beyond convenience. Compost created during this season has ample time to break down and mature over the winter months, transforming into a rich, crumbly amendment ready to supercharge your garden in the spring. This slow, steady decomposition process allows for the creation of a compost that's teeming with beneficial microbes and nutrients, vital for promoting strong root development and vigorous plant growth. In short, your soil health will thank you!
I remember a few years ago, feeling overwhelmed by the amount of fallen leaves blanketing our property. Instead of bagging them all up for the landfill, I decided to try autumn composting. I diligently layered the leaves with garden scraps, watered the pile, and turned it occasionally. By spring, I was astonished! What had been a mountain of waste had transformed into the most beautiful, earthy-smelling compost I had ever seen. My vegetable garden flourished that year like never before, and the sense of accomplishment I felt was incredible. It truly solidified my commitment to sustainable gardening and farmhouse life.
Your Ultimate Autumn Compost Recipe
Ready to create your own "black gold"? Here’s a step-by-step guide to building your ultimate autumn compost pile:
Step 1: Choose Your Location: Select a well-drained area in your yard that's easily accessible. A partially shaded spot is ideal to prevent the pile from drying out too quickly.
Step 2: Gather Your Materials: You'll need a mix of "brown" and "green" materials.
- Browns: Fallen leaves (shredded if possible), straw, dried grass clippings, cardboard (shredded), newspaper (shredded).
- Greens: Kitchen scraps (vegetable and fruit peels, coffee grounds, tea bags), garden trimmings, grass clippings (fresh), manure (from herbivores).
Step 3: Layer Your Ingredients: Start with a layer of browns (about 6-8 inches thick) to provide aeration. Then, add a layer of greens (about 3-4 inches thick). Continue layering browns and greens, alternating as you go. Moisten each layer as you build the pile. Think of it like layering a lasagna!
Step 4: Water Regularly: Keep your compost pile consistently moist, like a wrung-out sponge. Water it regularly, especially during dry periods.
Step 5: Turn, Turn, Turn!: Turning your compost pile every 1-2 weeks helps to aerate the materials and speed up decomposition. If you don't have time to turn it that often, don't worry! It will just take a little longer.
Step 6: Patience is Key: Composting takes time. Depending on the materials you use and how often you turn the pile, it can take anywhere from 3 to 12 months for your compost to be ready. You'll know it's ready when it's dark, crumbly, and has a pleasant earthy smell.
Do's and Don'ts for Beginner Composters:
- Do: Shred large materials like leaves and cardboard to speed up decomposition.
- Do: Maintain a good balance of "browns" and "greens." A 2:1 ratio of browns to greens is a good starting point.
- Do: Water your compost pile regularly to keep it moist.
- Don't: Add meat, dairy, or oily foods to your compost pile, as these can attract pests and create unpleasant odors.
- Don't: Add diseased plants or weeds with seeds, as these can contaminate your compost.
- Don't: Let your compost pile dry out completely.
Odor Control and Pest Prevention:
- Odor: If your compost pile starts to smell bad, it usually means it's too wet or lacks aeration. Turn the pile and add more "brown" materials to balance it out.
- Pests: Avoid adding meat, dairy, or oily foods to prevent attracting pests. Covering your compost pile with a layer of soil or leaves can also help deter unwanted visitors.
Beyond the Pile: Advanced Composting Tips
For those seasoned compost enthusiasts looking to take their skills to the next level, here are a few advanced techniques to consider:
- Compost Tea: Brew your own compost tea by steeping finished compost in water. This nutrient-rich liquid can be used as a foliar spray or soil drench to give your plants a boost.
- Vermicomposting: Harness the power of worms! Vermicomposting, or worm composting, is a great way to break down kitchen scraps indoors, especially during the winter months. Worm castings are an excellent soil amendment.
- Hot Composting: If you're looking to speed up the composting process, try hot composting. This involves maintaining a high temperature (130-160°F) in your compost pile to kill weed seeds and pathogens. Requires careful monitoring and more frequent turning.

Cozying Up for Winter: 5 Farmhouse DIY Projects to Make Your Home a Haven this Season
As the weather turns colder, now is the perfect time to take on those backyard projects and farmhouse life tasks.
1. Draft Stopper Door Snake: A simple sewing project that is both functional and charming. Use fabric scraps to create a long tube filled with rice or beans to block drafts from sneaking in under doors.
2. Knitted Throw Blanket: Master the art of knitting! A warm and chunky knit throw blanket not only looks great, but also provides extra warmth on chilly nights.
3. Upcycled Candle Holders: Give your old jars new life by turning them into unique candle holders. Decorate with twine, burlap, or paint for a rustic touch.
4. Homemade Potpourri: Gather dried flowers, herbs, and spices from your autumn garden and combine them to create a fragrant potpourri. Place it in decorative bowls around your home to infuse it with seasonal scents.
5. Mason Jar Herb Garden: Bring the outdoors in with a small indoor herb garden. Plant your favorite herbs in mason jars filled with potting soil, and place them on a sunny windowsill.
Closing Reflection
Composting is more than just a way to get rid of garden waste; it's a powerful way to connect with nature, reduce your environmental impact, and create a more sustainable home. It's about transforming what was once considered waste into something incredibly valuable, enriching your soil health and nourishing your homegrown plants. As you embrace autumn composting, you're not just preparing your garden for spring; you're cultivating a more resilient and abundant future for yourself and your family.
So, grab your gloves, gather your materials, and get ready to unlock the magic of autumn composting! I encourage you to share your own composting experiences and tips in the comments section below. What are your favorite materials to use? What challenges have you faced, and how have you overcome them? Let's learn from each other and create a thriving community of sustainable homesteaders. Remember to start composting now for a vibrant spring!
Don't forget to share photos of your compost piles on social media using the hashtag #BetterHomesHarvestCompost!
