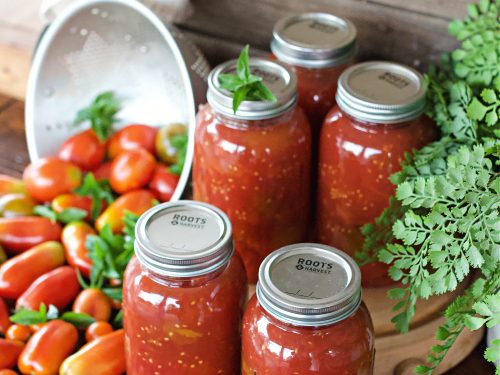
Autumn's Bounty: Transforming Your Overripe Tomatoes into Delicious Garden Gold (and Saving Seeds for Next Year!)
The last warm rays of the autumn sun bathe the tomato vines, heavy with the fruits of summer's labor. But what to do with all those tomatoes that ripened late, now facing frost's imminent arrival? Don't let them go to waste! This post will show you how to turn those end-of-season tomatoes into delicious meals, garden treasures, and even next year's garden starts. This week, we're talking all things organic gardening and seasonal harvest! Embrace the spirit of farmhouse life and let’s dive in!
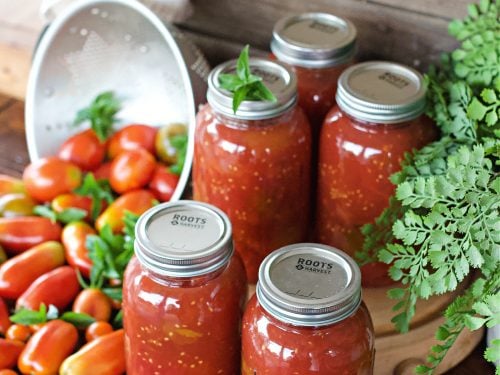
Dealing with Overripe Tomatoes: A Sustainable Home Approach
Late-season tomatoes can present challenges. You might find cracking, the unwelcome attention of pests, or simply a glut of tomatoes ripening all at once. These issues can lead to garden waste recycling, but don't despair! With a few simple strategies, you can salvage your harvest and minimize loss.
First, quick harvesting is key. Even if they're not perfectly ripe, bring those tomatoes indoors before the first frost hits. Green tomatoes can ripen on a sunny windowsill, although their flavor may not be as intense. Sort through your harvest carefully, separating the truly overripe ones from those that are just slightly past their prime. The really squishy or moldy ones are best destined for the compost pile, enriching your garden for future seasons. Remember, a sustainable garden starts with responsible waste management.
Slightly cracked or bruised tomatoes are still perfectly usable for cooking. Just cut away the damaged parts. Don't be afraid to experiment! Overripe tomatoes often have an intense sweetness that can add depth to your farmhouse tomato recipes.
Recipe: Rustic Tomato and Herb Soup - Cozy Living at Its Finest
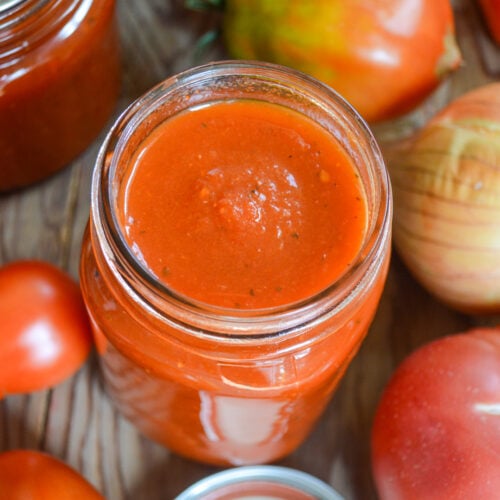
Nothing says cozy living quite like a warm bowl of homemade tomato soup on a chilly autumn evening. This recipe is simple, forgiving, and perfect for using up those slightly overripe tomatoes. Plus, it freezes beautifully, so you can enjoy a taste of summer all winter long.
Rustic Tomato and Herb Soup
Ingredients:
- 4 pounds overripe tomatoes, roughly chopped
- 1 large onion, chopped
- 4 cloves garlic, minced
- 2 tablespoons olive oil
- 4 cups vegetable broth (or chicken broth for non-vegetarians)
- 1 teaspoon dried oregano
- 1/2 teaspoon dried basil
- 1/4 cup fresh basil, chopped (plus extra for garnish)
- Salt and pepper to taste
- Optional: 1/4 cup heavy cream or coconut milk for extra richness
- Optional: 1 tablespoon tomato paste for a richer flavour.
Instructions:
- Heat olive oil in a large pot over medium heat. Add onion and cook until softened, about 5 minutes.
- Add garlic and cook for another minute until fragrant.
- Stir in chopped tomatoes, vegetable broth, oregano, basil, salt, and pepper. Bring to a boil, then reduce heat and simmer for 30 minutes, or until tomatoes are very soft.
- Use an immersion blender to puree the soup until smooth. Alternatively, carefully transfer the soup to a regular blender in batches and blend until smooth.
- Stir in fresh basil and heavy cream (if using). Taste and adjust seasoning as needed.
- Serve hot, garnished with fresh basil and a drizzle of olive oil.
Tips:
- For a smokier flavor, roast the tomatoes and onions in the oven before adding them to the soup.
- Substitute other homegrown vegetables like carrots, celery, or zucchini for added flavor and nutrients.
- If you don't have fresh herbs, use dried, but reduce the amount by half.
- If your tomatoes are particularly acidic, add a pinch of sugar to balance the flavors.
- Freeze leftover soup in airtight containers for up to 3 months. This farmhouse recipe is a great way to use all those tomatoes to their max potential.
Saving Tomato Seeds: Capturing Summer's Essence for Next Year
One of the most rewarding backyard projects a gardener can undertake is saving seeds. It's a simple way to preserve heirloom tomato seeds, ensure a supply of your favorite varieties, and connect with generations of gardeners who have done the same. Saving heirloom tomato seeds at home is easier than you think!
Why Save Tomato Seeds?
- Preserve Heirloom Varieties: Help keep unique and flavorful varieties alive.
- Cost-Effective: Save money on seeds each year.
- Adaptation: Seeds saved from your garden are adapted to your local climate.
- Connection to Nature: A deeply satisfying way to participate in the garden cycle.
Here's a step-by-step guide to fermenting and drying tomato seeds:
- Select Your Tomatoes: Choose ripe, healthy tomatoes from your best-performing plants. Saving tomato seeds for next year's garden begins with good genetics.
- Scoop Out the Seeds: Cut the tomato in half and scoop out the seeds and surrounding pulp into a clean glass jar.
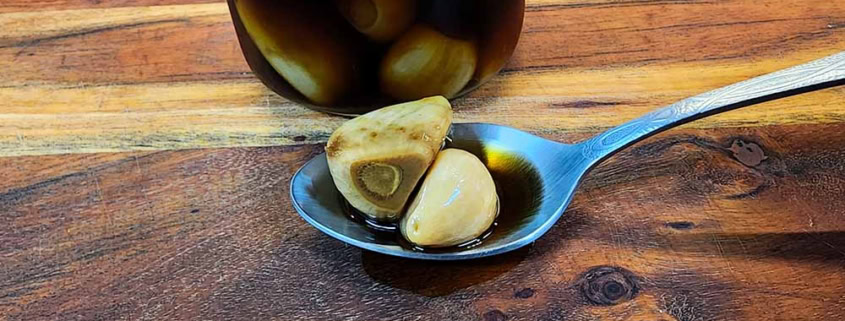
- Ferment the Seeds: Add a little water to the jar, enough to cover the seeds. Cover loosely with a lid or cheesecloth. The fermentation process helps remove the gelatinous coating around the seeds, which inhibits germination. Best way to ferment tomato seeds for saving involves monitoring the process.
- Observe the Fermentation: Over the next 3-4 days, stir the mixture daily. You'll notice a layer of mold forming on top – this is normal. The mixture will also start to smell a bit funky (like fermentation!).
- Test for Readiness: After 3-4 days, the good seeds will sink to the bottom of the jar, and the bad seeds and pulp will float. This is your sign that the fermentation is complete.
- Rinse the Seeds: Carefully pour off the moldy liquid and floating debris. Rinse the seeds thoroughly with clean water until all the pulp is gone.
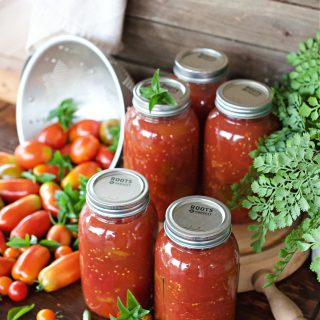
- Dry the Seeds: Spread the clean seeds in a single layer on a non-stick surface, such as a coffee filter, a glass plate, or parchment paper.
- Air Dry Completely: Place the seeds in a cool, dry place away from direct sunlight. Allow them to dry completely for 1-2 weeks. They should be brittle and snap easily when bent. How do I dry tomato seeds for storage? Slowly and thoroughly.

- Store the Seeds: Once the seeds are completely dry, store them in an airtight container in a cool, dark, and dry place. A glass jar or envelope works well. Label the container with the tomato variety and the date.
Tips for Success:
- Use a clean glass jar for fermentation. Label it clearly with the tomato variety.
- Don't over-ferment the seeds, as this can damage them.
- Ensure the seeds are completely dry before storing them to prevent mold growth.
- Store seeds in a cool, dark, and dry place for best longevity.
- Test the germination rate of your saved seeds before planting them.
Closing Reflection
As the days grow shorter and the air turns crisp, remember the warmth and bounty of the garden. Saving seeds is like capturing a piece of summer to enjoy again next year. Share your tomato success stories and favorite recipes in the comments below! What are your go-to fall compost recipes that feed your garden for seasons to come? Embrace the satisfaction of a successful harvest and the promise of future growth. Happy gardening!