Autumn's Bounty: Simple Seed Saving for a Thriving Spring Garden
The air is crisp, a gentle breeze rustles through the vibrant leaves of red and gold, and the last of the season's vegetables bask in the warm, slanted sunlight. There’s a unique sense of accomplishment that comes with an autumn harvest – a feeling of connection to the earth and the cycle of life. Imagine extending that feeling, ensuring a bountiful spring garden, by simply saving the seeds from your favorite autumn vegetables. It's easier than you think!
Why Save Seeds?
Saving seeds is more than just a frugal gardening practice; it's a way to participate in a time-honored tradition and build a more resilient garden. First and foremost, it saves you money! No more yearly trips to the garden center for the same varieties. Think of it as a small act of rebellion against mass-produced seeds and a rewarding way to connect with your garden on a deeper level. Seed saving also allows you to preserve local varieties that may be perfectly adapted to your specific climate and soil conditions. Over time, plants grown from saved seeds become more resilient, better equipped to thrive in your unique environment. Plus, it allows you to cultivate heirloom seeds! These seeds represent a treasure trove of genetic diversity, passed down through generations, and saving them helps preserve that biodiversity for future gardeners. Don't be intimidated! While it might sound complicated, saving seeds from some of your favorite autumn vegetables is surprisingly easy.
Seed Saving Guide
Let's focus on three easy-to-save autumn vegetables: tomatoes, pumpkins, and peppers.
1. Tomatoes:
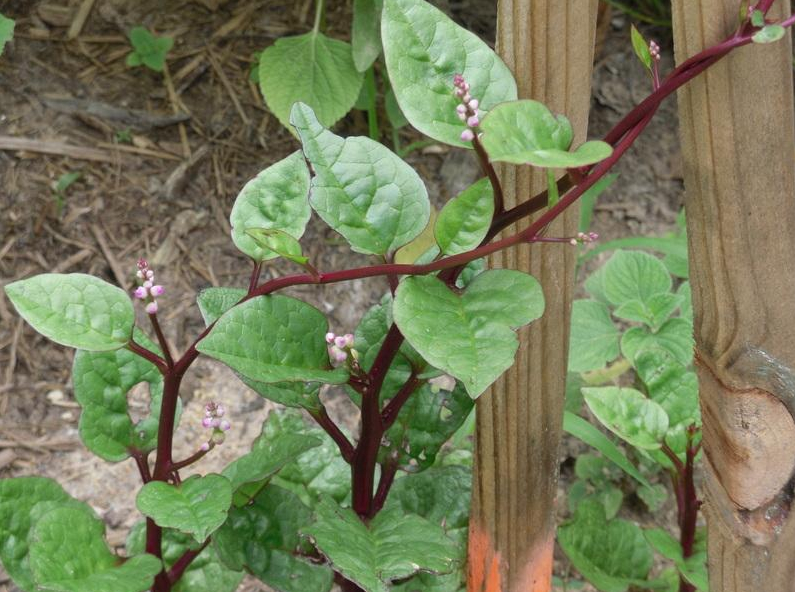
- Harvesting: The best tomatoes for seed saving are the ripest, healthiest fruits on the healthiest plants. Look for tomatoes that are deeply colored and slightly soft to the touch.
- Seed Extraction (Fermentation Method):
- Slice the tomatoes open and scoop out the seeds and pulp into a clean jar.
- Add a little water (about half the volume of the tomato pulp).
- Let the mixture sit at room temperature for 3-4 days, stirring daily. A layer of mold will form on top – this is good! It means fermentation is happening.
- Once the seeds have sunk to the bottom and the mold has formed, add more water to the jar and stir vigorously. The viable seeds will remain at the bottom, while the pulp and non-viable seeds will float to the top.
- Carefully pour off the floating pulp and non-viable seeds. Repeat this process until only the clean seeds remain.
- Cleaning and Drying: Spread the clean seeds on a paper towel or coffee filter in a single layer. Allow them to dry completely in a well-ventilated area. This may take 1-2 weeks.
- Storage: Once the seeds are completely dry, store them in an airtight container (like a glass jar or a seed envelope) in a cool, dark, and dry place. A refrigerator or freezer is ideal for long-term storage.
2. Pumpkins:
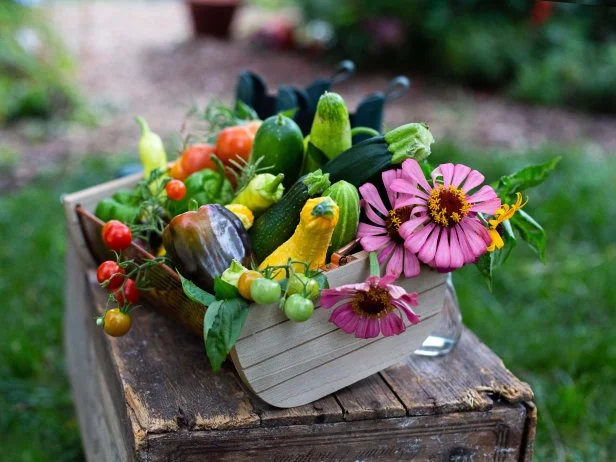
- Harvesting: Choose pumpkins that are fully mature and have a hard rind. The stem should be dry and brown.
- Seed Extraction:
- Cut the pumpkin open and scoop out the seeds.
- Remove as much of the pulp as possible.
- Cleaning and Drying: Rinse the seeds under running water to remove any remaining pulp. Spread the seeds on a paper towel or screen to dry completely.
- Storage: Store the dried seeds in an airtight container in a cool, dark, and dry place.
3. Peppers:
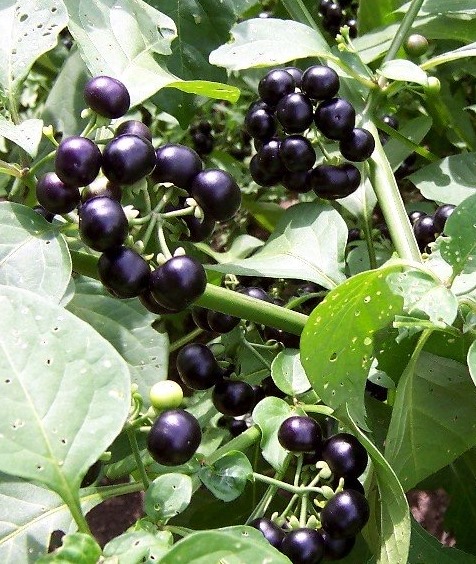
- Harvesting: Allow peppers to ripen fully on the vine. They should be deeply colored and slightly soft to the touch. For hotter varieties, remember that the heat levels are their highest when they are fully ripened, so the seeds from these peppers will pass those genetics.
- Seed Extraction:
- Cut the pepper open and scrape out the seeds.
- Cleaning and Drying: Spread the seeds on a paper towel or coffee filter and allow them to dry completely.
- Storage: Store the dried seeds in an airtight container in a cool, dark, and dry place.
Last year, I almost threw away my heirloom tomato seeds because they looked a little slimy after fermentation. Luckily, I remembered reading that this is perfectly normal! A good rinse and thorough drying saved the day, and those seeds produced the most amazing tomatoes this summer.

Troubleshooting & Tips
- What if my seeds get moldy? This usually happens if they're not dried properly. Discard the moldy seeds and try again, ensuring better airflow during the drying process.
- How do I know if my seeds are viable? A simple germination test can help. Place a few seeds on a damp paper towel, fold it over, and put it in a plastic bag. Check it every few days; if the seeds sprout, they're viable!
- Always label your seeds clearly with the variety name and the date you saved them.
- Start with open-pollinated varieties. These varieties will produce plants that are true to type, unlike hybrids, which may not breed true from seed.
- Experiment! Don't be afraid to try saving seeds from different vegetables and learn from your own experiences.
Cozy Living Application
Seed saving isn't just about gardening; it's about embracing a slower, more intentional way of life. Imagine a cold winter evening, curled up with a cup of herbal tea, pouring over your seed packets, dreaming of the spring garden to come. This small act of preparation adds warmth and purpose to the slower months. While you're at it, why not plan your garden layout for next year or start some winter sowing projects?
Closing Reflection
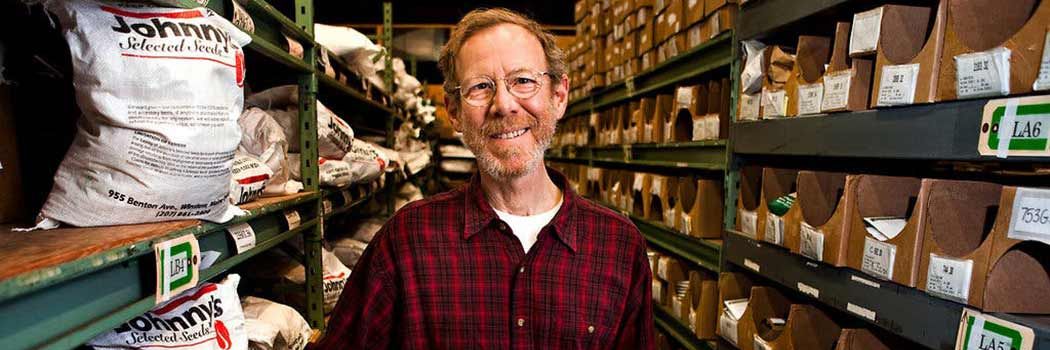
Saving seeds is a simple yet profound way to connect with nature, build resilience in your garden, and ensure a bountiful harvest for years to come. By saving your own seeds, you're not just growing a garden; you're cultivating a connection to the past, present, and future. You're building a more resilient food system, one seed at a time.
Share your seed-saving experiences in the comments below! What are your favorite varieties to save seeds from?
