
Autumn's Bounty: Simple DIY Projects to Preserve the Flavors of Your Harvest
The air is crisp, carrying the scent of woodsmoke and fallen leaves. The garden, though past its summer exuberance, still offers a generous handful of tomatoes clinging to their vines, the last of the herbs stubbornly fragrant, and apples, oh, those glorious apples! The squirrels are busy preparing for winter, and a sense of urgency, mixed with a cozy anticipation, settles over the land. It's a magical time of year, but all too fleeting. In this post, I'll show you 3 easy ways to preserve the flavors of your autumn harvest, so you can savor the tastes of homegrown goodness long after the last leaf has fallen.

Savor Summer's End: Quick & Easy Tomato Sauce
Nothing quite compares to the taste of homemade tomato sauce, bursting with the sunshine of late summer. And the best part? It's incredibly simple to make, even if you're short on time. This recipe is forgiving and easily adaptable to whatever variety of tomatoes you have on hand. I remember one year, a particularly wet summer brought on a blight that decimated my tomato crop. I was so bummed! But I salvaged what I could, made a small batch of this sauce, and it was honestly the best I’d ever tasted – a true testament to not letting anything go to waste! I even added some red pepper flakes I'd dried the year before – perfect.
Here's what you'll need:
- Approximately 5 pounds of ripe tomatoes (any variety works!)
- 1 large onion, chopped
- 2-3 cloves garlic, minced
- 2 tablespoons olive oil
- 1 teaspoon dried oregano
- 1/2 teaspoon dried basil
- Salt and pepper to taste
- Optional: 1 tablespoon tomato paste (for a richer flavor), pinch of red pepper flakes
Instructions:
- Wash and roughly chop your tomatoes. No need to peel them – we'll strain the sauce later. (Unless you really want to peel them, then go for it!)
- Heat the olive oil in a large pot or Dutch oven over medium heat. Add the chopped onion and cook until softened, about 5-7 minutes.
- Add the minced garlic and cook for another minute, until fragrant. Be careful not to burn it!
- Add the chopped tomatoes, oregano, basil, salt, pepper, and tomato paste (if using). Stir to combine.
- Bring the mixture to a simmer, then reduce the heat and cover the pot. Let it simmer for at least an hour, or up to 2-3 hours for a richer flavor. Stir occasionally to prevent sticking.
- Once the sauce has thickened to your liking, remove it from the heat and let it cool slightly.
- Use an immersion blender to blend the sauce until smooth, or carefully transfer it to a regular blender in batches.
- Strain the sauce through a fine-mesh sieve or food mill to remove the skins and seeds. This step is optional, but it will give you a smoother, more refined sauce.
- Taste and adjust the seasonings as needed.
- Use immediately in your favorite pasta dish, or can or freeze for later enjoyment.
Tip: For a sweeter sauce, add a pinch of sugar or a grated carrot while simmering. If it is a bit acidic add a quarter teaspoon of baking soda. It will foam, but keep stirring it until it returns to normal.
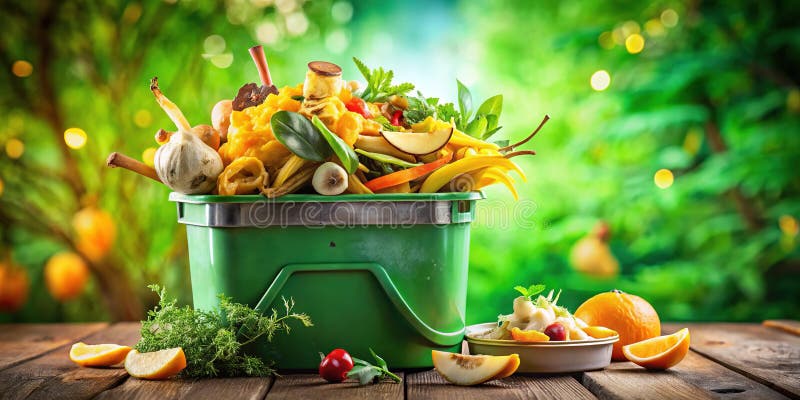
Transform Your Kitchen Scraps into Garden Gold: The Magic of Autumn Composting
As the garden winds down, it's the perfect time to start (or improve!) your compost pile. Autumn leaves, spent plants, and kitchen scraps all contribute to a rich, nutrient-packed compost that will nourish your garden next spring. Not only is composting great for your garden, but it's also a fantastic way to reduce waste and live more sustainably. It’s like turning trash into treasure! Plus, watching it decompose is strangely satisfying.
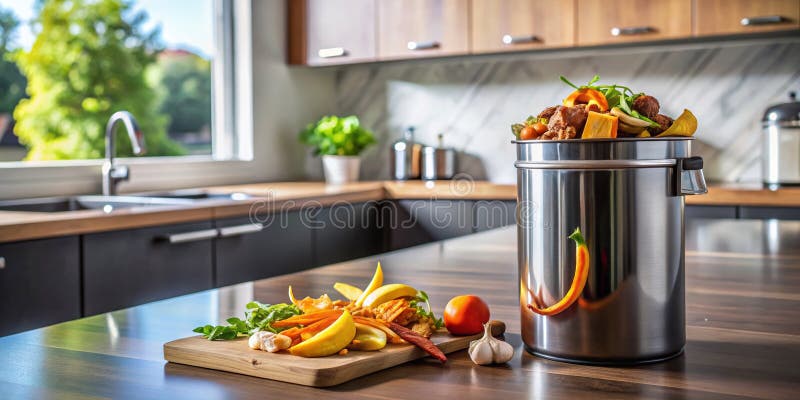
Here's how to get started with autumn composting:
- Choose a location: Select a spot in your yard that is easily accessible and gets partial shade. This will help keep the compost pile moist but not waterlogged.
- Gather your materials: You'll need a mix of "browns" (carbon-rich materials) and "greens" (nitrogen-rich materials).
- Browns: Dried leaves, straw, shredded newspaper, cardboard, wood chips
- Greens: Kitchen scraps (vegetable and fruit peels, coffee grounds, tea bags), grass clippings, garden waste
- Layer your materials: Start with a layer of browns, followed by a layer of greens. Alternate layers, making sure the pile is moist but not soggy.
- Turn the pile regularly: Turning the compost pile every week or two will help to aerate it and speed up decomposition.
- Keep it moist: The compost pile should be about as damp as a wrung-out sponge. If it's too dry, add water. If it's too wet, add more browns.
- Be patient: It can take several months to a year for compost to fully decompose. But the wait is worth it!
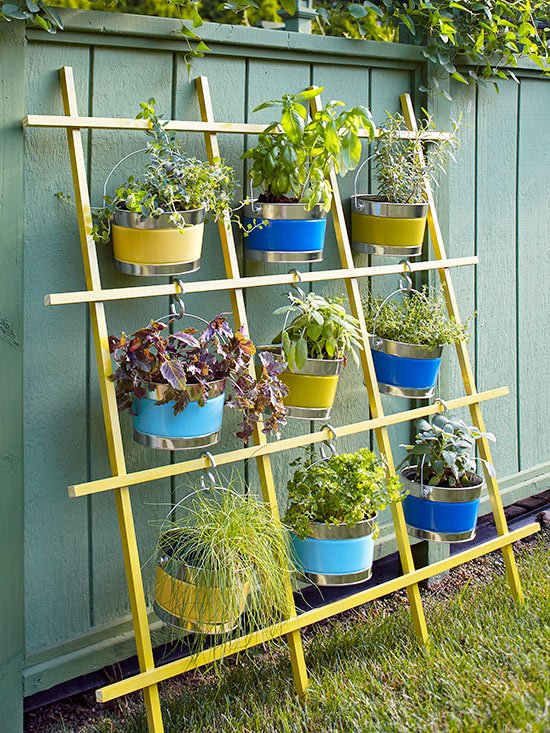
Tips for success:
- Avoid adding meat, dairy, or oily foods to your compost pile, as these can attract pests and create unpleasant odors.
- Chop up larger materials to help them decompose faster.
- Add a handful of garden soil to your compost pile to introduce beneficial microbes.
- If you don't have a yard, you can try vermicomposting (composting with worms) indoors.
The Gift of the Gods: Dry Herbs for Winter Flavor
Drying herbs is a simple and rewarding way to preserve their flavors for use in cooking, teas, and even homemade beauty products. The aroma of drying herbs filling your home is pure bliss! And knowing you grew them yourself adds an extra layer of satisfaction. Seriously, who doesn't love the smell of Rosemary and lavender?
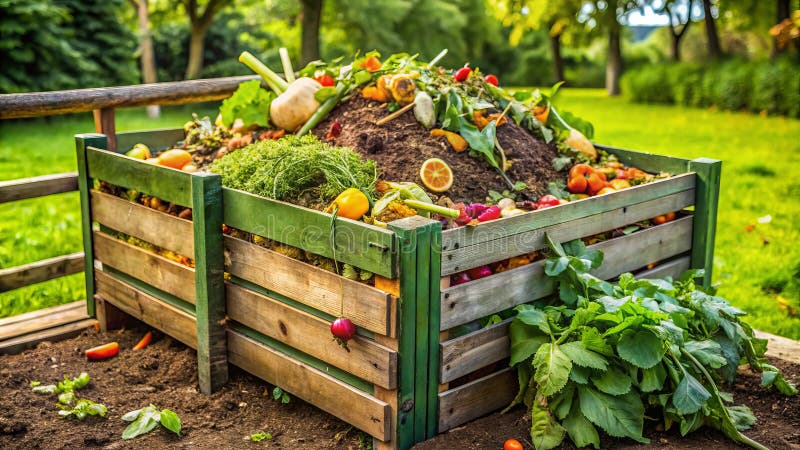
Here are a few easy methods for drying herbs:
- Air drying: This is the simplest method, requiring only a cool, dry, and well-ventilated space.
- Harvest your herbs in the morning, after the dew has dried.
- Tie small bunches of herbs together with twine.
- Hang the bunches upside down in a cool, dry, and well-ventilated place, away from direct sunlight.
- Allow the herbs to dry for several weeks, until they are brittle and crumbly.
- Store the dried herbs in airtight containers in a cool, dark place.
- Oven drying: This method is faster than air drying, but requires more attention.
- Preheat your oven to the lowest setting (ideally below 170°F or 77°C).
- Spread the herbs in a single layer on a baking sheet.
- Place the baking sheet in the oven and leave the door slightly ajar to allow moisture to escape.
- Dry the herbs for 2-4 hours, or until they are brittle and crumbly. Check them frequently to prevent burning.
- Let the herbs cool completely before storing them in airtight containers.
- Dehydrator drying: A food dehydrator provides a consistent and controlled environment for drying herbs.
- Follow the manufacturer's instructions for your dehydrator.
- Arrange the herbs in a single layer on the dehydrator trays.
- Dry the herbs at a low temperature (around 95°F or 35°C) for several hours, or until they are brittle and crumbly.
- Let the herbs cool completely before storing them in airtight containers.
Best herbs to dry: Rosemary, thyme, oregano, mint, sage, lavender, chamomile.
Beyond the Basics: Elevate Your Autumn Harvest Preservation
Think outside the (mason) jar! While canning and freezing are staples, explore less common methods:
- Fermentation: Transform cabbage into sauerkraut, cucumbers into pickles, or even create your own kombucha using fall fruits.
- Root Cellaring: If you have the space and climate, store root vegetables like potatoes, carrots, and beets in a cool, dark, and humid environment for months.
- Infused Oils & Vinegars: Capture the flavors of herbs and spices by infusing them into olive oil or vinegar. Use them to dress salads, marinate meats, or add a gourmet touch to your cooking.
Embracing the Cycle: Reflecting on the Season
Autumn is a time of transition, a time to harvest not only the fruits of our gardens but also the lessons of the year. As the days grow shorter and the nights grow cooler, take time to appreciate the simple pleasures of the season: a warm cup of tea, a crackling fire, and the company of loved ones.
These simple DIY projects are just a starting point. The possibilities for preserving the flavors of autumn are endless. Remember, the most important ingredient in any recipe is love. Pour your heart into your gardening and preserving efforts, and you'll be rewarded with a bounty of deliciousness that will nourish your body and soul all winter long. Now it's your turn! What are your favorite ways to preserve the flavors of fall? Share your tips in the comments below! And don't forget to sign up for our newsletter to receive a free guide to winter gardening! Follow us on Instagram @BetterHomesAndHarvests for daily inspiration.


