Autumn's Bounty: Preserving Your Garden Harvest for a Winter Feast
The air is crisp, carrying the scent of woodsmoke and decaying leaves. The vibrant greens of summer have given way to a breathtaking tapestry of reds, oranges, and golds. Our gardens, once bursting with life, are now offering their final gifts before the long winter slumber. There's a feeling of both nostalgia and gratitude in the air – a bittersweet awareness of the changing seasons. As the days grow shorter, the race is on to capture the flavors of summer and autumn before the frost sets in. We're talking about preserving your garden harvest!

But don't worry, this isn't some daunting, overwhelming task. This guide will walk you through three easy and effective methods for preserving your garden's treasures, ensuring you enjoy homegrown goodness all winter long. Think of it as bottling sunshine and fresh air to brighten even the coldest days. Let's dive in, shall we?
Method 1: Freezing - A Quick and Easy Way to Lock in Freshness
Freezing is arguably the easiest method for preserving many fruits and vegetables. It's quick, requires minimal equipment, and does a fantastic job of retaining flavor and nutrients. However, some vegetables need a little help before they take their icy plunge.
Blanching is Key:
Blanching involves briefly boiling or steaming vegetables before freezing them. This crucial step deactivates enzymes that can cause vegetables to lose their color, flavor, and texture during frozen storage.
Here's how to freeze like a pro:
- Prepare your veggies: Wash and chop your vegetables as desired.
- Blanch: Submerge your vegetables in boiling water for a specific time (usually 1-3 minutes, depending on the vegetable). Consult a blanching chart for optimal times – the National Center for Home Food Preservation is an excellent resource. Immediately transfer the blanched vegetables to an ice bath to stop the cooking process.
- Dry thoroughly: Drain the vegetables well and pat them dry with a clean towel. Excess moisture can lead to ice crystals and freezer burn.
- Flash Freeze (Grandma's Secret!): Spread the vegetables in a single layer on a baking sheet lined with parchment paper. Freeze for a few hours, or until solid. My grandmother always swore by flash-freezing her berries on a baking sheet before bagging them – a trick I still use today! This prevents them from clumping together.
- Bag it up: Transfer the frozen vegetables to freezer-safe bags or containers. Press out as much air as possible to minimize freezer burn. Label each bag with the contents and date.

Minimizing Freezer Burn:
Freezer burn occurs when moisture evaporates from the surface of frozen food, leading to a dry, leathery texture. To minimize freezer burn:
- Use freezer-safe bags or containers.
- Remove as much air as possible from the packaging.
- Flash freeze foods before bagging them.
- Store frozen foods at a consistent temperature (0°F or below).
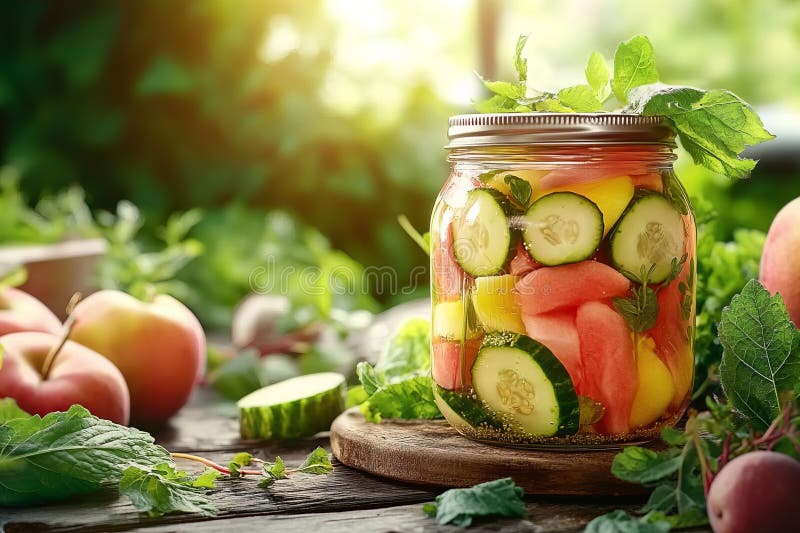
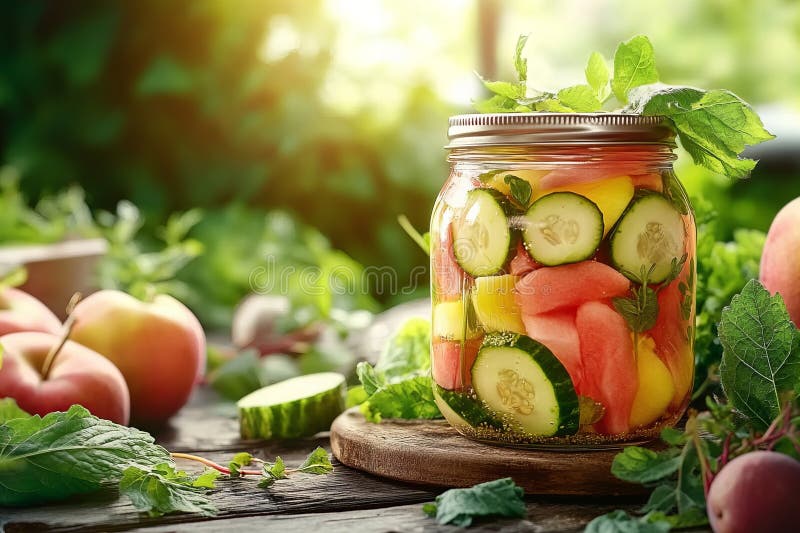
Method 2: Canning - Bottling Summer's Goodness
Canning is a more involved process, but it allows you to preserve high-acid foods like tomatoes, fruits, jams, and pickles for extended periods without refrigeration. Water bath canning is a great starting point for beginners.
Safety First!
Canning requires careful attention to detail to prevent spoilage and ensure food safety. Always follow tested recipes from reliable sources, such as the USDA Complete Guide to Home Canning or Ball Blue Book.
Here's the basic process:
- Prepare your jars: Wash and sterilize your canning jars and lids according to the manufacturer's instructions.
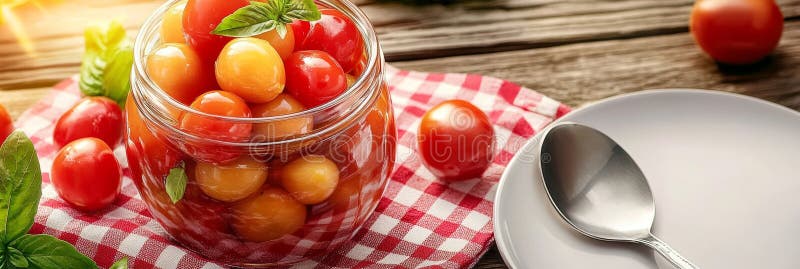
- Make your recipe: Prepare your recipe according to the instructions. Grandma's Spicy Tomato Relish is a family favorite!
- Fill the jars: Ladle the hot food into the sterilized jars, leaving the recommended headspace (usually 1/4 to 1/2 inch). Remove any air bubbles by running a non-metallic spatula along the inside of the jar.
- Wipe the rims: Wipe the rims of the jars with a clean, damp cloth to ensure a good seal.
- Place the lids and rings: Place the lids on the jars and screw on the rings finger-tight.
- Process in a water bath canner: Lower the filled jars into a boiling water bath canner. The water should cover the jars by at least 1 inch. Bring the water to a rolling boil and process for the recommended time, based on the recipe and your altitude.
- Cool and check seals: Carefully remove the jars from the canner and place them on a towel-lined surface to cool. As the jars cool, you should hear a "pop" as the lids seal. After 12-24 hours, check the seals by pressing down on the center of the lid. If the lid doesn't flex, it's properly sealed.

What if a Jar Doesn't Seal?
If a jar doesn't seal, you have a few options:
- Reprocess the jar immediately with a new lid, ensuring you followed all steps properly.
- Refrigerate the contents and use them within a few days.
- Freeze the contents.
Method 3: Dehydrating - Concentrated Flavors for Winter Dishes
Dehydrating removes moisture from food, preventing spoilage and concentrating flavors. It's a fantastic way to preserve herbs, fruits, and vegetables. You can use either a dedicated dehydrator or your oven.
Dehydrator vs. Oven:
- Dehydrator: A dehydrator provides consistent, low-temperature heat and airflow, making it ideal for dehydrating delicate herbs and fruits.
- Oven: You can use your oven to dehydrate, but it's essential to use the lowest possible temperature (usually around 170°F) and leave the oven door slightly ajar to allow moisture to escape.
Here's how to dehydrate:
- Prepare your ingredients: Wash and slice your fruits and vegetables into thin, even pieces. For herbs, simply wash and dry them.
- Arrange on trays: Arrange the ingredients in a single layer on dehydrator trays or a baking sheet lined with parchment paper.
- Dehydrate: Dehydrate until the ingredients are dry and leathery. The drying time will vary depending on the food and the method used.
- Cool and store: Let the dehydrated ingredients cool completely before storing them in airtight containers.

Creative Uses for Dehydrated Ingredients:
- Transform dried tomato slices into sun-dried tomato pesto powder for a burst of summer flavor in your winter soups.
- Add dehydrated herbs to your favorite spice blends.
- Make fruit leather from pureed fruits.
- Create vegetable chips for a healthy snack.
Actionable Tips for a Successful Harvest Preservation
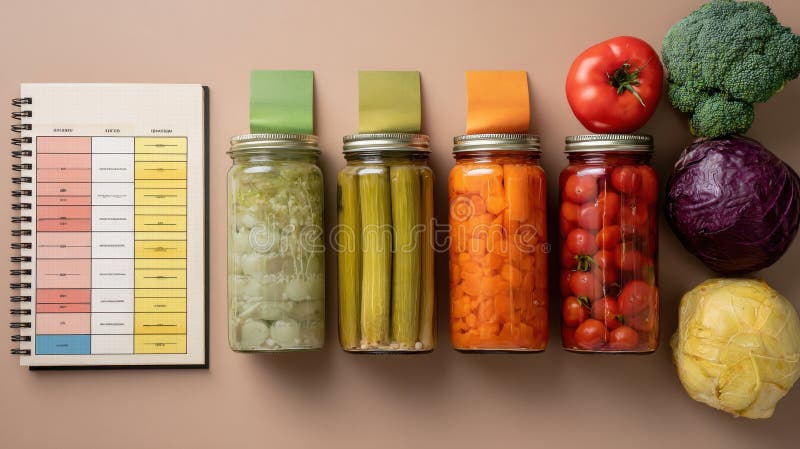
Freezing Log: Create a simple log (template below!) to track the contents and dates of your frozen items. No more freezer mystery!
Spice it Up!: Add a sprig of rosemary to your frozen green beans or a pinch of chili flakes to your tomato sauce for an extra layer of flavor.
Freezing Log Template:
| Item | Date Frozen | Quantity | Notes |
|---|---|---|---|
| Green Beans | 2024-10-26 | 2 quarts | Rosemary sprig added |
| Tomato Sauce | 2024-10-26 | 4 quarts | Chili flakes added |
Jar Storage Solutions: Store your canned goods in a cool, dark, and dry place. Basements, pantries, and even closets can work well.
Utilize Existing Storage: Get creative with storage! Repurpose old wooden crates, baskets, and shelves to create a rustic and functional storage area.

Composting Tips: Don't let those vegetable scraps go to waste! Compost them to enrich your garden soil for next year's growing season. Learn more about composting here.
A Winter of Homegrown Goodness Awaits
Preserving your garden harvest is more than just a way to save money and eat healthy. It's a connection to the land, a celebration of the seasons, and a way to nourish your body and soul with the fruits (and vegetables!) of your labor. As the days grow shorter and the nights grow colder, you'll be able to open a jar of sunshine or sprinkle a pinch of summer herbs into your winter meals, reminding you of the abundance and beauty of the autumn harvest.
We'd love to see your preserving projects! Share your photos on Instagram using #BetterHomesHarvests and tag us @BetterHomesHarvests for a chance to be featured in our stories. What are YOUR favorite preservation methods? Let us know in the comments below!