
Autumn's Bounty: Cranberry-Stuffed Squash, Cold Frames, and Beeswax Wraps
The last days of autumn are upon us. The vibrant greens of summer have faded into a tapestry of muted golds, browns, and reds. A crispness hangs in the air, hinting at the winter's stillness soon to come. The frost has kissed the last of the squash in the garden, a signal that it’s time to bring them in and savor their hearty goodness. But the growing season doesn't have to end! We're determined to extend it just a little longer with a simple cold frame, built from reclaimed materials – a testament to the resourcefulness of homestead living. After a day spent hammering and sawing, and crafting eco-friendly beeswax wraps, there’s nothing quite like the warmth of a home-cooked meal. Today, that means Cranberry and Wild Rice Stuffed Acorn Squash, simmering in a cast iron skillet, filling the kitchen with the comforting aroma of sage and cranberries. A string of dried orange slices hangs nearby, a promise of brighter days to come.
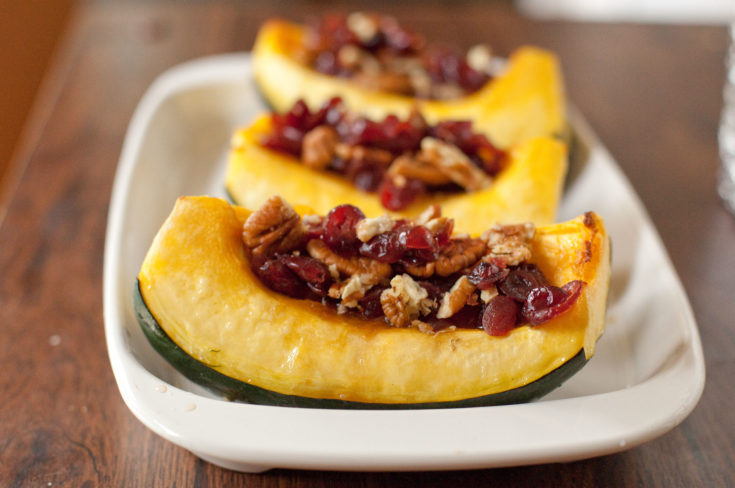
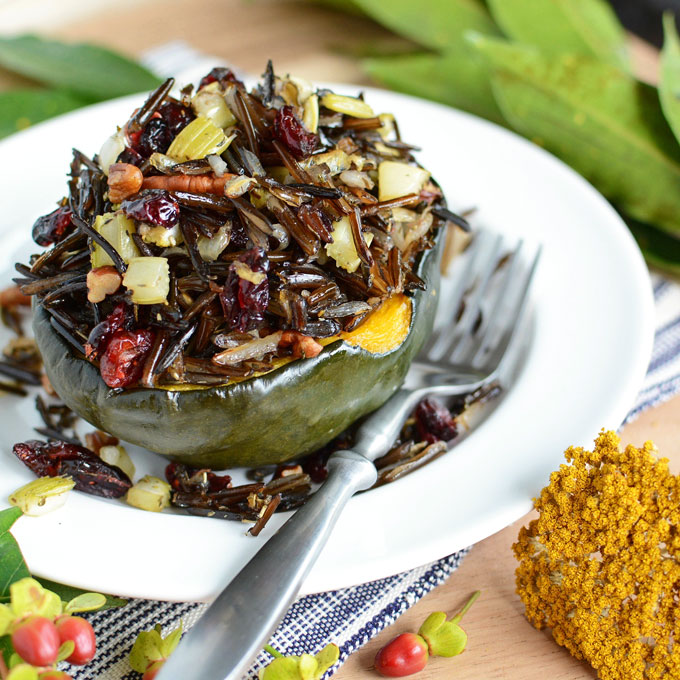
Cranberry and Wild Rice Stuffed Acorn Squash: A Vegetarian Feast
This recipe embodies the spirit of autumn, utilizing seasonal ingredients sourced as locally as possible, ideally right from your own garden. It’s a celebration of simplicity, resourcefulness, and delicious, home-cooked food. The beauty of this dish lies in its versatility. While it’s naturally vegetarian, it can easily be adapted for vegan diets. Feel free to substitute ingredients based on what you have on hand, embracing the true essence of homestead cooking. The hearty wild rice and sweet cranberries offer a delightful contrast in flavor, while the toasted nuts provide a satisfying crunch.
Ingredients:
- 2 medium acorn squash, harvested after the first frost, halved lengthwise and seeded
- 1 tablespoon cold-pressed olive oil
- 1 cup cooked wild rice, preferably hand-harvested
- 1 cup homemade vegetable broth, simmered with garden herbs
- 1/2 cup dried cranberries, sweetened with local honey
- 1/2 cup chopped pecans or walnuts, toasted for added flavor
- 1/4 cup finely chopped yellow onion, grown from seed
- 2 cloves garlic, freshly minced
- 1 teaspoon dried sage, grown and dried in the garden
- Coarse sea salt and freshly ground black pepper to taste
- Optional: Maple syrup from the homestead or aged balsamic glaze for drizzling
Instructions:
- Preheat oven to 400°F (200°C). Brush the cut sides of the acorn squash with olive oil, season generously with sea salt and pepper, and place cut-side down on a well-seasoned baking sheet.
- Bake for 30-40 minutes, or until the squash is easily pierced with a fork and slightly caramelized.
- Meanwhile, in a cast iron skillet, sauté the onion and garlic in olive oil until softened and fragrant, about 5 minutes.
- In a large earthenware bowl, combine the cooked wild rice, homemade vegetable broth, dried cranberries, toasted nuts, sautéed onion and garlic, and dried sage. Season generously with coarse sea salt and freshly ground black pepper.
- Once the squash is cooked, carefully fill each half with the wild rice mixture, mounding it slightly.
- Return to the oven and bake for another 10-15 minutes, or until heated through and the top is lightly browned.
- Optional: Drizzle with a small amount of maple syrup or aged balsamic glaze before serving for a touch of sweetness and acidity.
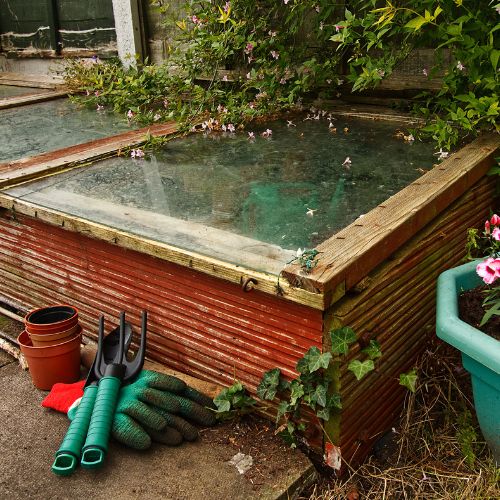
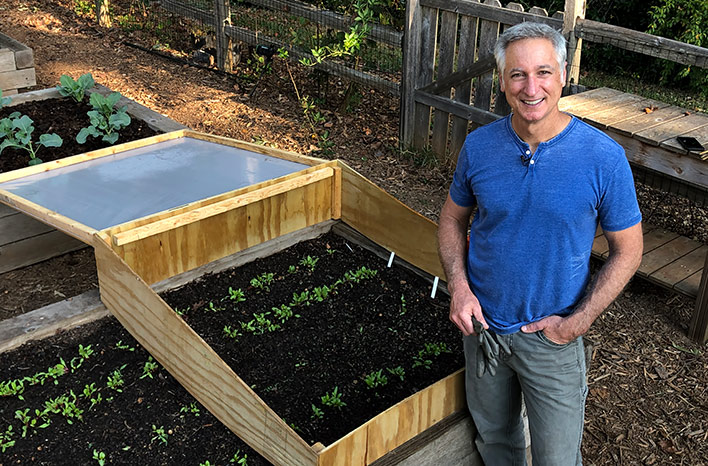
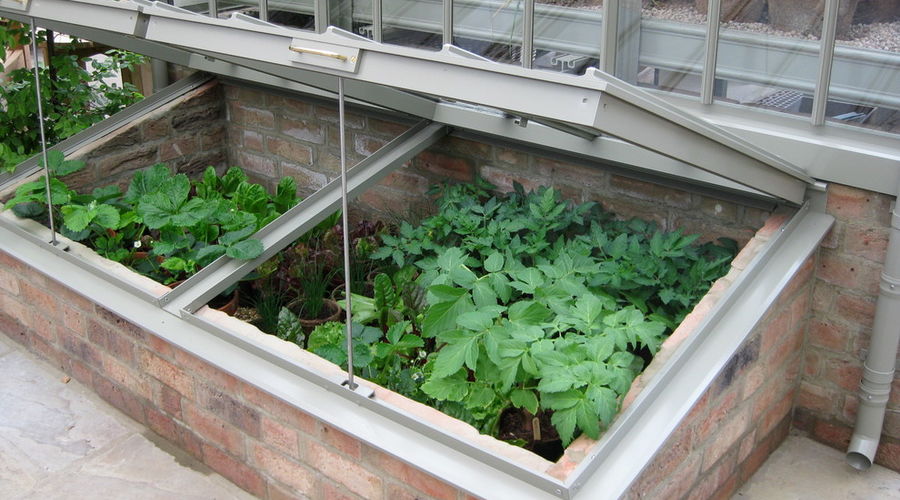
Building a Cold Frame: Extending Your Garden into Winter
As the days grow shorter and the nights colder, a cold frame offers a simple and effective way to extend the growing season and protect your cold-hardy greens. Spinach, kale, arugula, and winter lettuce can thrive within the sheltered environment of a cold frame, providing fresh, homegrown produce well into the winter months. What's more, building a cold frame is a satisfying DIY project that can be accomplished with minimal carpentry skills, especially when using reclaimed materials.

Materials:
- Reclaimed, weathered lumber from an old barn (approximately 8 feet of 2x4s and 12 feet of 1x6s) - The wood should show signs of wear and age.
- Clear, recycled polycarbonate or salvaged plexiglass sheet (approximately 2 feet x 4 feet) - Look for slight imperfections or scratches to add character.
- Rusty hinges salvaged from an old gate
- Weather-resistant screws
- A repurposed drawer pull for a handle or a simple latch fashioned from wire
Instructions:
- Construct a rectangular frame using the 2x4s (base) and 1x6s (sides), with a slight slope towards the back for better sunlight exposure and water runoff. Use screws to securely fasten the lumber together.
- Attach the polycarbonate or plexiglass sheet to the top of the frame using the salvaged hinges, creating a lid that can be opened for ventilation.
- Add the repurposed drawer pull or wire latch to secure the lid when closed.
- Place the cold frame in a sunny, sheltered location in your garden, ideally facing south. Ensure the ground is level and well-drained.
- Plant your cold-hardy greens (spinach, kale, arugula, winter lettuce) inside the frame, spacing them appropriately. Monitor the temperature inside the frame, opening the lid as needed for ventilation to prevent overheating.
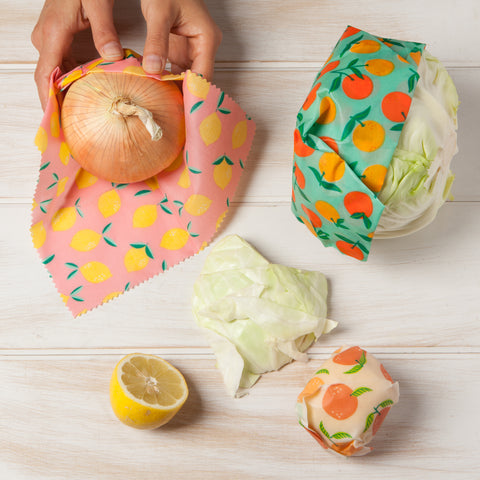
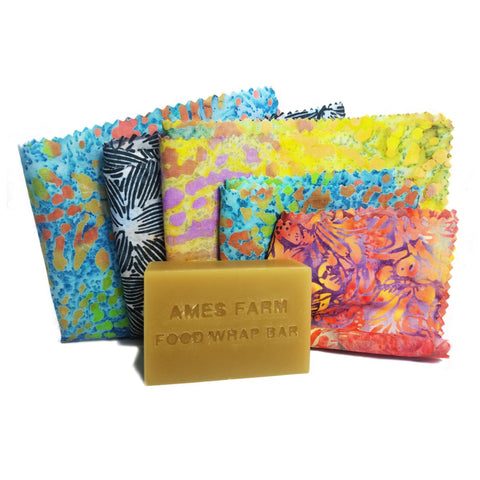
Making Beeswax Food Wraps: Sustainable Kitchen Essentials
In the spirit of sustainable living, beeswax food wraps offer a fantastic alternative to plastic wrap. These reusable, compostable wraps help reduce waste and contribute to a more eco-friendly homestead. And the best part? They're incredibly easy and rewarding to make, offering a cozy afternoon project that yields practical and beautiful results.
Materials:
- Organic cotton fabric scraps (various colors and patterns) - Choose tightly woven cotton for durability.
- Locally sourced beeswax pellets from a regional beekeeper
- Pine rosin, sourced from a sustainable harvester
- Jojoba oil
- Pinking shears with well-worn wooden handles
- A well-used baking sheet
- Unbleached parchment paper
Instructions:
- Wash and dry the cotton fabric scraps. Cut them into desired sizes (small, medium, large) using pinking shears to prevent fraying.
- Preheat oven to 200°F (93°C).
- Place a sheet of parchment paper on the baking sheet. Lay the cotton fabric pieces on the parchment paper, leaving a small space between each piece.
- Sprinkle beeswax pellets, a small amount of pine rosin, and a few drops of jojoba oil evenly over the fabric.
- Place the baking sheet in the oven for 5-10 minutes, or until the beeswax is completely melted and evenly distributed.
- Remove from the oven and use an old paintbrush to spread the melted beeswax mixture evenly over the fabric, ensuring all areas are coated.
- Let the wraps cool completely on the baking sheet until the beeswax has hardened.
- Carefully peel the wraps off the parchment paper. Allow them to air dry for a few minutes before storing them rolled or folded.

As we embrace the changing seasons and the transition into winter, let's celebrate the simple joys of the homestead. From savoring a delicious Cranberry and Wild Rice Stuffed Acorn Squash to extending the growing season with cold frames crafted from reclaimed materials and reducing waste with homemade beeswax wraps, these practices connect us to the land, promote self-sufficiency, and honor the rhythm of the seasons. What are your favorite late-fall homesteading activities that you practice on your sustainable home? Share your experiences and tips in the comments below! We'd love to hear about your cold frames, your favorite fall recipes using locally sourced produce, and your zero-waste strategies for the upcoming winter.