Autumn's Bounty: 5 Delicious & Easy Ways to Preserve Your Late-Season Garden Harvest
The scent of woodsmoke hangs in the air, a cool breeze whispers through the turning leaves, and my garden, once a riot of green, now bears the golden hues of late autumn. There's a bittersweet feeling to this time of year – a gentle sadness as the growing season winds down, mixed with a profound sense of gratitude for the abundance it provided. I remember one year, a surprise frost threatened to ruin my entire tomato crop. We scrambled to pick every last one, green and ripe alike. What to do with them all? That's when I truly embraced the art of food preservation. Before the frost truly sets in and signals the end of your beautiful harvest, let's make the most of that last flush of garden goodness! Today, I'm sharing my top 5 simple and delicious ways to preserve your late-season harvest, ensuring you can savor the taste of summer throughout the cozy winter months, all while saving money and reducing your reliance on store-bought produce. Get ready to transform your kitchen into a haven of homegrown goodness!
1. Freezing for Future Flavor: Simple Tomato Sauce
Freezing is arguably the easiest method for preserving your late-season bounty, especially when it comes to tomatoes. The beauty of freezing is its simplicity; it requires minimal equipment and effort. However, it's important to note that freezing can slightly alter the texture of some vegetables, making them softer once thawed. But for sauces, soups, and stews, this is rarely an issue.
My first attempt at making tomato sauce felt like a scene from a sitcom. I’d underestimated the sheer volume of tomatoes and ended up with sauce splattered across the ceiling! Lesson learned: always use a large enough pot! Now, making tomato sauce is a joyful annual tradition.
Actionable Tips:
- Step-by-Step Instructions:
- Wash and core your tomatoes. You can peel them if you prefer a smoother sauce (blanching for 30 seconds in boiling water makes peeling easy), but I often skip this step for a rustic sauce.
- Roughly chop the tomatoes and add them to a large pot.
- Simmer over medium heat, stirring occasionally, until the tomatoes break down and the sauce thickens (about 1-2 hours).
- Use an immersion blender to create a smooth sauce (optional).
- Let the sauce cool completely.
- Pour into freezer-safe bags or containers, leaving some headspace for expansion.
- Label with the date and contents.
- Freeze flat for easy storage.
- Troubleshooting: If your sauce is too watery, simmer it for longer to reduce the liquid.
- Safety Precautions: Ensure your containers are freezer-safe to prevent cracking.
- Specific Measurements: This is more of a ratio. Use about 2-3 pounds of tomatoes for every quart of sauce you want to make. Add seasonings to taste (salt, pepper, garlic, herbs).
2. Canning the Cozy Way: Tomato Relish
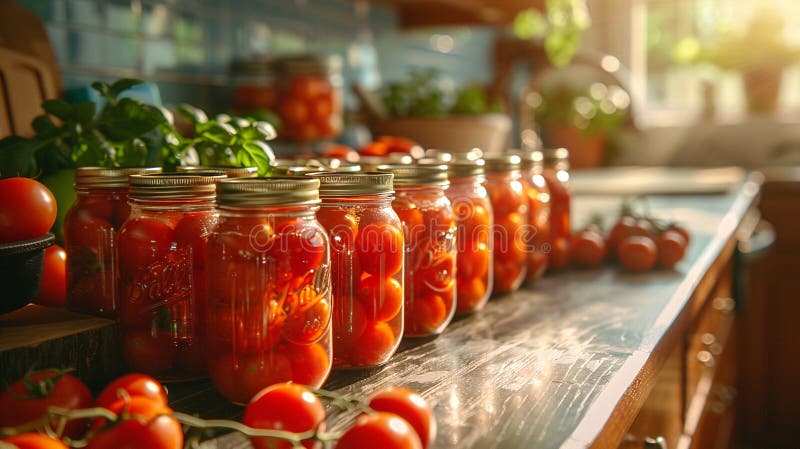
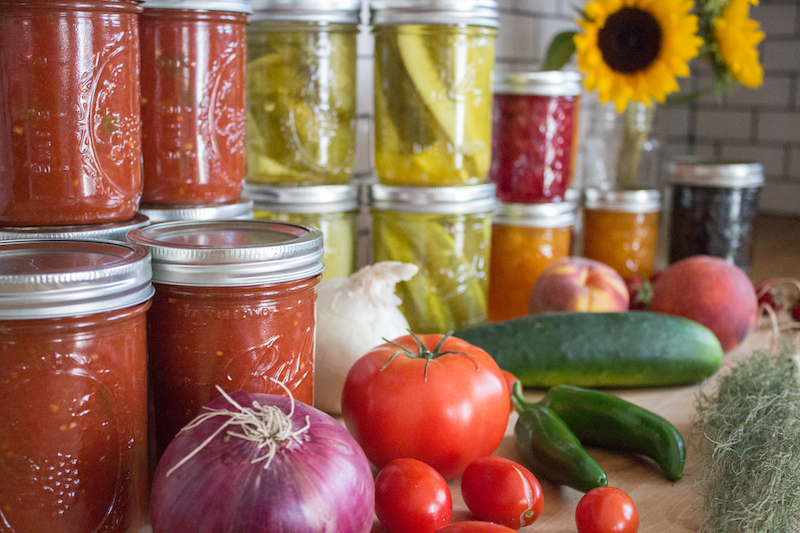
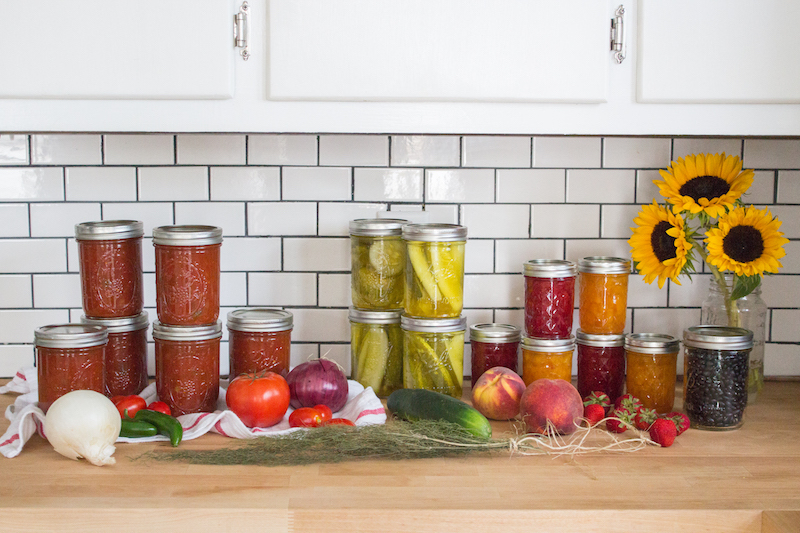
Canning provides a shelf-stable way to preserve your harvest, allowing you to enjoy your garden’s bounty for a year or more. While it requires a bit more equipment and attention to detail than freezing, the results are well worth the effort. Safety is paramount when canning; always follow reputable recipes and guidelines to prevent spoilage.
I’ll never forget the satisfaction of hearing that pop sound as the lids sealed on my first batch of canned pickles. It felt like a real accomplishment! I love canning a flavorful zucchini relish.
Actionable Tips:
- Step-by-Step Instructions:
- Follow a tested and approved canning recipe for tomato relish (or your vegetable of choice). Ball Canning and the National Center for Home Food Preservation are excellent resources.
- Prepare your canning jars and lids according to the recipe instructions (sterilizing is often recommended).
- Prepare the relish according to the recipe, ensuring accurate measurements and cooking times.
- Carefully fill the jars with the hot relish, leaving the specified headspace.
- Remove air bubbles and wipe the jar rims clean.
- Place the lids and rings on the jars, tightening the rings fingertip-tight.
- Process the jars in a boiling water bath or pressure canner according to the recipe instructions.
- Let the jars cool completely.
- Check the seals: the lids should be concave and not flex when pressed.
- Store properly.
- Troubleshooting: If jars don’t seal, you can reprocess them with new lids within 24 hours or store them in the refrigerator.
- Safety Precautions: Always follow tested recipes and guidelines to prevent botulism. Never alter ingredients or processing times.
- Specific Measurements: Canning recipes are precise. Follow them exactly. For example, a typical zucchini relish recipe might call for 6 cups of grated zucchini, 2 cups of chopped onions, 1 cup of vinegar, and 1/2 cup of sugar, plus spices. Processing times vary based on altitude.
3. Fermenting for Flavor and Gut Health: Pickled Vegetables
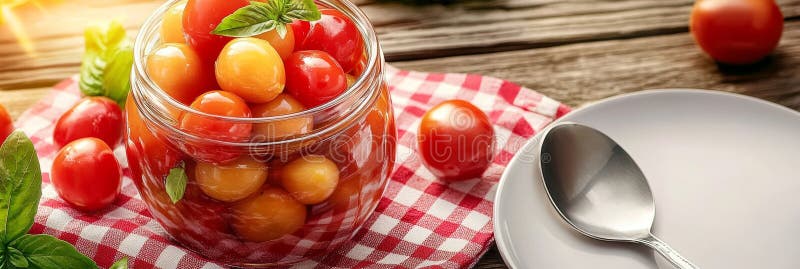
Fermentation is an ancient preservation method that not only extends the shelf life of your vegetables but also boosts their nutritional value and adds a delicious tangy flavor. It's a relatively simple process that relies on beneficial bacteria to transform the sugars in the vegetables into lactic acid, which acts as a natural preservative.
My first foray into fermentation was… pungent, to say the least! I’d forgotten to weigh down the vegetables properly, and mold took over. Now I use fermentation weights and sanitize everything diligently. The result is always worth it.
Actionable Tips:
- Step-by-Step Instructions:
- Choose your vegetables (cucumbers, carrots, cabbage, and peppers work well).
- Wash and chop the vegetables.
- Pack the vegetables into a clean jar, leaving some headspace.
- Add a brine solution (usually 2-3% salt concentration).
- Weigh down the vegetables to keep them submerged in the brine.
- Cover the jar loosely and let it ferment at room temperature for several days or weeks, depending on your taste.
- "Burp" the jar daily to release excess gas.
- Once fermented to your liking, transfer the jar to the refrigerator to slow down the fermentation process.
- Troubleshooting: Mold indicates contamination; discard the batch. Kahm yeast (a harmless white film) can be scraped off.
- Safety Precautions: Use clean equipment and ensure vegetables are fully submerged in the brine.
- Specific Measurements: For a 2.5% brine, dissolve 1.5 tablespoons of salt in 4 cups of water.
4. Dehydrating for Concentrated Goodness: Garden Herbs
Dehydrating removes moisture from vegetables, fruits, and herbs, preventing spoilage and concentrating their flavors. It's a great way to preserve herbs, which can be easily crumbled and added to dishes throughout the year.
I remember the first time I dehydrated herbs, the entire house smelled amazing for days! Now I make sure to dry a big batch of basil and oregano every year.
Actionable Tips:
- Step-by-Step Instructions:
- Wash and dry your herbs.
- Remove leaves from stems.
- Arrange the herbs in a single layer on dehydrator trays.
- Dehydrate at a low temperature (around 95-115°F) for several hours, until the herbs are brittle and crumble easily.
- Let the herbs cool completely.
- Store in airtight containers in a cool, dark place.
- Troubleshooting: If herbs are not fully dry, they may mold during storage.
- Safety Precautions: Ensure herbs are completely dry before storing.
- Specific Timeframes: Dehydration time varies depending on the herb and the dehydrator. Check periodically and adjust the time as needed. Usually, herbs take 2-4 hours in a dehydrator.
5. Root Cellaring: Traditional Storage for Winter Vegetables
Root cellaring is a traditional method of preserving vegetables by storing them in a cool, humid, and dark environment. It's ideal for root vegetables like potatoes, carrots, beets, and onions.
I don’t have a true root cellar, but I converted a corner of my basement into one. It's amazing how long potatoes and onions will keep when stored properly. Just remember to check them regularly for any signs of spoilage!
Actionable Tips:
- Step-by-Step Instructions:
- Harvest your root vegetables carefully, avoiding bruising or damaging them.
- Brush off any excess soil, but don't wash them.
- Cure onions and garlic by drying them in a well-ventilated area for 1-2 weeks.
- Store vegetables in bins or crates lined with straw or burlap.
- Maintain a cool temperature (32-40°F) and high humidity (80-90%).
- Check regularly for signs of spoilage and remove any damaged vegetables.
- Troubleshooting: Too much moisture can lead to rot; too little can cause vegetables to dry out.
- Specific Recommendations: Carrots and beets store best when surrounded by damp sand or sawdust.
Preserving your late-season garden harvest is more than just a way to save money and reduce food waste; it’s a way to connect with the rhythms of nature, honor the hard work you put into your garden, and savor the flavors of summer throughout the year. It's about creating a sustainable home and building a deeper relationship with the food we eat. The satisfaction of pulling out a jar of homegrown tomato sauce on a cold winter day is truly unmatched. So, embrace the autumn bounty and transform your kitchen into a haven of preserved goodness. What's the one vegetable you always try to preserve from your late-season garden? I'd love to hear your thoughts and favorite methods in the comments below!