Autumn Bounty: Turning Your Last Garden Harvest into Cozy Kitchen Staples
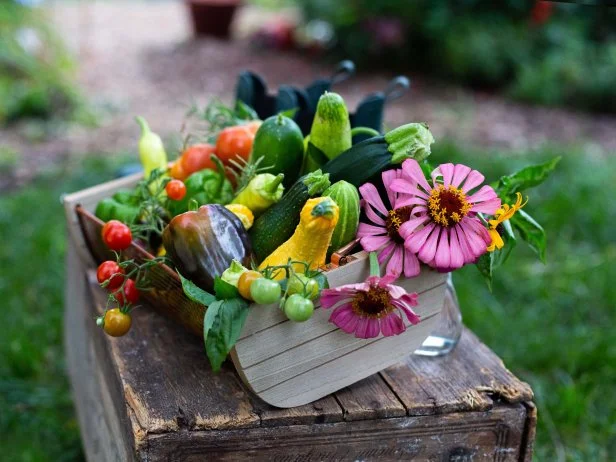
The days are getting shorter, a crispness is in the air, and those vibrant green leaves are starting to show hints of gold and crimson. Late summer is a bittersweet time for gardeners. We cherish the abundance of the harvest, but a touch of melancholy creeps in as we know the growing season is drawing to a close. You might be looking at rows of tomatoes still ripening, zucchini threatening to take over, and herbs begging to be snipped. What to do with all that beautiful produce before the first frost? Don't let your hard work go to waste! This year, let's transform that late-season garden bounty into cozy kitchen staples that will warm your heart and nourish your family all winter long. Think of it as preserving sunshine, one jar, one bag, one delicious meal at a time. We'll explore practical, easy-to-follow techniques to maximize your last harvest and savor those homegrown flavors for months to come. You'll feel empowered, save money, and enjoy the satisfaction of feeding your family the fruits (and vegetables!) of your labor.
Embrace the Harvest: Assessing What You Have
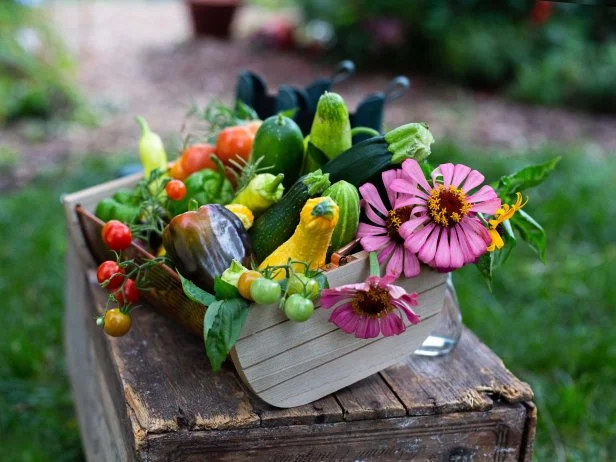
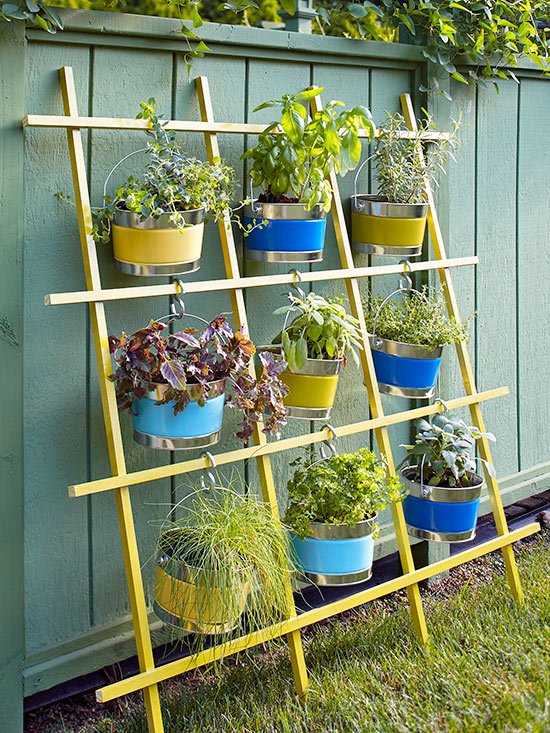
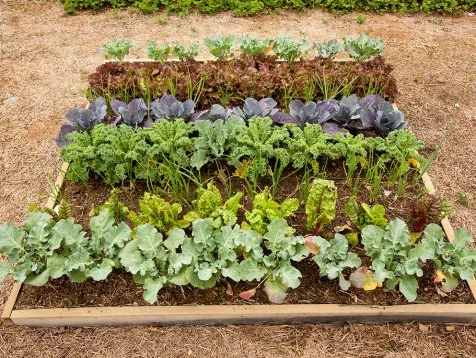
Before you start preserving, take a good look at what you have. Inventory your garden and note which fruits and vegetables are nearing peak ripeness. Are your tomatoes turning a deep red? Is your zucchini still producing like crazy? Knowing what you have in abundance will help you prioritize your preservation efforts. This is also a great time to check the weather forecast. An unexpected early frost can damage tender plants, so it's best to harvest everything that's ready, even if you weren't planning to pick it yet. Even slightly underripe tomatoes can be ripened indoors! Don’t forget your herbs! Drying or freezing them now will provide flavorful additions to your winter cooking.
Preservation Powerhouse: Choosing the Right Method
Different vegetables lend themselves to different preservation methods. Here's a quick rundown to help you choose:
- Tomatoes: Canning, freezing, dehydrating, making sauces and salsas.
- Zucchini: Freezing (shredded or sliced), pickling, making zucchini bread and freezing the loaves.
- Herbs: Drying, freezing (in oil or water), making herbal vinegars.
- Peppers: Roasting and freezing, pickling, dehydrating.
- Root Vegetables (carrots, beets, potatoes): Root cellaring (if you have the space), canning, dehydrating.
- Pumpkins and Winter Squash: Curing and storing whole, roasting and freezing the puree.
Consider your storage space and how you plan to use the preserved produce. If you have limited freezer space, canning or dehydrating might be better options. If you love making soups and stews, freezing diced vegetables is a great way to have them on hand.
Freezing for Freshness: A Simple How-To
Freezing is one of the easiest ways to preserve your garden harvest, especially for vegetables like zucchini, peppers, and herbs. Here's a step-by-step guide:
- Wash and prepare: Wash your vegetables thoroughly and cut them into the desired size and shape (diced, sliced, shredded).
- Blanching (for most vegetables): Blanching is a crucial step that helps to preserve the color, texture, and nutrients of your vegetables. Submerge the prepared vegetables in boiling water for a short period (usually 1-3 minutes, depending on the vegetable), then immediately transfer them to an ice bath to stop the cooking process.
- Dry thoroughly: Pat the blanched vegetables dry with a clean towel. This will prevent ice crystals from forming and sticking the vegetables together.
- Flash freeze: Spread the vegetables in a single layer on a baking sheet lined with parchment paper and freeze for a few hours until solid. This prevents them from clumping together in the freezer bag.
- Transfer to freezer bags: Transfer the flash-frozen vegetables to freezer bags, remove as much air as possible, and seal tightly. Label the bags with the date and contents.
Canning the Classics: A Taste of Summer in Every Jar
Canning allows you to preserve your garden harvest for extended periods without refrigeration. Tomatoes are a classic choice for canning, whether you're making whole tomatoes, crushed tomatoes, or tomato sauce.
Important Note: When canning, always follow a tested recipe from a reputable source, such as the USDA Complete Guide to Home Canning or the Ball Blue Book. Proper canning techniques are essential to prevent spoilage and ensure food safety.
The basic steps for canning tomatoes include:
- Prepare the tomatoes: Wash, core, and peel your tomatoes. You can peel them by blanching them in boiling water for 30-60 seconds, then transferring them to an ice bath. The skins should slip off easily.
- Prepare the jars: Wash your canning jars, lids, and bands in hot, soapy water. Sterilize the jars by boiling them for 10 minutes. Keep the jars hot until you're ready to fill them.
- Fill the jars: Pack the prepared tomatoes into the hot jars, leaving the recommended headspace (usually 1/2 inch). Add any desired seasonings, such as salt, herbs, or lemon juice.
- Remove air bubbles: Run a non-metallic spatula or bubble remover along the inside of the jar to release any trapped air bubbles.
- Wipe the rims: Wipe the rims of the jars with a clean, damp cloth to ensure a good seal.
- Place the lids and bands: Place the lids on the jars and screw on the bands fingertip-tight.
- Process in a water bath canner or pressure canner: Follow the processing time specified in your recipe, depending on the size of the jars and your altitude.
- Cool and check the seals: After processing, remove the jars from the canner and let them cool completely on a towel-lined surface. Check the seals by pressing down on the center of the lid. If the lid doesn't flex, the jar is properly sealed.
Dehydrating Delights: Concentrated Flavor and Nutrition
Dehydrating is a great way to preserve herbs, tomatoes, peppers, and other vegetables. Dehydrated foods are lightweight, easy to store, and packed with concentrated flavor.
You can use a food dehydrator or your oven to dehydrate your garden harvest. Simply slice the vegetables thinly, arrange them on dehydrator trays or baking sheets, and dry them at a low temperature until they are leathery and dry.
Dehydrated tomatoes can be rehydrated and used in sauces, soups, and stews. Dehydrated herbs can be crumbled and added to your favorite recipes. Dehydrated peppers can be ground into chili powder or added to spice blends.
Actionable Tips for Maximizing Your Last Harvest
Here are some concrete tips to help you make the most of your garden bounty:
Tip 1: Green Tomato Chutney: Don't let those unripe green tomatoes go to waste! Make a delicious green tomato chutney with onions, vinegar, sugar, and spices. This tangy condiment is perfect with grilled meats, cheeses, and crackers.

Tip 2: Zucchini Relish: If you're overwhelmed with zucchini, turn it into a flavorful zucchini relish with onions, peppers, vinegar, and spices. This relish is a great addition to sandwiches, burgers, and hot dogs.
Tip 3: Herb-Infused Oil: Preserve your fresh herbs by infusing them in olive oil. Simply combine fresh herbs (such as basil, rosemary, or thyme) with olive oil in a jar, and let it infuse for a few weeks. Use the herb-infused oil for cooking, salad dressings, or dipping bread.
Tip 4: Roasted Pepper Freezer Packs: Roasting peppers enhances their flavor and makes them easier to digest. Roast your peppers until the skin is blackened, then place them in a paper bag to steam. Once cooled, the skins will easily peel off. Freeze the roasted peppers in freezer bags for use in soups, stews, and sauces.

Wrapping Up: A Harvest of Memories and Flavors
As the leaves continue to turn and the days grow shorter, take pride in knowing that you've transformed your last garden harvest into a treasure trove of flavors that will nourish you and your family throughout the winter. These preserved foods aren't just sustenance; they're a connection to the land, a reminder of the summer sun, and a testament to your hard work and dedication. Don't forget to enjoy the process! Put on some music, invite a friend to help, and savor the satisfaction of creating something delicious and sustainable. What are your favorite ways to preserve your garden harvest? Share your tips and experiences in the comments below! We'd love to hear from you.
Remember to harvest those final herbs before the first frost!