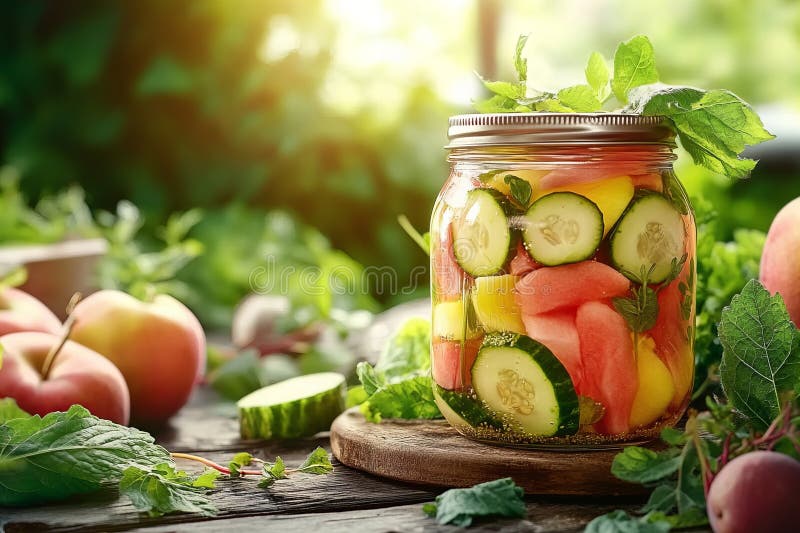
Autumn Bounty: 5 Clever Ways to Preserve Your Late-Season Harvest for a Cozy Winter
The scent of wood smoke hangs in the crisp autumn air, a comforting aroma that signals the shift from vibrant summer days to cozy evenings spent indoors. Golden light filters through the trees, painting the landscape in hues of amber and russet. And in the garden, a final burst of growth rewards our efforts – a late-season bounty of tomatoes, squash, herbs, and peppers, all begging to be enjoyed. But what happens when the first frost threatens? Do you let all that hard work go to waste? Absolutely not!
This guide offers five creative (and surprisingly easy!) methods to preserve your garden's autumnal treasures. You'll discover how to extend the taste of summer well into the winter months, bringing a touch of homegrown goodness to your table even when the snow is falling. Imagine the satisfaction of enjoying a vibrant tomato sauce made from your own garden tomatoes in the heart of January, or a warming squash soup flavored with herbs you harvested in the fall. Let's dive in and make the most of the seasonal harvest!
1. Canning: The Timeless Tradition
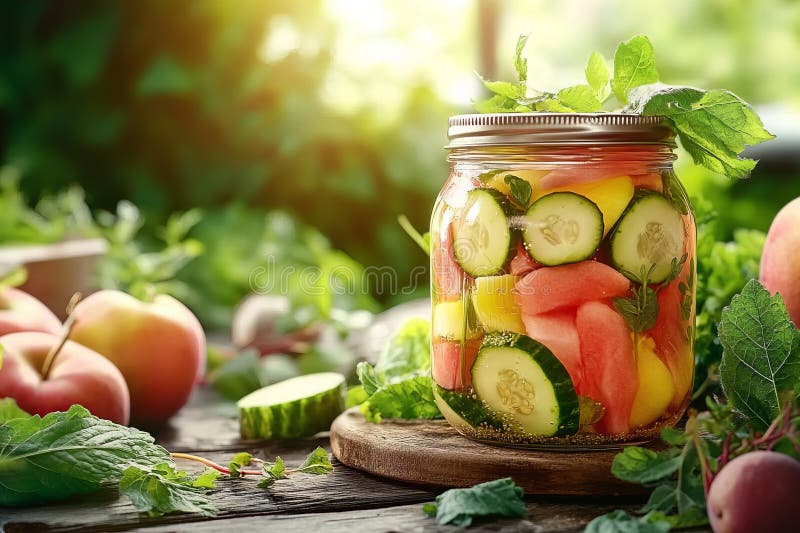
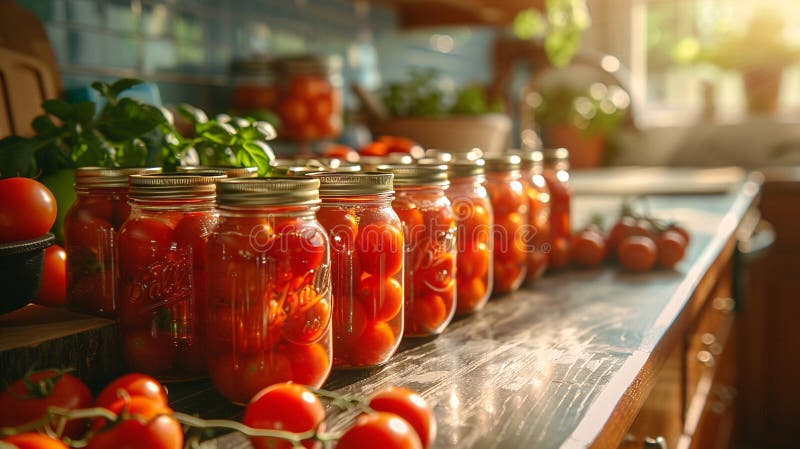
Canning might seem intimidating at first, but it's a remarkably effective way to preserve fruits, vegetables, and even meats. By properly sealing food in sterilized jars, you create a vacuum that prevents spoilage and allows you to store your harvest at room temperature for extended periods. It's a cornerstone of farmhouse life and sustainable home practices.
Step 1: Gather Your Supplies. You'll need canning jars with lids and rings, a large stockpot (or a dedicated canning pot), a jar lifter, a wide-mouth funnel, and your chosen produce. Don't forget a clean workspace!
Step 2: Choose Your Canning Method. There are two main methods: water bath canning (for high-acid foods like tomatoes, fruits, and pickles) and pressure canning (for low-acid foods like beans, corn, and meats). It's crucial to use the correct method for each type of food to ensure safety.
Step 3: Prepare Your Produce. Wash and chop your produce according to your recipe. For example, if you're canning tomatoes, you might blanch them to remove the skins.
Step 4: Pack the Jars. Fill the sterilized jars with the prepared produce, leaving the appropriate headspace (usually ½ to 1 inch). Remove any air bubbles using a non-metallic utensil.
Step 5: Process the Jars. Follow your chosen recipe's instructions for processing time and method (water bath or pressure canning). Always refer to a trusted source like the USDA Complete Guide to Home Canning for accurate information.
Personal Anecdote: I remember the first time I tried canning tomatoes. I was so nervous about botulism that I nearly gave up! But with a little research and a lot of patience, I successfully canned a batch of beautiful, homegrown tomatoes. The taste of those tomatoes in the middle of winter was pure sunshine.
2. Freezing: Simple and Convenient
Freezing is perhaps the easiest way to preserve your harvest. It's quick, requires minimal equipment, and retains much of the food's flavor and nutrients. Perfect for busy modern homesteaders!
Step 1: Choose the Right Produce. Not all vegetables freeze well. Leafy greens like lettuce and spinach tend to become mushy. However, vegetables like green beans, peas, corn, and berries freeze beautifully.
Step 2: Blanch Your Vegetables. Blanching involves briefly boiling or steaming vegetables before freezing. This helps to stop enzyme activity that can degrade the quality of the food.
Step 3: Cool and Dry. After blanching, immediately plunge the vegetables into ice water to stop the cooking process. Then, thoroughly dry them before freezing.
Step 4: Package Properly. Use freezer-safe bags or containers to prevent freezer burn. Remove as much air as possible from the bags before sealing.
Step 5: Label and Date. Don't forget to label your packages with the contents and date. Frozen vegetables are best used within 8-12 months.
Actionable Tip: Consider freezing herbs in ice cube trays with olive oil or water. This makes them easy to add to soups, stews, and sauces.
3. Drying: Concentrated Flavor
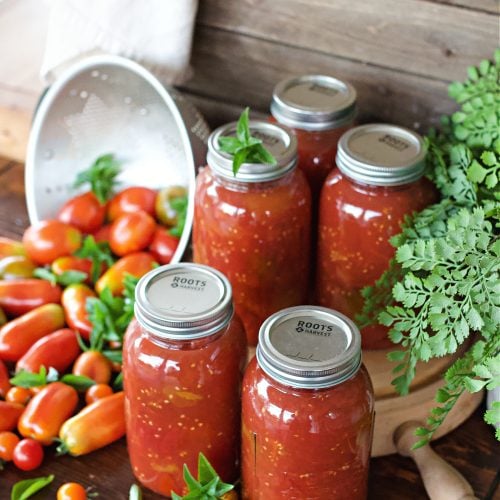
Drying, also known as dehydrating, removes moisture from food, inhibiting the growth of bacteria and mold. This method concentrates the flavor and allows you to store your harvest for long periods. It's perfect for herbs, fruits, and even some vegetables.
Step 1: Choose Your Drying Method. You can use a food dehydrator, your oven (on the lowest setting), or even the sun (in dry climates). A food dehydrator provides the most consistent results.
Step 2: Prepare Your Produce. Slice your produce into thin, even pieces. This ensures that it dries evenly.
Step 3: Arrange on Trays. Arrange the slices on the dehydrator trays or oven racks, leaving space for air circulation.
Step 4: Dry According to Instructions. Follow the dehydrator or oven instructions for drying time and temperature. The food is dry when it's leathery and pliable.
Step 5: Store Properly. Store dried food in airtight containers in a cool, dark place.
Example Scenario: Imagine drying your excess herbs like rosemary, thyme, and oregano. These dried herbs will add incredible flavor to your winter cooking.
4. Fermenting: Gut-Friendly Goodness
Fermenting is a process that uses beneficial bacteria to transform food, creating unique flavors and textures. It's a great way to preserve vegetables like cabbage (sauerkraut), cucumbers (pickles), and peppers. Plus, fermented foods are packed with probiotics, which are beneficial for gut health.
Step 1: Choose Your Vegetable. Cabbage, cucumbers, carrots, and peppers are all excellent choices for fermenting.
Step 2: Prepare Your Brine. A basic brine consists of water and salt. The salt concentration is crucial for successful fermentation.
Step 3: Pack Your Jar. Pack the vegetables tightly into a sterilized jar, leaving some headspace.
Step 4: Add Brine. Pour the brine over the vegetables, ensuring they are completely submerged.
Step 5: Weigh Down the Vegetables. Use a fermentation weight or a small glass jar filled with water to keep the vegetables submerged in the brine. This prevents mold growth.
Step 6: Ferment at Room Temperature. Allow the jar to ferment at room temperature for several days or weeks, depending on the vegetable and your desired level of sourness.
Step 7: Store in the Refrigerator. Once the fermentation is complete, store the jar in the refrigerator.
Internal Linking: For more detailed information on fermenting, check out our article on [Probiotic Power: Fermenting Vegetables at Home](URL for internal article on fermentation).
5. Root Cellaring: Nature's Refrigerator
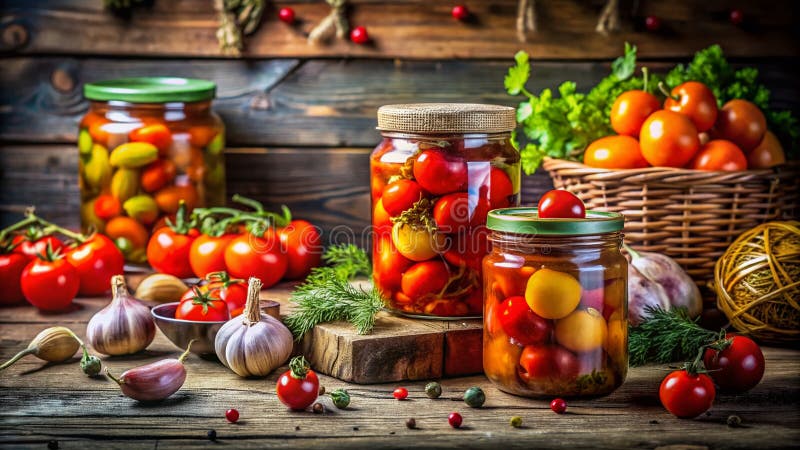
Root cellaring is an ancient method of preserving vegetables by storing them in a cool, humid environment. It's a sustainable and energy-efficient way to keep your harvest fresh without relying on electricity. If you don't have a traditional root cellar, a cool basement or garage can work well.
Step 1: Choose the Right Vegetables. Root vegetables like potatoes, carrots, beets, turnips, and onions are ideal for root cellaring.
Step 2: Harvest Carefully. Handle the vegetables gently during harvest to avoid bruising.
Step 3: Cure the Vegetables. Cure potatoes and onions by allowing them to dry in a well-ventilated area for a week or two. This helps to toughen the skins and prevent spoilage.
Step 4: Store in Bins or Crates. Store the vegetables in bins or crates filled with slightly damp sand or sawdust. This helps to maintain humidity.
Step 5: Monitor Temperature and Humidity. Aim for a temperature between 32-40°F (0-4°C) and a humidity level of 80-90%.
Troubleshooting: If you notice any signs of spoilage, remove the affected vegetables immediately to prevent it from spreading to the others.
Internal Linking: Learn more about building a sustainable home by checking out our article on [Building a Sustainable Home: A Beginner’s Guide](URL for internal article on sustainable homes).
Embrace the Cozy Winter
Preserving your late-season harvest is not just about saving food; it's about connecting with the rhythms of nature, embracing self-sufficiency, and creating a cozy, fulfilling home life. Imagine the joy of sharing your homegrown goodness with friends and family throughout the winter months, knowing that you've nourished them with the fruits (and vegetables!) of your labor.
As the days grow shorter and the nights grow longer, take pride in knowing that you've prepared for the season ahead. The taste of summer will live on in your canned tomatoes, dried herbs, and fermented vegetables, bringing warmth and flavor to your winter meals.
Now, we want to hear from you! What are your favorite ways to preserve your harvest? Share your tips and experiences in the comments below. And don't forget to subscribe to our newsletter for more homesteading tips, seasonal recipes, and inspiration for creating a beautiful, fulfilling life rooted in nature. This season consider how organic gardening methods could help with creating a seasonal harvest! We would love to have you as a part of our Better Homes and Harvests community!
And be sure to read up on the Best ways to Compost on our website! [Compost: Turning Waste into Garden Gold](URL for internal article on composting).