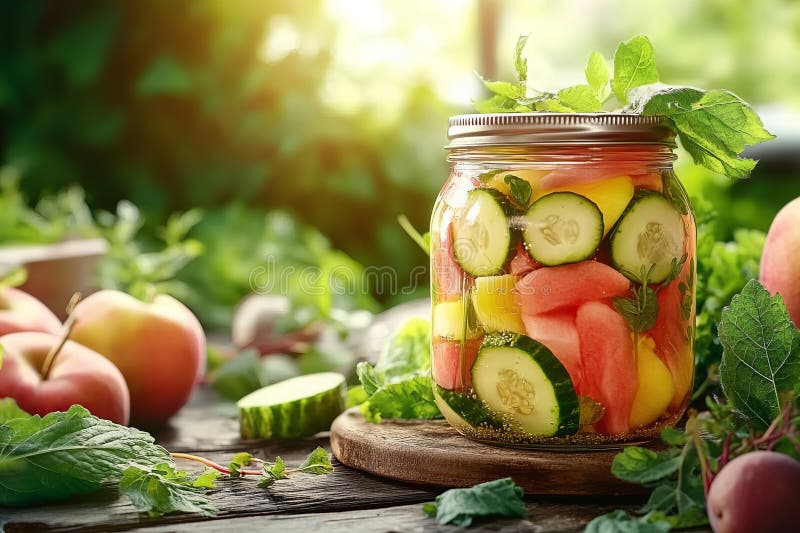
Autumn Abundance: Preserving Your Harvest for a Cozy Winter – A Step-by-Step Guide
The crisp morning air carries the scent of fallen leaves and woodsmoke, a sure sign that autumn is in full swing. While the garden's vibrant colors might be fading, the fruits (and vegetables!) of our labor are ripening on the vine, bursting with flavor and nutrients. But what to do with this abundance? Don't let your hard work go to waste! This post will empower you with the knowledge and skills to preserve your seasonal harvest, ensuring a cozy and delicious winter filled with homegrown goodness. We'll walk you through a step-by-step guide to canning, focusing on the versatile and beloved tomato, providing you with the confidence to tackle other fruits and vegetables too.
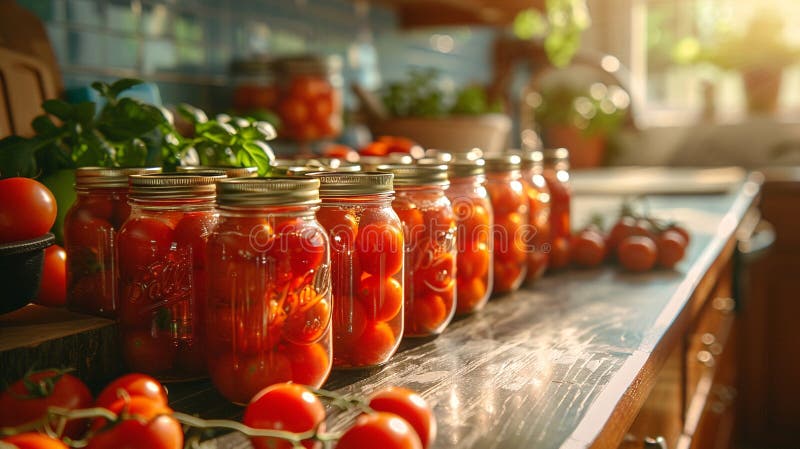
Embracing the Art of Home Canning: A Farmhouse Tradition
Home canning is more than just a way to preserve food; it's a connection to our heritage, a way to honor the seasons, and a path to sustainable living. Imagine opening a jar of ruby-red tomato sauce in the depths of winter, the aroma transporting you back to sun-drenched summer days. It's a simple pleasure that nourishes both body and soul. We'll focus on water bath canning in this guide, a method perfect for high-acid foods like tomatoes.
Why Choose Home Canning?
- Control Over Ingredients: Say goodbye to artificial preservatives and hidden sugars. You choose exactly what goes into your jars, ensuring a healthy and wholesome product.
- Reduced Food Waste: Preserve your surplus harvest and prevent those precious fruits and vegetables from ending up in the compost bin.
- Cost Savings: Stock your pantry with affordable, homegrown goodness and reduce your grocery bills.
- Unmatched Flavor: Home-canned tomatoes boast a flavor that far surpasses anything you can buy in a store.
Gathering Your Supplies: Setting the Stage for Success
Before you begin, gather all the necessary equipment. This ensures a smooth and efficient canning process.
Water Bath Canner: A large pot with a rack to hold the jars.
Canning Jars: Use jars specifically designed for canning (e.g., Mason jars, Ball jars). Inspect for any chips or cracks.
Lids and Bands: Use NEW lids each time you can. Bands can be reused if they are in good condition.
Jar Lifter: A tool for safely lifting hot jars.
Lid Wand: A magnetic wand to lift sterilized lids out of hot water.
Wide-Mouth Funnel: To easily fill jars without spilling.
Bubble Remover/Headspace Tool: To remove air bubbles and measure headspace. A clean chopstick works well in a pinch.
Large Pot for Cooking Tomatoes: Stainless steel or enamel-coated is best. Avoid reactive metals like aluminum.

Step-by-Step Guide: Canning Whole Tomatoes
Here's a simple and safe method for canning whole tomatoes in water.
Prepare the Tomatoes: Wash tomatoes thoroughly. Remove cores and any blemishes. You can peel them by blanching them in boiling water for 30-60 seconds, then plunging them into ice water. The skins should slip right off.

Sterilize Jars and Lids: Wash jars in hot, soapy water. Rinse well. Place jars upright on the rack in your water bath canner, fill with water, and bring to a boil. Boil for 10 minutes. Keep jars hot until ready to fill. Simmer lids in a separate saucepan of hot (not boiling) water.
Acidify Tomatoes: This is crucial for safety. Add 2 tablespoons of bottled lemon juice or ½ teaspoon of citric acid per quart jar. Always acidify your tomatoes, regardless of the variety.
Pack the Jars: Using a wide-mouth funnel, pack the peeled tomatoes tightly into the hot jars, leaving ½-inch of headspace.
Add Liquid: Pour hot water over the tomatoes, leaving ½-inch headspace.
Remove Air Bubbles: Use a bubble remover or chopstick to gently release any trapped air bubbles.
Wipe Rims and Apply Lids: Wipe the rims of the jars with a clean, damp cloth. Place a sterilized lid on each jar, and screw on the band fingertip-tight (not too tight, not too loose).

Process in Water Bath Canner: Carefully lower the filled jars into the boiling water bath canner using a jar lifter. The water should cover the jars by at least 1 inch. Bring the water back to a rolling boil, cover the canner, and process for the recommended time (see below).
Processing Time:
- Pints: 85 minutes
- Quarts: 85 minutes
*Adjust processing time for altitude. Consult the National Center for Home Food Preservation (NCHFP) guidelines for specific adjustments.
Cool and Check Seals: Turn off the heat and carefully remove the jars from the canner. Place them on a towel-lined surface, leaving space between them. Let them cool completely (12-24 hours). As the jars cool, you should hear a "pinging" sound, which indicates that the lids have sealed properly.
Check the seals. After the jars have completely cooled, check the seals by pressing down on the center of the lid. If the lid flexes up and down, it is not sealed and should be reprocessed with a new lid, refrigerated immediately and used within a few days, or frozen. Remove the bands and wash the jars. Label and date the jars and store them in a cool, dark, dry place.
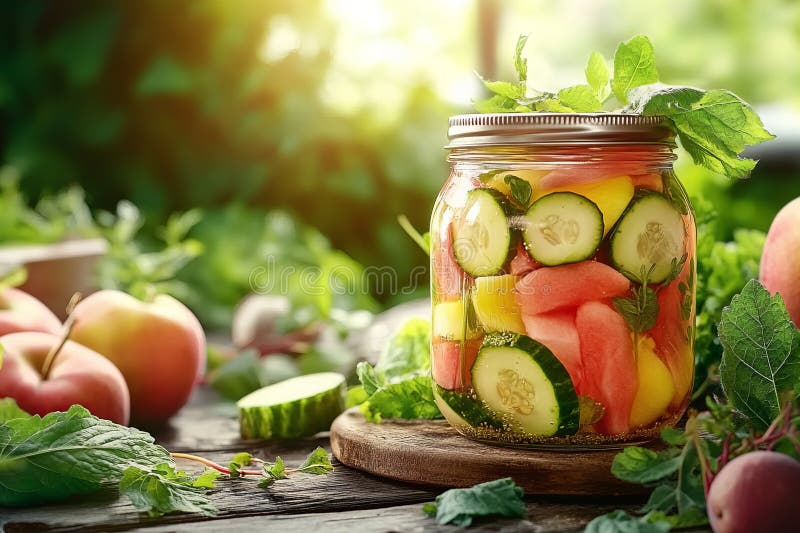
Beyond Whole Tomatoes: Exploring Other Preserving Methods
While canning is a fantastic option, there are other ways to preserve your autumn harvest:
- Freezing: Many fruits and vegetables freeze beautifully. Blanch vegetables before freezing to preserve their color and texture.
- Dehydrating: Perfect for herbs, fruits (like apple slices), and vegetables (like tomatoes for sun-dried tomatoes).
- Pickling: Turn cucumbers, peppers, and other vegetables into tangy and delicious pickles.
- Making Jams and Jellies: Transform your extra fruits into sweet spreads for toast and biscuits.
- Fermenting: Experiment with fermenting vegetables like sauerkraut or kimchi for a healthy and flavorful addition to your diet.
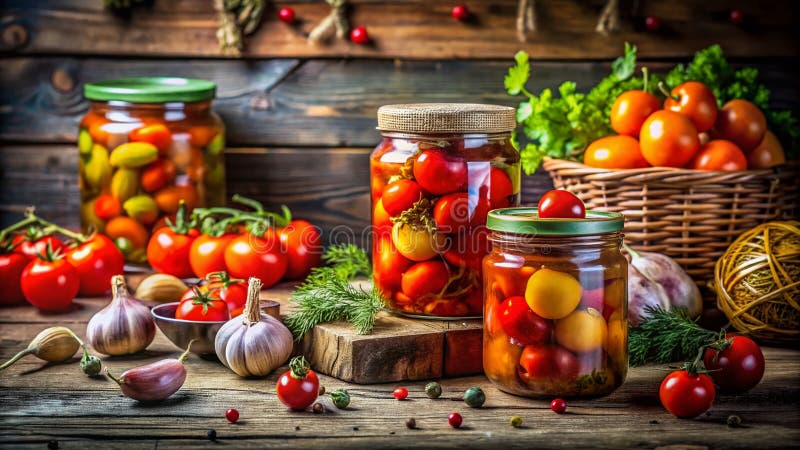
Safety First: Essential Canning Tips
- Always follow tested recipes: Use recipes from reputable sources like the NCHFP, Ball Canning, or your local Extension office.
- Acidify low-acid foods: Follow instructions for acidifying tomatoes and other low-acid foods to prevent botulism.
- Process for the correct time: Processing times vary depending on the food and jar size.
- Check seals: Ensure that all jars have sealed properly before storing.
- Store properly: Store canned goods in a cool, dark, and dry place.
- When in doubt, throw it out: If you have any doubts about the safety of a jar of canned food, discard it.
Creating a Cozy Winter Kitchen with Your Preserved Harvest
Imagine the joy of cooking a hearty winter stew with your home-canned tomatoes, or spreading homemade jam on a warm slice of bread on a snowy morning. Preserving your harvest not only provides you with delicious food but also adds a touch of farmhouse charm and cozy living to your home.

A Harvest of Wisdom
Preserving your autumn harvest is an act of love – a love for good food, for sustainable living, and for the traditions that connect us to the past. It's a rewarding experience that brings a sense of accomplishment and provides you with delicious, healthy food throughout the winter months. So, gather your supplies, grab your tomatoes, and embark on this fulfilling journey!
Now it's your turn! What are your favorite tips for preserving your garden harvest? Share your experiences and questions in the comments below. Let's inspire each other to create a winter pantry filled with the abundance of autumn!
Related Long-Tail Keywords:
- Easy canning recipes for beginners
- How to safely can tomatoes at home
- Long-term food storage tips for homesteaders