Autumn Abundance: From Garden to Table – 3 Simple Ways to Preserve Your Fall Harvest and Savor the Season
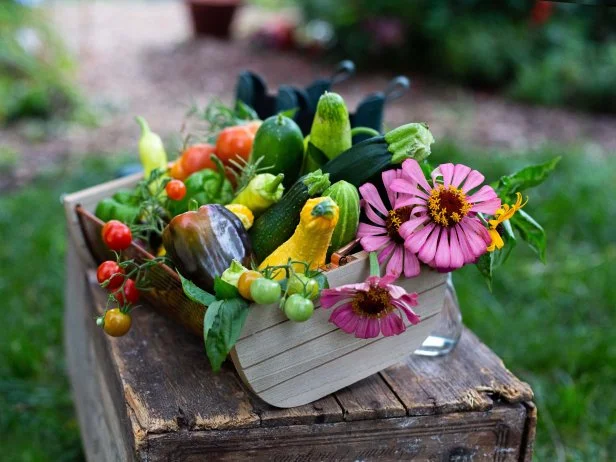
The air is crisp, carrying the scent of woodsmoke and damp earth. Leaves, ablaze in fiery hues of red, orange, and gold, dance from their branches, carpeting the ground in a vibrant mosaic. It’s autumn, and for those of us who cherish the organic gardening life, it’s harvest time! I remember as a child, my grandmother's farmhouse life was filled with the wonderful aroma of simmering applesauce. She'd let me help stir, feeling like a tiny wizard conjuring up a taste of sunshine for the long winter ahead. The memory always brings a smile to my face and the comforting thought that the seasonal harvest will see us through.
This year, let's celebrate the fall harvest together! It's a time to savor the bounty of our backyard projects, and, more importantly, to extend that joy through the colder months. By the end of this post, you'll have three easy, accessible methods for preserving food from your fall harvest, ensuring your homegrown goodness lasts well into winter. Say goodbye to supermarket vegetables lacking in taste and nutrients, and hello to the fruits (and vegetables!) of your labor, enjoyed throughout the cozy living season.
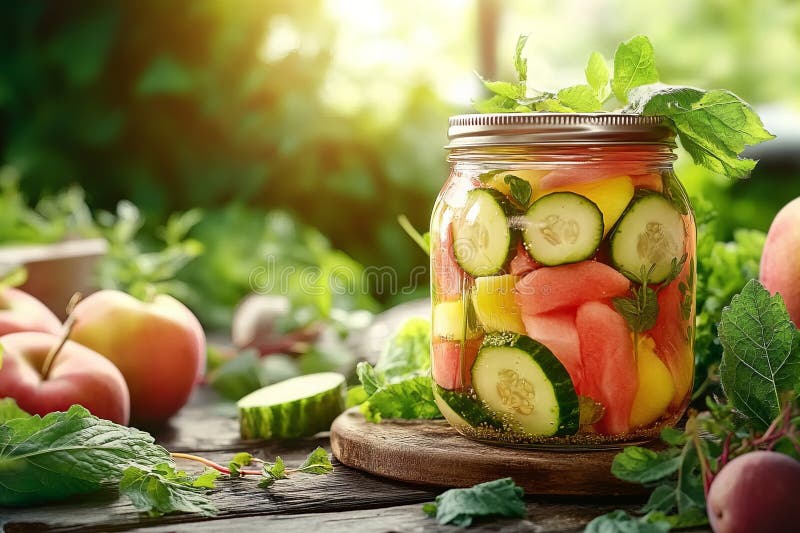
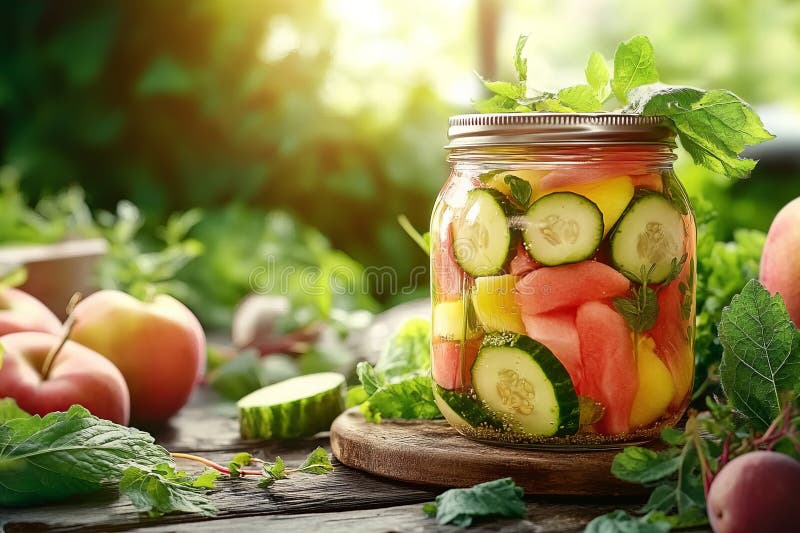
Pickling Perfection: Transforming Cucumbers and More
Pickling might sound intimidating, but quick pickling is surprisingly simple and speedy. It’s a fantastic way to preserve the crunch and freshness of cucumbers, beets, onions, and even green beans from your fall harvest. The best part? You don’t need any fancy equipment, just a pot, some jars, and a few key ingredients. Forget having the traditional root cellar--your kitchen is your new source of fresh, crisp flavor.
Here's a simple recipe for Quick Pickled Cucumbers, perfect for sandwiches, salads, or just a zesty snack:
Quick Pickled Cucumbers
Ingredients:
- 1 pound cucumbers, sliced into ¼-inch thick rounds
- 1 cup white vinegar
- 1 cup water
- 2 tablespoons sugar
- 1 tablespoon salt
- 1 teaspoon mustard seeds
- ½ teaspoon dill seeds
- 2 cloves garlic, minced (optional)
- A few sprigs of fresh dill (optional)
Instructions:
- Prepare the cucumbers: Wash and slice your cucumbers. You can leave the peel on or remove it, depending on your preference.
- Make the brine: In a saucepan, combine the vinegar, water, sugar, salt, mustard seeds, dill seeds, and garlic (if using). Bring to a boil, stirring until the sugar and salt dissolve.
- Pack the jars: Pack the cucumber slices into clean jars, leaving about ½ inch of headspace. Add a sprig or two of fresh dill to each jar (if using).
- Pour the brine: Carefully pour the hot brine over the cucumbers, ensuring they are fully submerged.
- Cool and refrigerate: Let the jars cool to room temperature, then seal them and refrigerate for at least 24 hours before eating. The pickles will taste even better after a few days!
These pickled cucumbers will last for several weeks in the refrigerator. Enjoy them on sandwiches, in salads, as a tangy addition to cheese boards, or straight from the jar as a refreshing snack.
Freezing Frenzy: Locking in Flavor for Winter Meals
Freezing is another incredibly easy way to preserve your fall harvest and ensure you have a stash of homegrown vegetables to enjoy all winter long. While not all vegetables freeze well (leafy greens can become mushy), many, like beans, peas, corn, and even some root vegetables, retain their flavor and texture beautifully when properly frozen. It's a simple trick for using sustainable food storage methods.
The key to successful freezing is blanching. Blanching involves briefly cooking the vegetables in boiling water, then immediately plunging them into ice water. This process stops the enzymatic action that causes vegetables to lose their flavor, color, and texture during freezing.
Here’s how to blanch and freeze your garden vegetables:
Instructions:
- Prepare your vegetables: Wash and trim your vegetables. Cut them into bite-sized pieces.
- Blanch the vegetables: Bring a pot of water to a rolling boil. Add the vegetables to the boiling water and blanch for the recommended time (see below).
- Cool the vegetables: Immediately transfer the blanched vegetables to a bowl of ice water to stop the cooking process.
- Dry the vegetables: Drain the vegetables well and pat them dry with a clean towel.
- Package the vegetables: Pack the vegetables into freezer bags or containers, removing as much air as possible. Label with the date and contents.
- Freeze: Freeze the bags or containers flat for easy storage.
Blanching Times:
- Green beans: 3 minutes
- Peas: 2 minutes
- Corn on the cob: 7-11 minutes (depending on size)
- Cut corn: 4 minutes
- Broccoli florets: 3 minutes
Essential Supplies:
- Large pot
- Slotted spoon
- Large bowl
- Ice
- Clean towels
- Freezer bags or containers
- Permanent marker
Tips for Preventing Freezer Burn:
- Remove as much air as possible from the freezer bags or containers. Consider using a vacuum sealer for optimal results.
- Freeze vegetables in small portions so you only thaw what you need.
- Use freezer-safe containers or bags specifically designed for freezing.
- Store your frozen vegetables at a consistent temperature of 0°F (-18°C) or lower.
I love using my frozen green beans in hearty winter stews and soups. They add a burst of fresh flavor and a reminder of the organic gardening success of the past season.
Sauce Savvy: Turning Tomatoes into Comfort Food
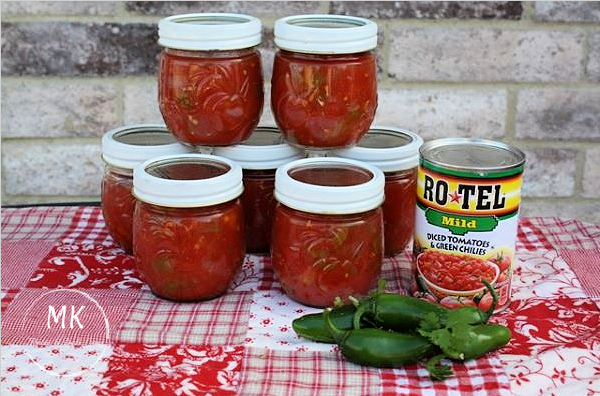
Ah, tomato sauce! A staple in countless kitchens, and even more satisfying when made with your own homegrown tomatoes. This is a backyard project that continues to deliver through the winter months! Whether you're using fresh-off-the-vine beauties or roasting them for extra depth of flavor, homemade tomato sauce is a labor of love that truly pays off. It's the essence of cozy living in a jar.
Here's a simple recipe for a classic homemade tomato sauce:
Homemade Tomato Sauce
Ingredients:
- 4 pounds fresh tomatoes, cored and chopped (or 2 (28 ounce) cans of crushed tomatoes)
- 2 tablespoons olive oil
- 1 onion, chopped
- 2 cloves garlic, minced
- 1 teaspoon dried oregano
- ½ teaspoon dried basil
- Salt and pepper to taste
- 1 tablespoon sugar (optional, to balance acidity)
- Fresh basil leaves, for garnish (optional)
Instructions:
- Prepare the tomatoes: If using fresh tomatoes, core and chop them. For a smoother sauce, you can peel and seed them first. Roasting the tomatoes before blending will deepen the flavor. Simply toss with olive oil, salt, and pepper, and roast at 400°F (200°C) for 30-40 minutes.
- Sauté the aromatics: Heat the olive oil in a large pot or Dutch oven over medium heat. Add the onion and cook until softened, about 5 minutes. Add the garlic and cook for another minute until fragrant.
- Simmer the sauce: Add the tomatoes, oregano, basil, salt, pepper, and sugar (if using) to the pot. Bring to a simmer, then reduce heat to low, cover, and cook for at least 1 hour, or up to 3 hours, stirring occasionally. The longer it simmers, the richer the flavor will become.
- Blend (optional): For a smoother sauce, use an immersion blender to blend the sauce until smooth. Alternatively, you can carefully transfer the sauce to a regular blender and blend in batches.
- Adjust seasoning: Taste the sauce and adjust the seasoning as needed. Add more salt, pepper, oregano, or basil to taste.
- Store or use: Use the sauce immediately, or store it in the refrigerator for up to 5 days. For longer storage, freeze the sauce in freezer-safe containers or jars.
Variations and Add-ins:
- Add a pinch of red pepper flakes for a touch of heat.
- Stir in a tablespoon of tomato paste for a richer, more concentrated flavor.
- Add other vegetables, such as carrots, celery, or bell peppers, to the pot along with the onion and garlic.
- Use different herbs, such as thyme, rosemary, or marjoram, for a unique flavor profile.
My favorite way to use this sauce is in a simple pasta dish, topped with fresh basil and a sprinkle of Parmesan cheese. It's the perfect seasonal eating recipes kind of meal on a chilly autumn evening. This sauce is also great for freezing and even canning if you want to ensure it will last for a longer period of time.
Embracing the Harvest, One Jar at a Time
Preserving your fall harvest doesn’t have to be a daunting task. With these three simple methods – quick pickling, freezing, and tomato sauce making – you can easily extend the enjoyment of your homegrown produce and savor the flavors of autumn throughout the colder months. It's a rewarding way to embrace self-sufficiency and deepen your connection to nature.
So, gather your bounty, put on some music, and get preserving! There’s a special satisfaction in knowing that you’re nourishing yourself and your loved ones with food you’ve grown yourself. This is truly the essence of sustainable home living.
What are your favorite fall preserving projects? Share your tips and photos in the comments below! Plus, tag us on Instagram @BetterHomesandHarvests with your creations using #BHHFallHarvest for a chance to be featured! @BetterHomesandHarvests