Autumn Abundance: 5 Simple Ways to Preserve Your Garden Harvest for Cozy Winter Meals
As the days shorten and a golden light filters through the crimson and gold leaves, the seasonal harvest from our gardens presents a beautiful sight. The crisp autumn air carries the scent of ripening apples and the earthy aroma of turned soil. But beyond the beauty, there's a practical satisfaction in knowing we can capture this abundance and transform it into nourishing meals throughout the cold winter months. This year, let’s not just admire our homegrown bounty; let's learn simple and effective ways to preserve it, ensuring that the flavors of summer and autumn grace our tables long after the last leaf has fallen. Embrace sustainable home practices and join us as we explore five easy ways to preserve your organic gardening efforts for the cozy living season ahead!

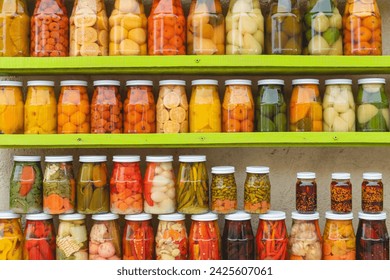
Rows of colorful jars filled with fruits and vegetables, representing the bounty of a preserved harvest.
1. Freezing: A Quick and Easy Win
Freezing is arguably the simplest method for preserving your garden harvest. It’s quick, requires minimal equipment, and retains much of the produce's original flavor and nutrients. From berries to beans, many vegetables and fruits freeze beautifully. This method is perfect for the busy farmhouse life enthusiast!
Tools & Supplies:
- Freezer-safe bags or containers
- Blanching pot and ice bath (for vegetables)
- Cookie sheets (for freezing berries and small items individually)
Instructions:
- Vegetables:
- Wash and trim your vegetables.
- Blanch them in boiling water for a short period (typically 1-3 minutes, depending on the vegetable) to stop enzyme action that can degrade quality during freezing.
- Immediately plunge the blanched vegetables into an ice bath to stop the cooking process.
- Drain the vegetables thoroughly and pack them into freezer-safe bags or containers, removing as much air as possible.
- Label and date the containers before freezing.
- Fruits:
- Wash your fruit. You can freeze fruit whole, sliced, or mashed.
- Spread berries on a cookie sheet and freeze until solid before transferring to freezer bags to prevent clumping.
- Pack the fruit into freezer-safe bags or containers, removing as much air as possible.
- Label and date the containers before freezing.
Actionable Tip: When freezing herbs, chop them finely and mix them with olive oil or water before freezing in ice cube trays for easy portioning. This makes them easy to add to soups, stews, and sauces all winter long. Last year, I froze a huge batch of pesto using this method, and it brought a taste of summer to our pasta dishes even in January.
2. Canning: Shelf-Stable Goodness
Canning is a classic preservation method that creates shelf-stable products, perfect for stocking your pantry for the winter. It involves heating food in sealed jars to destroy microorganisms that cause spoilage. While canning requires more equipment and attention to detail than freezing, the reward is a pantry full of delicious, ready-to-eat meals and ingredients.
Tools & Supplies:
- Water bath canner or pressure canner (depending on the food being preserved)
- Canning jars, lids, and bands
- Jar lifter
- Wide-mouth funnel
- Ladle
Instructions:
- Prepare your canning jars by sterilizing them in boiling water for 10 minutes.
- Prepare your recipe (jams, jellies, pickles, sauces, etc.) according to tested recipes. Always use recipes from reputable sources like the USDA or Ball Canning to ensure food safety.
- Ladle the hot food into the sterilized jars, leaving the recommended headspace (usually 1/4 to 1 inch).
- Remove air bubbles by gently tapping the jar or using a bubble remover tool.
- Wipe the jar rims clean and place the lids on top, then screw on the bands fingertip-tight.
- Process the jars in a water bath canner or pressure canner according to the recipe's instructions.
- After processing, remove the jars from the canner and let them cool completely. You should hear a "pop" as the lids seal.
- Check the seals by pressing on the center of the lid. If it doesn't flex, the jar is sealed properly.

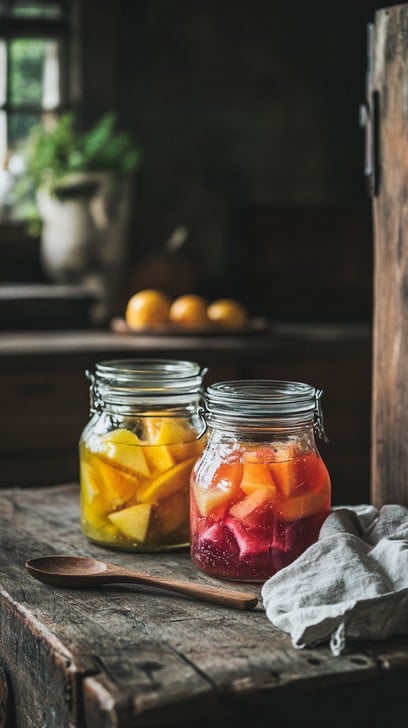
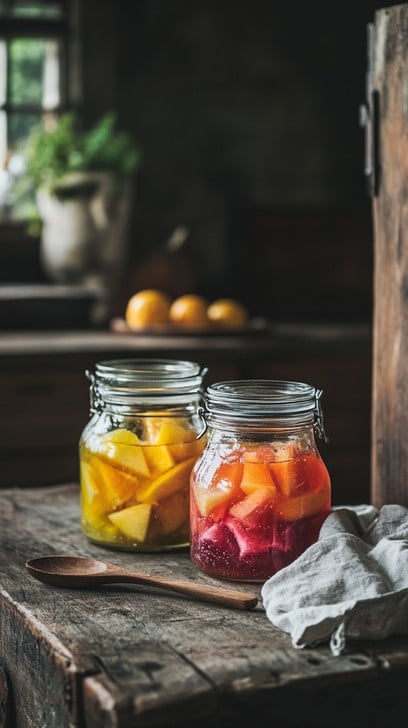
Jars filled with compotes and jams, representing homemade canned goods.
Actionable Tip: Always use tested canning recipes. Improperly canned food can be dangerous. Pay close attention to processing times and headspace requirements to ensure a safe and shelf-stable product. I still remember my grandmother showing me the ropes of jam making when I was a child, emphasizing the importance of sterilization and proper sealing - lessons I carry with me to this day.
3. Dehydrating: Concentrated Flavor and Space Saving
Dehydrating removes moisture from food, inhibiting microbial growth and preserving it for long-term storage. Dehydrated foods are lightweight, compact, and perfect for snacking, hiking, or adding to soups and stews. This is a great backyard projects for the sustainable home!
Tools & Supplies:
- Food dehydrator or oven (with a low temperature setting)
- Sharp knife or mandoline
- Dehydrator trays or baking sheets
- Airtight containers for storage
Instructions:
- Wash and slice your fruits, vegetables, or herbs into thin, even pieces.
- Pre-treat some fruits (like apples and peaches) with lemon juice to prevent browning.
- Arrange the slices on dehydrator trays or baking sheets, ensuring they are not overlapping.
- Dehydrate at the recommended temperature for the specific food, following the dehydrator's instructions.
- The food is done when it is leathery or brittle and no longer feels moist.
- Let the dehydrated food cool completely before storing it in airtight containers.
Actionable Tip: Dehydrated herbs can be easily crumbled and stored in spice jars. They retain their flavor and aroma, making them a wonderful addition to winter cooking. Last year, I dehydrated rosemary and thyme from my garden, and they added a burst of freshness to my winter roasts.
4. Fermenting: Flavorful and Gut-Friendly
Fermenting is a preservation method that uses beneficial bacteria to transform food, creating unique flavors and textures while also boosting its nutritional value. Fermented foods like sauerkraut, kimchi, and pickles are not only delicious but also great for gut health. This is a perfect method for cozy living!
Tools & Supplies:
- Fermentation crock or glass jars
- Fermentation weights
- Salt (non-iodized)
- Vegetables (cabbage, cucumbers, etc.)
Instructions:
- Wash and chop your vegetables.
- Combine the vegetables with salt in a bowl and massage them until they release their juices.
- Pack the vegetables tightly into a fermentation crock or jar, ensuring they are submerged in their own brine.
- Place fermentation weights on top to keep the vegetables submerged.
- Cover the crock or jar and let it ferment at room temperature for several days or weeks, depending on the recipe.
- Taste the fermented food periodically and transfer it to the refrigerator when it reaches the desired level of sourness.

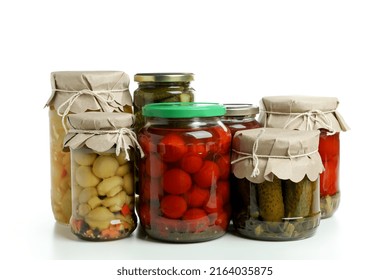
Displaying jars of various pickled vegetables using a fermentation process.
Actionable Tip: Use non-iodized salt for fermentation, as iodine can inhibit the growth of beneficial bacteria. Last year, I tried fermenting cabbage for the first time and was amazed by the tangy sauerkraut I created. It became a staple in our winter stews and a welcome reminder of summer's bounty.
5. Root Cellaring: Nature's Cold Storage
Root cellaring is a traditional method of storing root vegetables and other produce in a cool, dark, and humid environment. A root cellar can be as simple as a corner of your basement or as elaborate as a separate underground structure. It’s an excellent way to preserve vegetables like potatoes, carrots, beets, and onions without the need for electricity.
Tools & Supplies:
- Cool, dark, and humid space (basement, garage, or outdoor pit)
- Wooden crates or boxes
- Sand or sawdust (for packing vegetables)
- Thermometer and hygrometer (to monitor temperature and humidity)
Instructions:
- Harvest your root vegetables carefully, avoiding bruising.
- Brush off excess soil but do not wash them.
- Pack the vegetables in wooden crates or boxes, layering them with sand or sawdust to prevent them from touching each other.
- Store the crates in a cool, dark, and humid place. The ideal temperature is between 32°F and 40°F, and the humidity should be around 80-90%.
- Monitor the temperature and humidity regularly and adjust as needed.
Actionable Tip: Store different vegetables at different heights in your root cellar, as temperature and humidity can vary. For example, potatoes prefer a slightly cooler and more humid environment than onions. Picture rows of gleaming jars filled with vibrant tomato sauce, ruby-red beets bobbing in their brine, and golden squash waiting patiently in a cool, dark cellar.
Preserving your seasonal harvest is more than just a practical skill; it's a connection to the seasons, a celebration of nature's abundance, and a source of nourishment for both body and soul. It brings the satisfaction of self-sufficiency right to your table! What are your favorite autumn harvest preservation projects? Share your tips and tricks in the comments below!
And for more organic gardening tips, delicious garden harvest recipes, and inspiration for a sustainable home, subscribe to the "Better Homes and Harvests" newsletter today! Don't forget to share photos of your preserved harvest on Instagram using the hashtag #BetterHomesHarvest. We can't wait to see what you create!