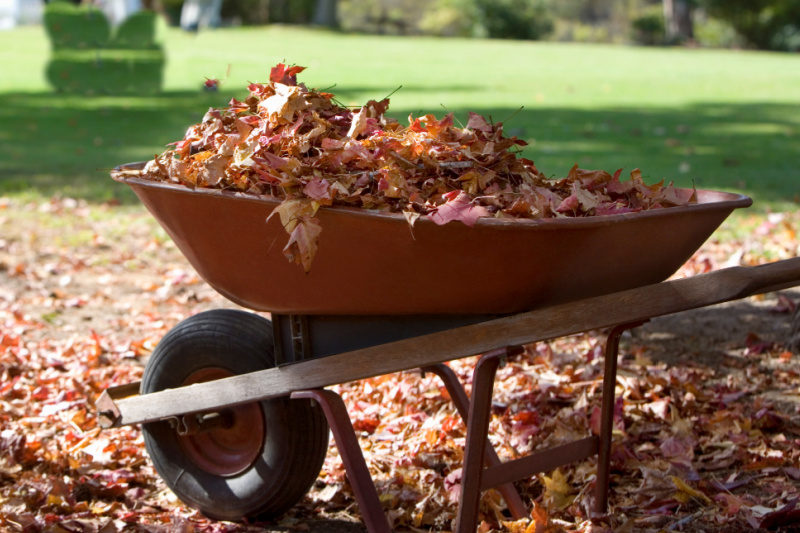
Autumn Abundance: 5 Simple Steps to Prepare Your Garden for a Bountiful Spring
The air is crisp, carrying the scent of fallen leaves and the distant smoke of wood-burning stoves. Sunlight, now slanting at a lower angle, casts long shadows across the landscape, painting the trees in fiery hues of red, orange, and gold. The vibrant energy of summer is fading, replaced by a quiet beauty that invites reflection. It's a bittersweet time for gardeners. We savor the last of our seasonal harvest, but the thought of winter's chill creeping in can feel a little…melancholy.
But don't despair! Autumn isn't the end; it's a pause, a moment of preparation for the incredible show that spring will bring. Even as your garden slumbers, you can lay the groundwork for a spectacular spring. Here's how, with 5 simple steps to ensure your garden bursts back to life when the weather warms.
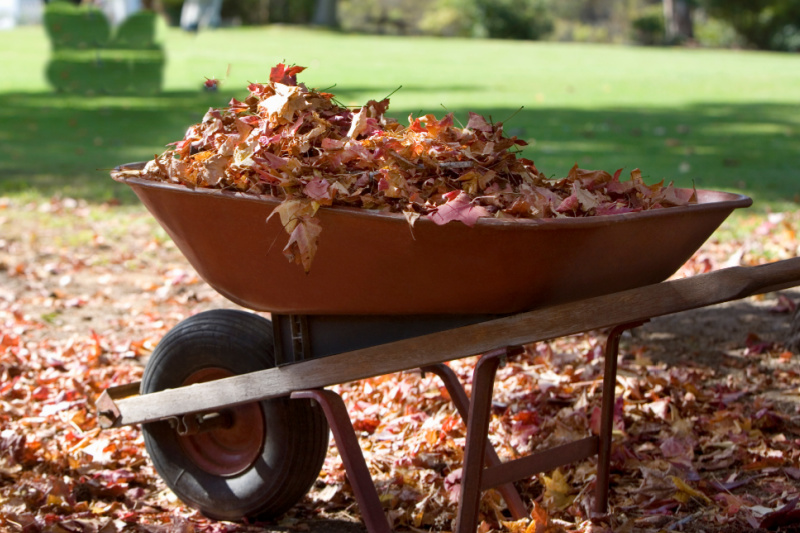
Step 1: The Great Garden Clean-Up: Saying Goodbye to Summer's Bounty
The first step to a healthy spring garden is a thorough fall cleanup. This isn’t just about aesthetics; it's about preventing disease and pests from overwintering in your garden beds.
Remove dead and diseased plants: Don't let pests and diseases linger. Pull out any annuals that have finished producing, and carefully remove any plants showing signs of disease. Dispose of diseased plant material in the trash, not your compost pile, to prevent spreading issues next year.
Clear debris: Rake up fallen leaves, twigs, and other debris from your garden beds. While healthy leaves can be composted (more on that later!), those showing signs of disease should also be discarded.
Weed thoroughly: Fall is a great time to tackle weeds before they set seed and become a bigger problem in the spring. Remove weeds by the roots to prevent them from regrowing.
Cut back perennials: Many perennials benefit from being cut back in the fall. Remove dead or dying foliage to tidy up the garden and encourage healthy growth in the spring. However, leave seed heads on plants like coneflowers and sunflowers for the birds to enjoy during the winter.
Clean and Store: Clean and sanitize your gardening tools before storing them away for the winter. This will prevent the spread of disease and keep your tools in good condition. I like to give mine a good scrub with soapy water and then wipe them down with rubbing alcohol.
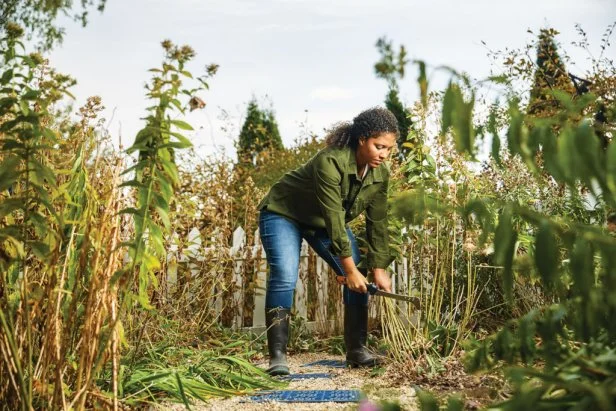
Step 2: Nourish Your Soil: Composting and Cover Cropping for a Healthy Foundation
Healthy soil is the foundation of a thriving garden. Fall is the perfect time to replenish your soil with organic matter and nutrients.
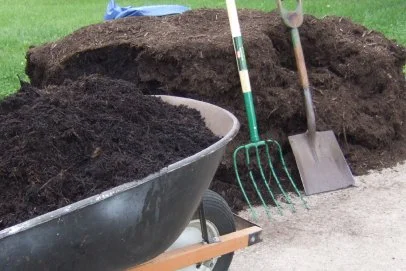
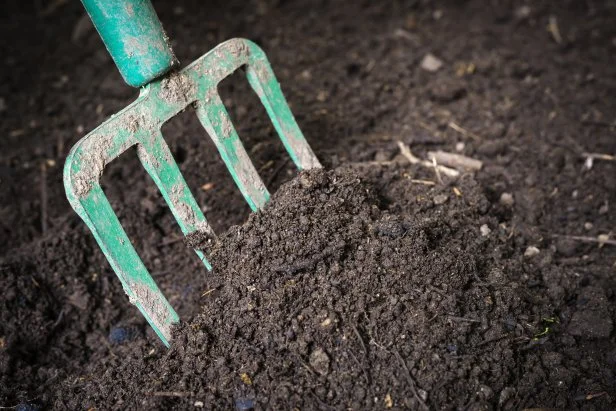
Composting: Autumn provides a wealth of composting material – fallen leaves, spent plants, and grass clippings. Build a compost pile or bin and layer these materials with "green" materials like kitchen scraps and coffee grounds. Turn the compost regularly to speed up decomposition. If you don't have a compost bin, you can simply spread a layer of compost over your garden beds.
Simple Compost Recipe:
- 3 parts "brown" materials (dried leaves, straw, shredded paper)
- 1 part "green" materials (grass clippings, kitchen scraps, coffee grounds)
- Water to keep the pile moist like a wrung-out sponge
Turn the pile every 1-2 weeks. In spring, you'll have nutrient-rich compost to amend your soil!
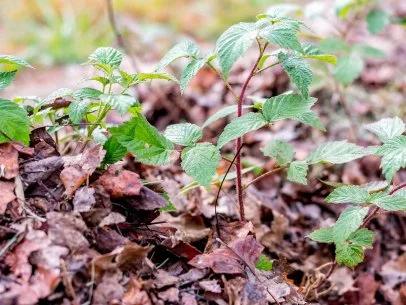
Cover Cropping: Planting cover crops is an excellent way to improve soil health, prevent erosion, and suppress weeds over the winter. Cover crops like winter rye, crimson clover, and hairy vetch add organic matter to the soil, fix nitrogen, and improve soil structure. Choose a cover crop suited to your climate and soil type, and sow the seeds in the fall. In the spring, you can till the cover crop into the soil or cut it down and use it as mulch.
Cover Crop Options:
- Winter Rye: A hardy option that prevents erosion and adds organic matter.
- Crimson Clover: Fixes nitrogen in the soil and attracts beneficial insects.
- Hairy Vetch: Another nitrogen-fixing legume that improves soil structure.
- Oats: Great for weed suppression and easy to till in the spring.
Step 3: Protecting Your Perennials: Winterizing Strategies for Lasting Blooms
Perennials are the backbone of many gardens, providing years of beauty and enjoyment. Protect them from the harsh winter weather to ensure they return strong in the spring.
Mulch generously: Apply a thick layer of mulch around the base of your perennials to insulate the soil, protect the roots from freezing and thawing, and suppress weeds. Use organic mulches like straw, shredded leaves, or wood chips.
Wrap sensitive plants: Tender perennials like roses and figs may need extra protection in colder climates. Wrap the plants with burlap or horticultural fleece to protect them from frost and wind.
Last year, I almost lost my favorite rose bush until I learned this simple trick: I wrapped it in burlap and filled the inside with straw. It made all the difference!
Move potted plants: If you have potted perennials that are not hardy in your area, move them to a sheltered location like a garage or shed. Water them occasionally to keep the soil from drying out completely.
Consider cold frames: A cold frame is a simple structure that provides extra protection for plants during the winter. You can build your own cold frame or purchase one from a garden supply store.

Step 4: Planning Your Spring Garden: Dreaming of Next Year's Harvest
While your garden sleeps, you can start dreaming of next year's harvest. Planning your spring garden in the fall allows you to get a head start on the growing season and make the most of your garden space.
Review your notes: Take some time to review your gardening notes from the past season. What worked well? What didn't? What would you like to try differently next year?
Sketch out your garden plan: Draw a map of your garden and plan where you will plant different vegetables, flowers, and herbs. Consider factors like sunlight, soil type, and companion planting.
Order seeds and supplies: Order your seeds and gardening supplies in the fall to ensure you have everything you need when spring arrives. Seed catalogs are a wonderful source of inspiration!
Start seeds indoors (optional): Some vegetables, like tomatoes and peppers, benefit from being started indoors several weeks before the last frost. Start your seeds indoors in late winter or early spring to get a head start on the growing season.
Free Online Garden Planner:
Step 5: Seed Saving and Storage: Preserving the Legacy of Your Garden
Seed saving is a rewarding way to preserve the legacy of your garden and ensure you have seeds for next year's planting. It also allows you to adapt your plants to your specific growing conditions over time.
Choose open-pollinated varieties: Select open-pollinated or heirloom varieties for seed saving, as these will produce plants that are true to type. Hybrid varieties will not produce true-to-type seeds.
Harvest seeds carefully: Allow the seeds to mature fully on the plant before harvesting them. Collect the seeds on a dry day and remove any debris.
Dry the seeds thoroughly: Spread the seeds out on a screen or paper towel and allow them to dry completely. This may take several days or weeks, depending on the type of seed.
Store seeds properly: Store the dried seeds in an airtight container in a cool, dark, and dry place. Label the container with the name of the plant and the date of harvest. I use small glass jars and keep them in a box in my basement.
Seed Viability Test:
Cultivating Anticipation
Preparing your garden for winter is an act of faith and anticipation. It's a proactive step that ensures a bountiful spring and sets the stage for another year of homegrown goodness and seasonal harvest. By taking these simple steps, you're not just tidying up your garden; you're investing in its future and in your own connection to the earth. Embrace the quiet beauty of autumn, and let the planning begin!
Share your winter gardening tips in the comments below! What are you most excited to plant next spring? Let's cultivate a community of thriving gardens together!