A Love Letter to the Earth: Building a Hugelkultur Raised Bed for Abundant Harvests
Dear Earth, Dear Family,
As the seasons gently turn, I find myself filled with an overwhelming sense of gratitude. Gratitude for the sun that warms our faces, the rain that nourishes our gardens, and the soil that sustains us all. Here at Better Homes and Harvests, we often talk about creating beautiful and functional homes, but today, I want to share a project that transcends the walls of our houses and speaks directly to the heart of our connection to the land. This is a love letter written in soil, seeds, and sweat, a testament to the power of sustainable homesteading DIY.
Today, I want to share a unique and deeply rewarding project that has revolutionized our earth-friendly homesteading: building a Hugelkultur raised bed specifically designed for an edible landscape. Forget traditional rows; we're going to create a self-sustaining ecosystem bursting with life and flavor.
What is Hugelkultur, and Why Should You Care?
Hugelkultur, German for "mound culture," is an ancient gardening technique that involves building raised beds filled with decaying wood and other organic matter. As the wood decomposes, it acts like a sponge, retaining moisture and slowly releasing nutrients into the soil. This creates a rich, fertile environment perfect for growing a wide variety of plants. This contributes to resilient homesteading, reducing the need for constant watering and fertilization.
Why a Hugelkultur raised bed? While traditionally built directly on the ground, raising it offers several advantages: better drainage (essential in wetter climates), easier access for planting and harvesting, and a more contained space for managing the growing environment.
The Project: Building Our Hugelkultur Edible Landscape
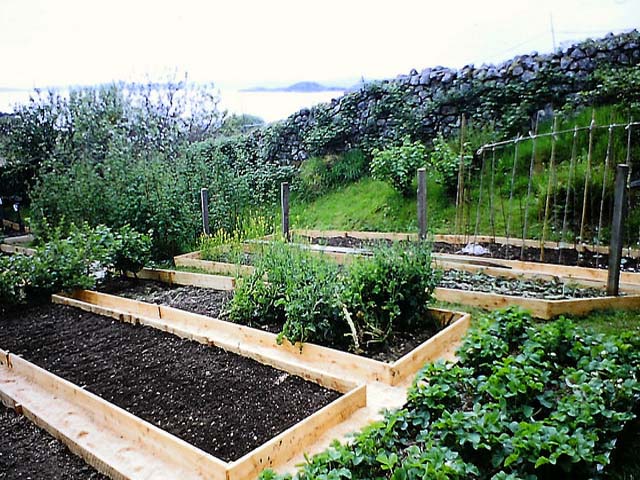
This project assumes you have intermediate DIY skills and a basic understanding of gardening. We're aiming for a bed approximately 4 feet wide, 8 feet long, and 3 feet high, but feel free to adjust the dimensions to fit your space and needs. Here’s a step-by-step guide based on my own experience, complete with the joys and frustrations along the way:
Step 1: Gathering Your Materials (Approximate Cost: $150 - $300)
The cost varies widely depending on the materials you have readily available. Scour your property, ask neighbors, and check with local tree services for free wood!
- Wood: This is the heart of your Hugelkultur bed. We used a mix of fallen logs, branches, and woody debris. Avoid cedar, black walnut, and eucalyptus, as they contain compounds that can inhibit plant growth. Older, partially decomposed wood is ideal. (Free - $50)
- Untreated Lumber or Reclaimed Materials: For the raised bed frame. We used reclaimed barn wood for a rustic look. ( $50 - $150, depending on the material)
- Topsoil, Compost, and Mulch: To create a fertile growing medium on top of the wood. We used a mixture of topsoil, homemade compost, and straw mulch. ($50 - $100)
- Hardware: Screws, nails, or other fasteners for building the frame. ($10 - $20)
- Landscaping Fabric (Optional): To line the inside of the frame and prevent soil from washing out. ($20 - $30)
- Tools: Shovel, wheelbarrow, saw, drill, level, measuring tape, gloves, and safety glasses.
Step 2: Building the Frame (Allow 1 Day)
- Cut the lumber: Cut the lumber to the desired lengths for the sides and ends of your raised bed. We cut ours to create a simple rectangular frame.
- Assemble the frame: Using screws or nails, assemble the frame. Ensure it is square and level. A level is crucial here! I remember thinking I could eyeball it, only to find my bed noticeably sloped. Lesson learned!
- Line the frame (Optional): Line the inside of the frame with landscaping fabric, securing it with staples or tacks. This will help retain moisture and prevent soil erosion.
Step 3: Filling the Bed (Allow 1-2 Days)
This is where the magic happens!
- Layer the wood: Start by filling the bottom of the frame with the largest logs and branches. Pack them tightly together, leaving as little air space as possible.
- Add smaller branches and woody debris: Fill the gaps between the larger pieces with smaller branches, twigs, and other woody materials.
- Add "Greens" (Nitrogen-Rich Materials): Incorporate layers of green materials like grass clippings, vegetable scraps, and manure. This will kickstart the decomposition process.
- Top with Soil and Compost: The final layer should consist of a mixture of topsoil and compost, creating a rich growing medium for your plants. We used about 12 inches of this mixture.
- Mulch: Add a layer of mulch to help retain moisture, suppress weeds, and regulate soil temperature.
Step 4: Planting Your Edible Landscape (Allow 1 Day)
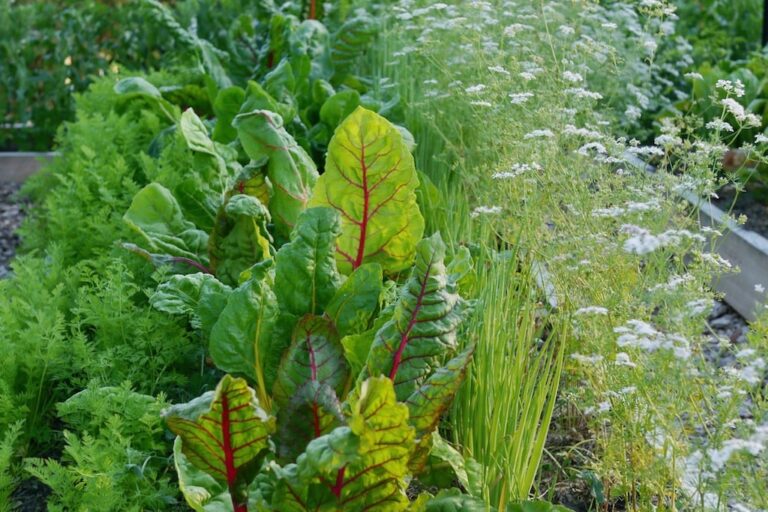
Now for the fun part! Choose plants that thrive in your climate and complement each other. Consider companion planting, where different plants benefit each other.
We planted a variety of vegetables, herbs, and flowers, including:
- Tomatoes: Supported by sturdy cages.
- Basil: Planted near the tomatoes to repel pests and improve flavor.
- Lettuce and Spinach: Grown in the cooler, shadier areas of the bed.
- Marigolds: Planted around the perimeter to deter pests and attract pollinators.
- Strawberries: Trailing over the edges of the bed.
Step 5: Maintaining Your Hugelkultur Bed (Ongoing)
Hugelkultur beds are relatively low-maintenance, but here are a few tips to keep them thriving:
- Water Regularly: Especially during the first year, until the wood becomes fully saturated.
- Add Compost: Replenish the soil with compost each year to maintain fertility.
- Mulch: Replenish the mulch layer as needed.
- Weed Regularly: Remove any weeds that pop up.
- Observe and Adjust: Pay attention to how your plants are growing and adjust your watering, fertilizing, and pest control strategies accordingly.
The Real-World Benefits We've Experienced
This Hugelkultur raised bed has been a game-changer for our self-sufficient living project. We've seen:
- Reduced Watering: The decomposing wood acts like a sponge, retaining moisture and reducing our need to water.
- Increased Fertility: The decaying wood releases nutrients into the soil, creating a rich and fertile environment for our plants.
- Improved Soil Structure: The wood helps to improve soil structure, making it easier for plant roots to penetrate.
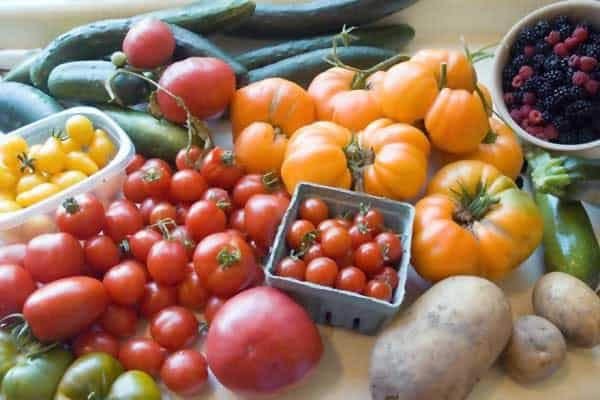
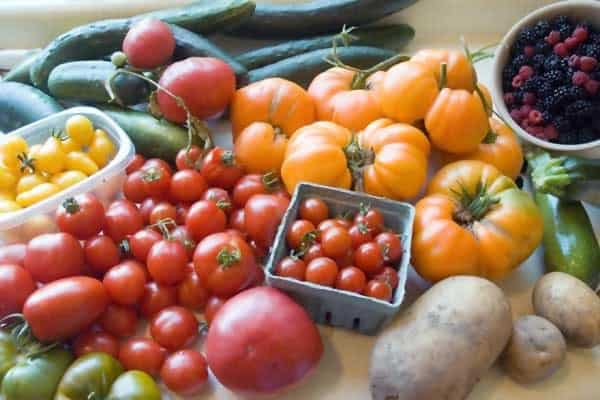
- Abundant Harvests: We've enjoyed incredibly abundant harvests of vegetables, herbs, and flowers.
The Frustrations (and How We Overcame Them)
Building a Hugelkultur bed is not without its challenges. We encountered:
- Finding enough wood: This took time and effort, but we eventually sourced wood from our own property and a local tree service.
- The initial slump: The bed will sink as the wood decomposes. Don't be alarmed! Just add more soil and compost as needed.
- Pest Control: We had some issues with slugs and snails. We used organic pest control methods, such as hand-picking and diatomaceous earth.
This project has deepened my love for the earth and my appreciation for the simple things in life. There's nothing quite like harvesting fresh vegetables from your own garden and sharing them with your family. The aroma of sun-ripened tomatoes, the vibrant colors of the flowers, and the satisfaction of knowing that we're contributing to a more sustainable future – it's all worth it.

This journey is one of resourcefulness and resilience – traits vital for successful DIY Homesteading.
Resources:
- Oregon State University Extension Service: https://extension.oregonstate.edu/ - A wealth of information on gardening and sustainable living.
- Permaculture Research Institute: https://www.permaculture.org.uk/ - Learn more about permaculture principles and practices.
And be sure to check out these related articles here on Better Homes and Harvests: Guide to Companion Planting for boosted garden yields, DIY Composting for Beginners and Essential Homesteading Skills.
Call to Action:
What are your biggest homesteading challenges? What innovative projects have you undertaken? Share your experiences in the comments below! We want to foster a vibrant community of homesteaders learning from each other. Let's build a more sustainable and abundant future, together!