7 Simple Steps to Harvesting and Composting Garden Waste: A Guide for a Thriving Autumn Garden
The autumn garden. Close your eyes and picture it. The satisfying crunch of fallen leaves underfoot, a symphony of gold, crimson, and russet swirling in the breeze. The earthy aroma of damp soil mingling with the crisp, clean air. The last, warm kiss of the sun on your face as you survey your plot. But amidst this beauty, a question lingers: what to do with all the spent foliage, vegetable stalks, and garden debris? How can we ensure our garden, which has given us so much throughout the season, is prepared for a restful winter and a vibrant spring?
This isn't just about tidying up; it's about completing a cycle, nourishing the very earth that sustains us. Learn how to transform your autumn garden waste into valuable compost, enriching your soil and setting the stage for a bountiful spring. Let’s turn that seasonal abundance into a future treasure!
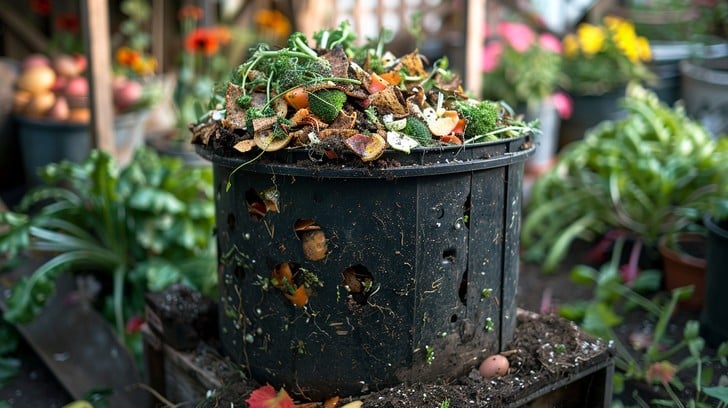
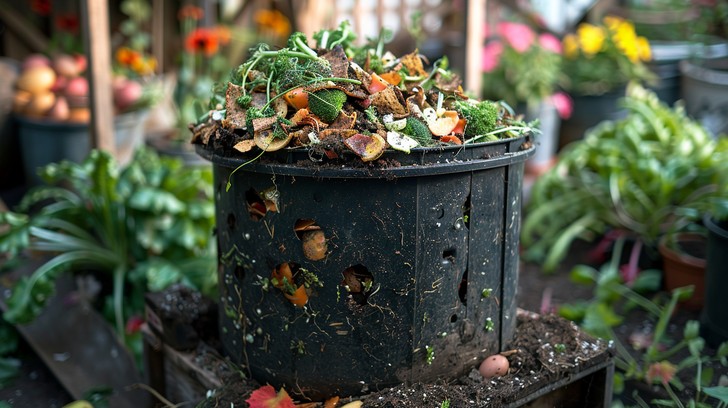
A vibrant compost bin teeming with life, transforming garden waste into nutrient-rich compost.
From Mess to Magic: Why Autumn Composting Matters
Composting isn’t just a chore; it's a mindful practice, a connection to the earth's rhythms. It's a way to give back, to recycle nature's bounty, and to create the richest, most fertile soil imaginable – all without relying on synthetic fertilizers. It’s a cornerstone of organic gardening.
I remember one year, convinced I was saving time, I haphazardly tossed my garden refuse into a corner of my yard, thinking it would magically transform into compost. What I got instead was a slimy, smelly mess that attracted pests and did nothing to improve my soil. That’s when I learned the importance of proper composting techniques.
Effective autumn composting offers a multitude of benefits:
- Enriched Soil: Compost adds essential nutrients and organic matter to your soil, improving its structure, water retention, and overall soil health.
- Reduced Waste: Divert garden waste from landfills, reducing your environmental footprint.
- Cost Savings: Eliminate the need for expensive chemical fertilizers.
- Healthier Plants: Plants grown in compost-rich soil are more resilient and less susceptible to disease.
Step-by-Step Guide to Harvesting and Composting Your Autumn Garden Waste
Here’s a simple, step-by-step guide to harvesting and composting your garden waste this autumn, ensuring a thriving garden for years to come:
Step 1: The Autumn Harvest: Gathering Your Materials
The first step is to gather your composting materials. As you clean up your garden beds, collect:
- Fallen leaves (a key ingredient for leaf mold!)
- Dead or dying plants (remove any diseased foliage)
- Vegetable scraps from your kitchen (coffee grounds, fruit and vegetable peels, eggshells)
- Grass clippings (use sparingly)
- Spent flower heads and stems
- Shredded newspaper or cardboard (provides carbon)
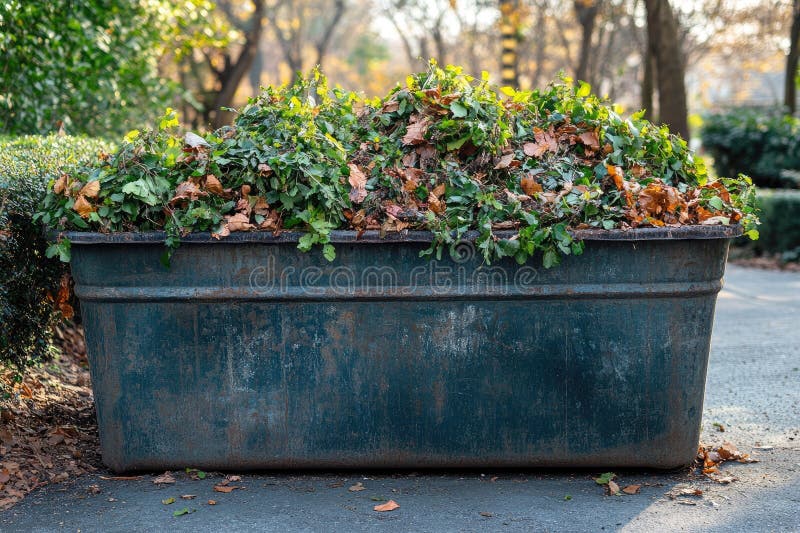
Overflowing bin of autumn leaves and garden debris, ready to be transformed into compost.
Step 2: Chop, Chop, Chop: Increasing Surface Area
The smaller the pieces, the faster they decompose. Chop or shred larger items, such as thick stalks, branches, and leaves. A leaf shredder (consider this [Affiliate Link to Leaf Shredder on Amazon]) can be a worthwhile investment if you have a lot of leaves. Mowing over leaves with your lawnmower also works wonders!
Step 3: Location, Location, Location: Choosing Your Composting Site
Select a location for your compost pile or bin. Ideally, it should be:
- In a partially shaded area to prevent it from drying out too quickly.
- Well-drained to avoid waterlogging.
- Accessible with a wheelbarrow or garden cart.
- Away from your house to minimize any potential odors.
Step 4: Layering Like a Pro: Building Your Compost Pile
The key to successful composting is balancing "greens" (nitrogen-rich materials) and "browns" (carbon-rich materials). Aim for a ratio of about 2:1 or 3:1 browns to greens. Layer your materials in the following order:
- A layer of coarse materials, such as twigs or branches, to provide aeration.
- A layer of "browns" (leaves, shredded newspaper).
- A layer of "greens" (grass clippings, vegetable scraps).
- Repeat layers, moistening each layer as you go.
Turning compost pile ensuring proper aeration and decomposition.
Step 5: Moisture is Key: Watering Your Compost
Your compost pile should be moist, but not soggy. Aim for the consistency of a wrung-out sponge. Water your pile regularly, especially during dry spells.
Step 6: Turning for Triumph: Aerating Your Compost
Turning your compost pile regularly (every week or two) helps to aerate it, speeding up the decomposition process. Use a pitchfork or shovel to turn the pile, bringing the materials from the outside to the inside. If vermicomposting add worms. They do the work!
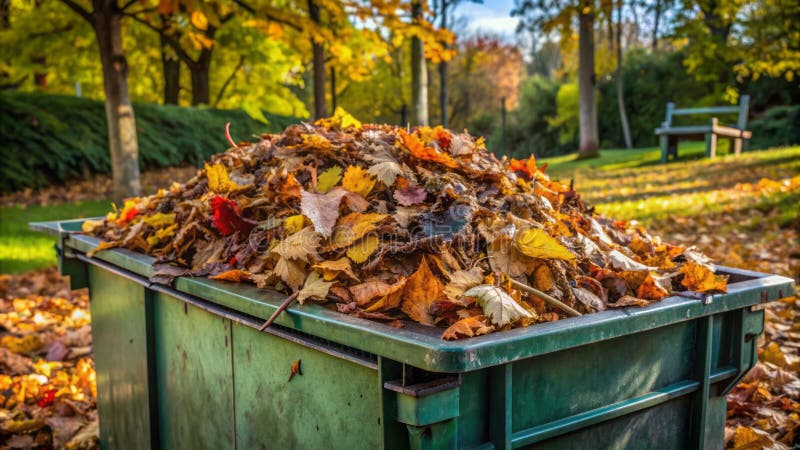
Composting container, a testament to the cycle of nature, transforming yard waste into valuable compost.
Step 7: Patience and Observation: Monitoring and Troubleshooting
Composting takes time. Depending on the materials and conditions, it can take several months to a year for your garden waste to fully decompose. Monitor your pile regularly and troubleshoot any issues that arise:
- Smelly compost: Too much nitrogen. Add more "browns."
- Dry compost: Add water.
- Compost not decomposing: Not enough nitrogen or moisture. Add "greens" and water.
Quick-Reference Chart for Common Composting Materials
| Material | Type | Notes |
|---|---|---|
| Fallen Leaves | Brown | Shred for faster decomposition. |
| Grass Clippings | Green | Use sparingly to avoid matting. |
| Vegetable Scraps | Green | Avoid meat, dairy, and oily foods. |
| Coffee Grounds | Green | Great source of nitrogen. |
| Eggshells | Green | Rinse and crush before adding. |
| Shredded Newspaper | Brown | Use sparingly and avoid glossy paper. |
| Cardboard | Brown | Shred or tear into small pieces. |
| Twigs and Branches | Brown | Provide aeration. |
The Rewards of Patience: Using Your Compost
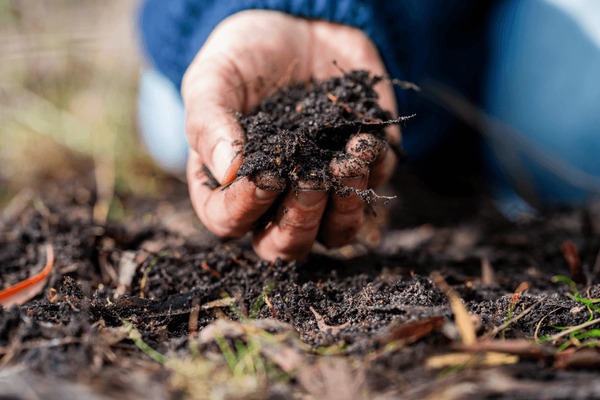
Once your compost is dark, crumbly, and earthy-smelling, it's ready to use! Here are a few ways to incorporate it into your garden:
- Soil Amendment: Mix compost into your garden beds before planting.
- Top Dressing: Apply a layer of compost around existing plants.
- Potting Mix: Add compost to your potting mix for container plants.
- Compost Tea: Steep compost in water to make a nutrient-rich liquid fertilizer.
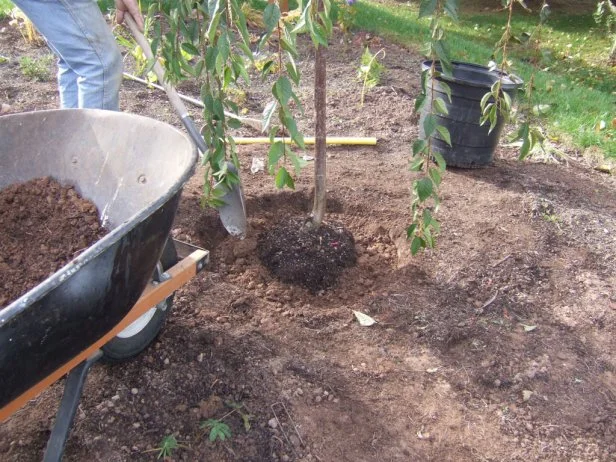
Planting a young tree, amending the soil with compost for healthy growth.
A Season of Giving Back
As the days grow shorter and the nights cooler, take this time to nurture your garden, not just for today, but for the spring that awaits. By embracing autumn composting, you're not just cleaning up; you're actively participating in the cyclical dance of nature, enriching your soil, reducing waste, and creating a healthier, more sustainable home.
Now, we want to hear from you! Share photos of your composting setups and your best composting tips in the comments below. As a thank you for participating, we'll send you a free downloadable gardening calendar to help you plan your spring garden! Let’s connect and learn together. Happy composting!
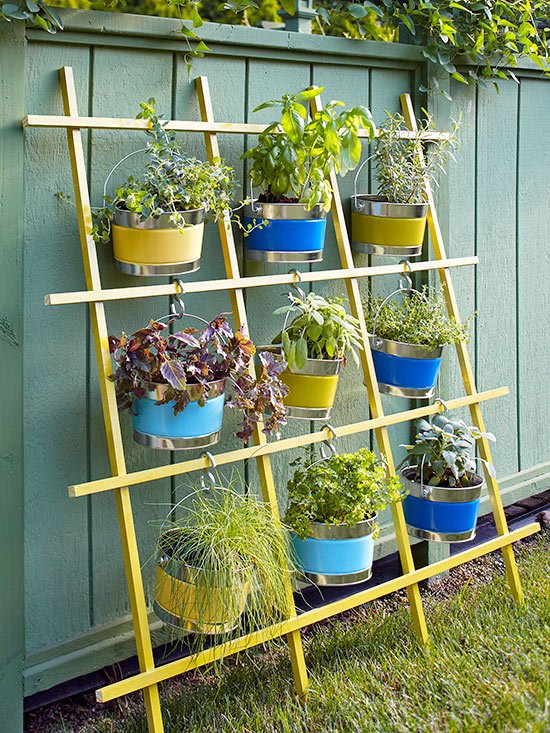
A sun-drenched garden plot, illustrating the potential bounty awaiting in spring with proper composting.